

Classic Peanut Butter Blossom
New Holiday Traditions
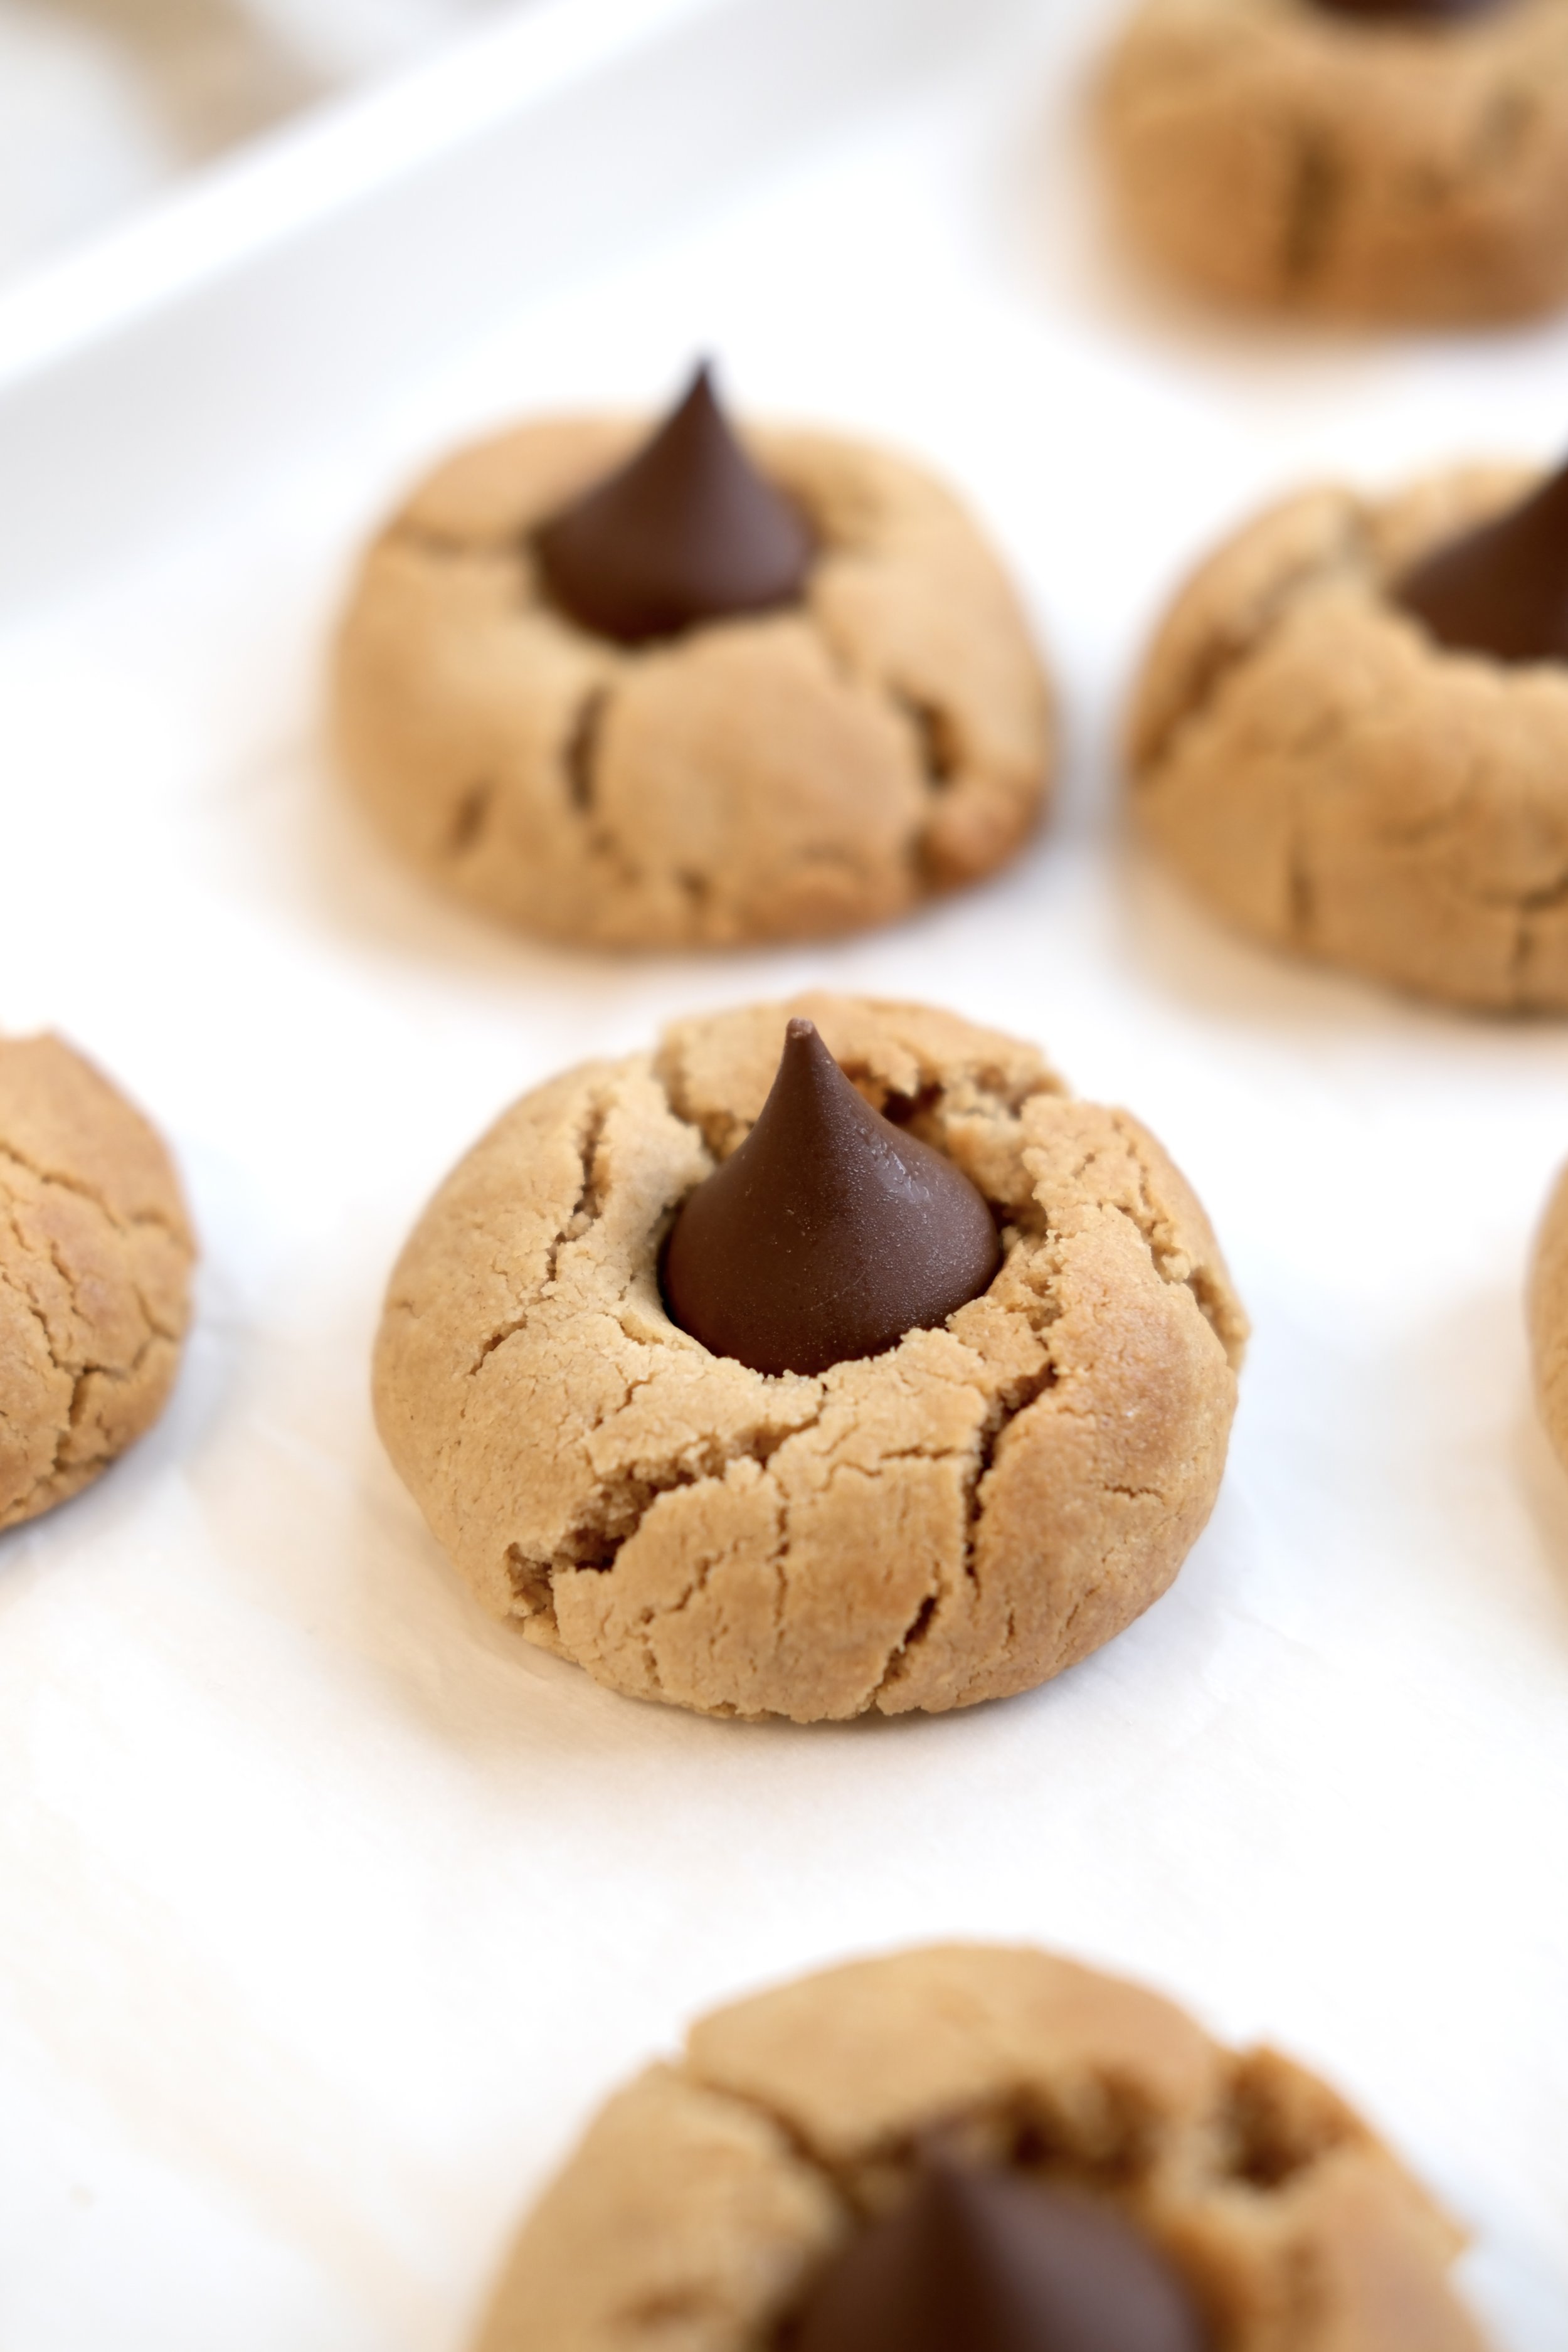
This was my first Christmas making peanut butter blossoms! I had no idea they were a classic holiday cookie. However, it does make sense because I do always remember seeing them at holiday parties growing up…You know its funny, the older I get, the more I crave special traditions and leaning into everything each season has to offer. Growing up, I always told myself I would create the home I had always wanted. Moments like this make me feel like I am truly doing it. Baking was always so intimidating to me and yet, as I grow older, I also begin challenging myself more and more to experiment in the kitchen and become as confident as I can be. With each bake, it gets easier and with each recipe I test, I begin to feel like a true home chef. That is the small but mighty power of doing the things that scare you. I look forward to growing my family and sharing these special baking adventures with kids one day. I would love to do all the things with them that I wish I could’ve done with my own mother growing up. Making traditions, creating magic in the holidays, and spending so much quality time together. Making this house into a home.
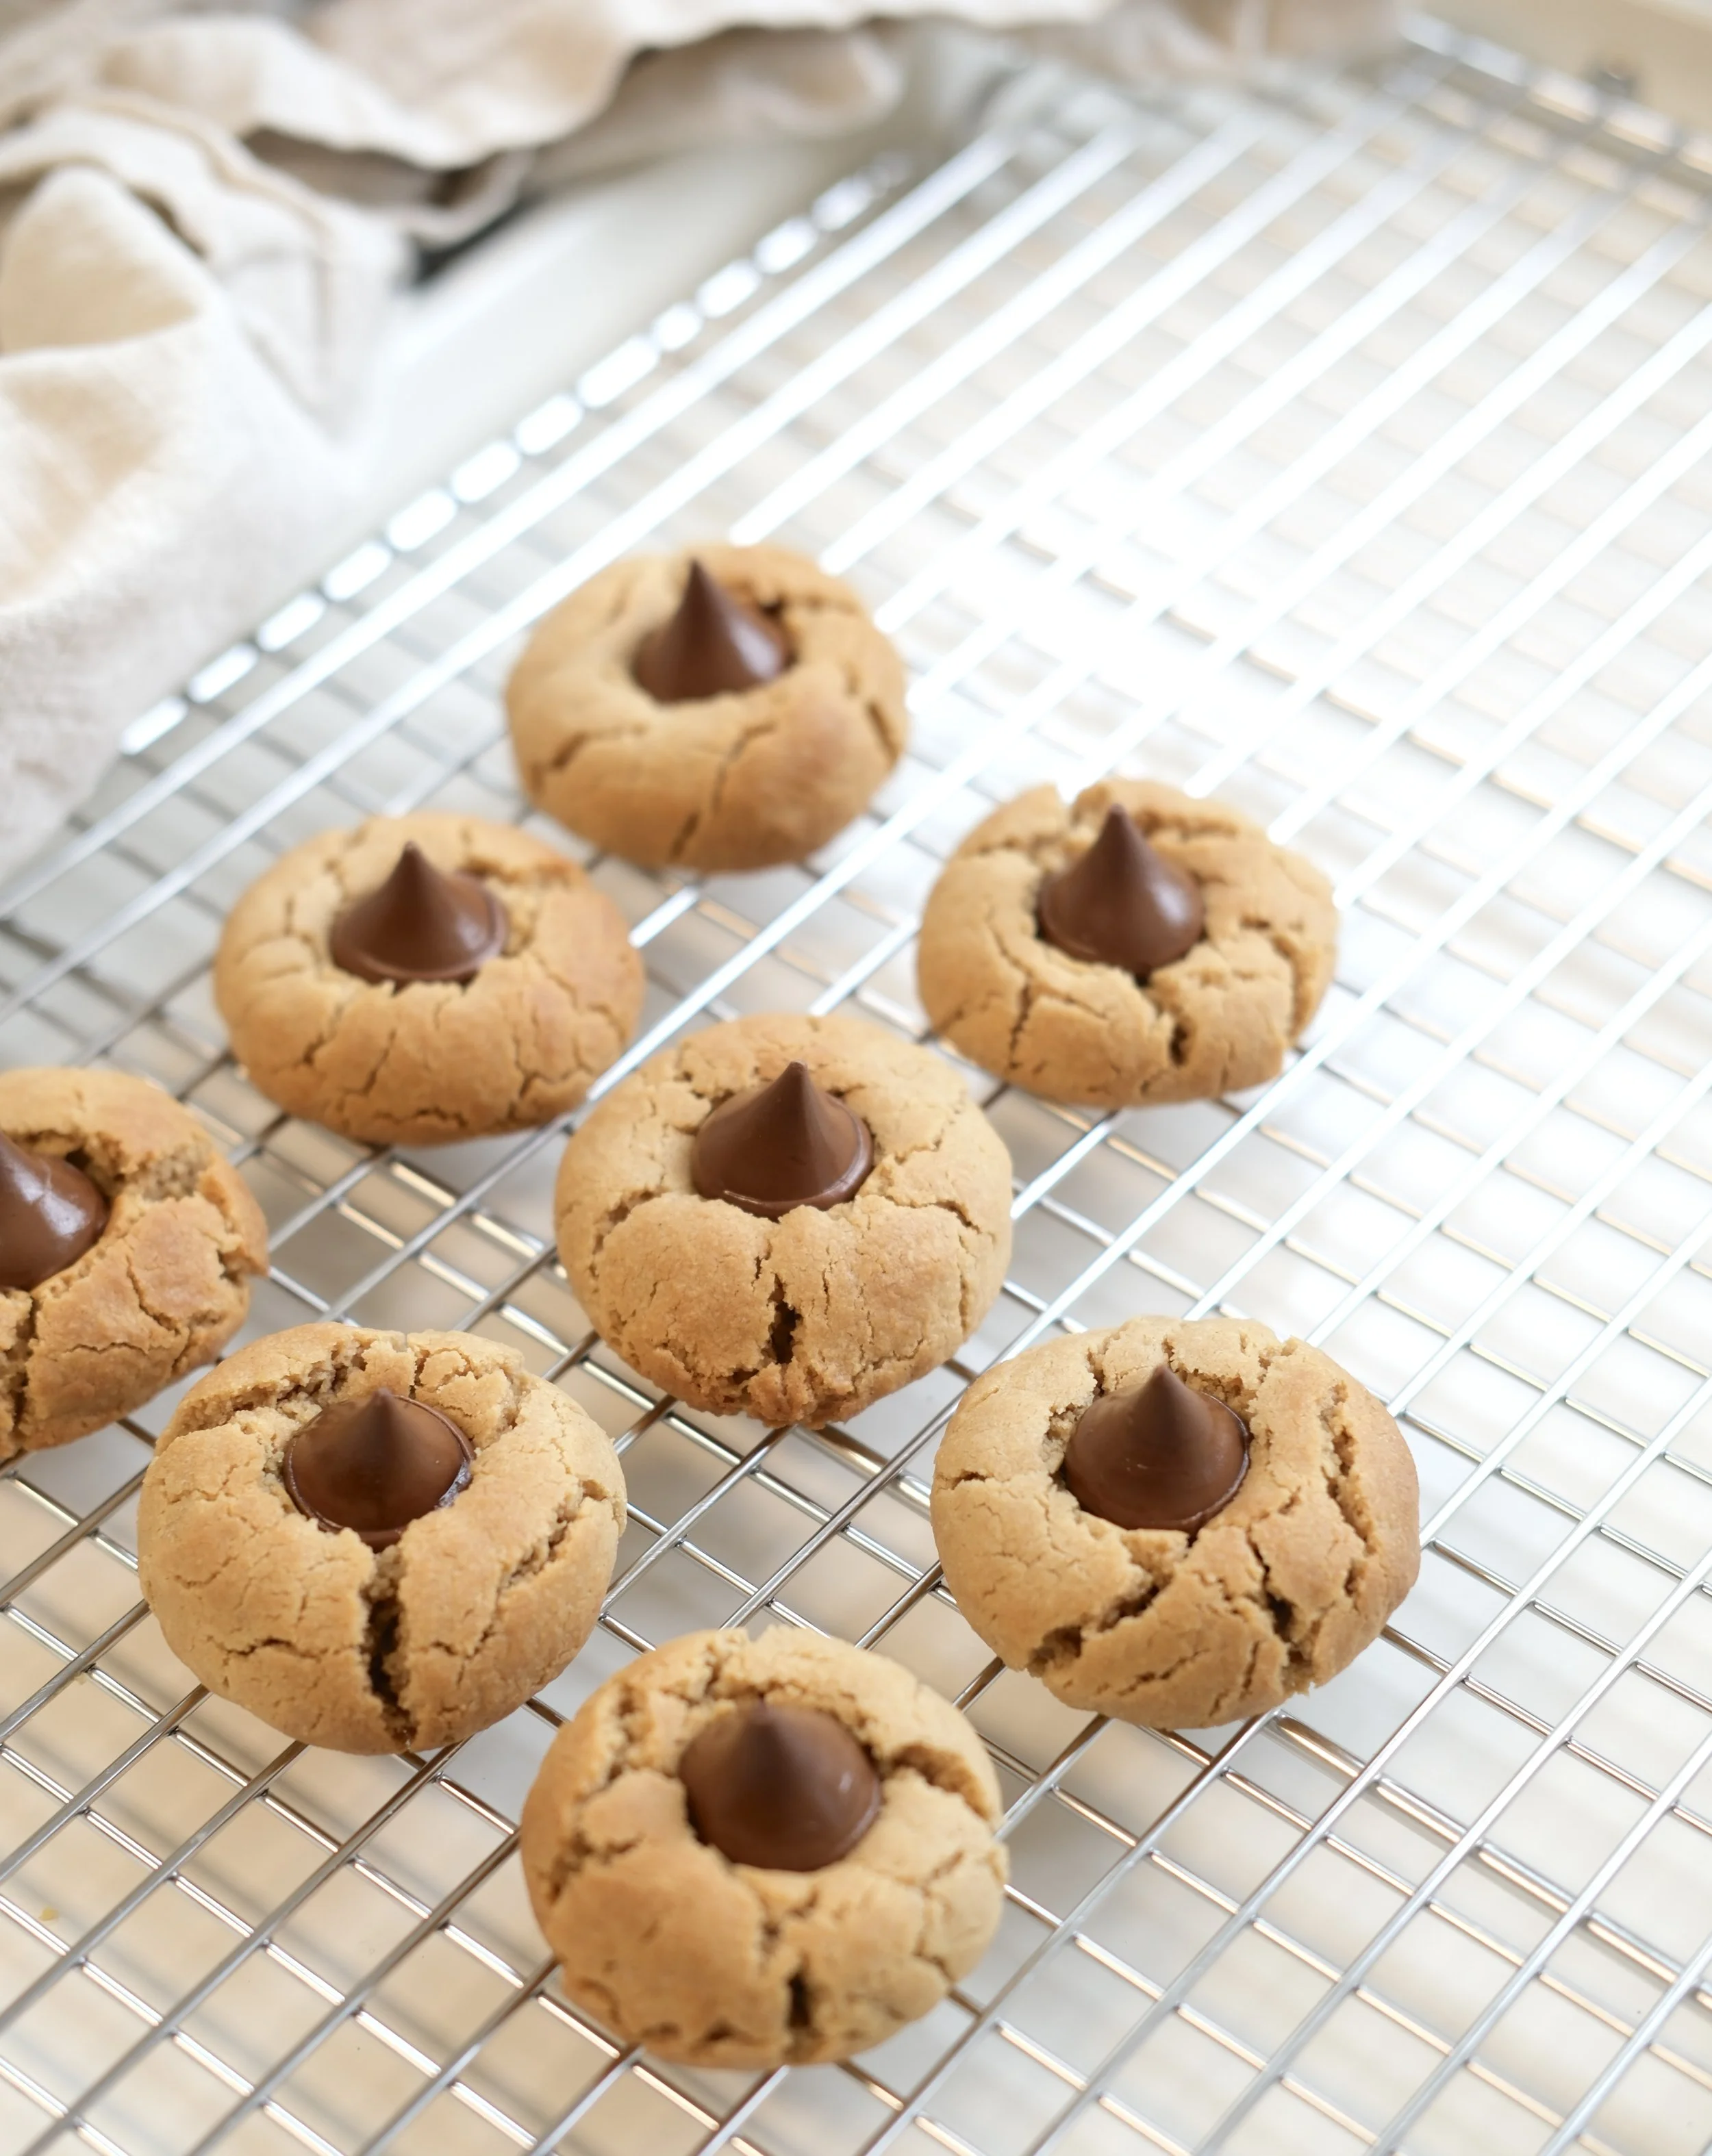
I like to make my bakes as rustic as possible! These looked sooo loved and so appetizing!
Peanut Butter Blossom Cookies
Instructions
Unwrap the Hershey’s Kisses and place them in the freezer while you make the dough. Starting with cold chocolate helps them stay neat and upright once pressed into the cookies.
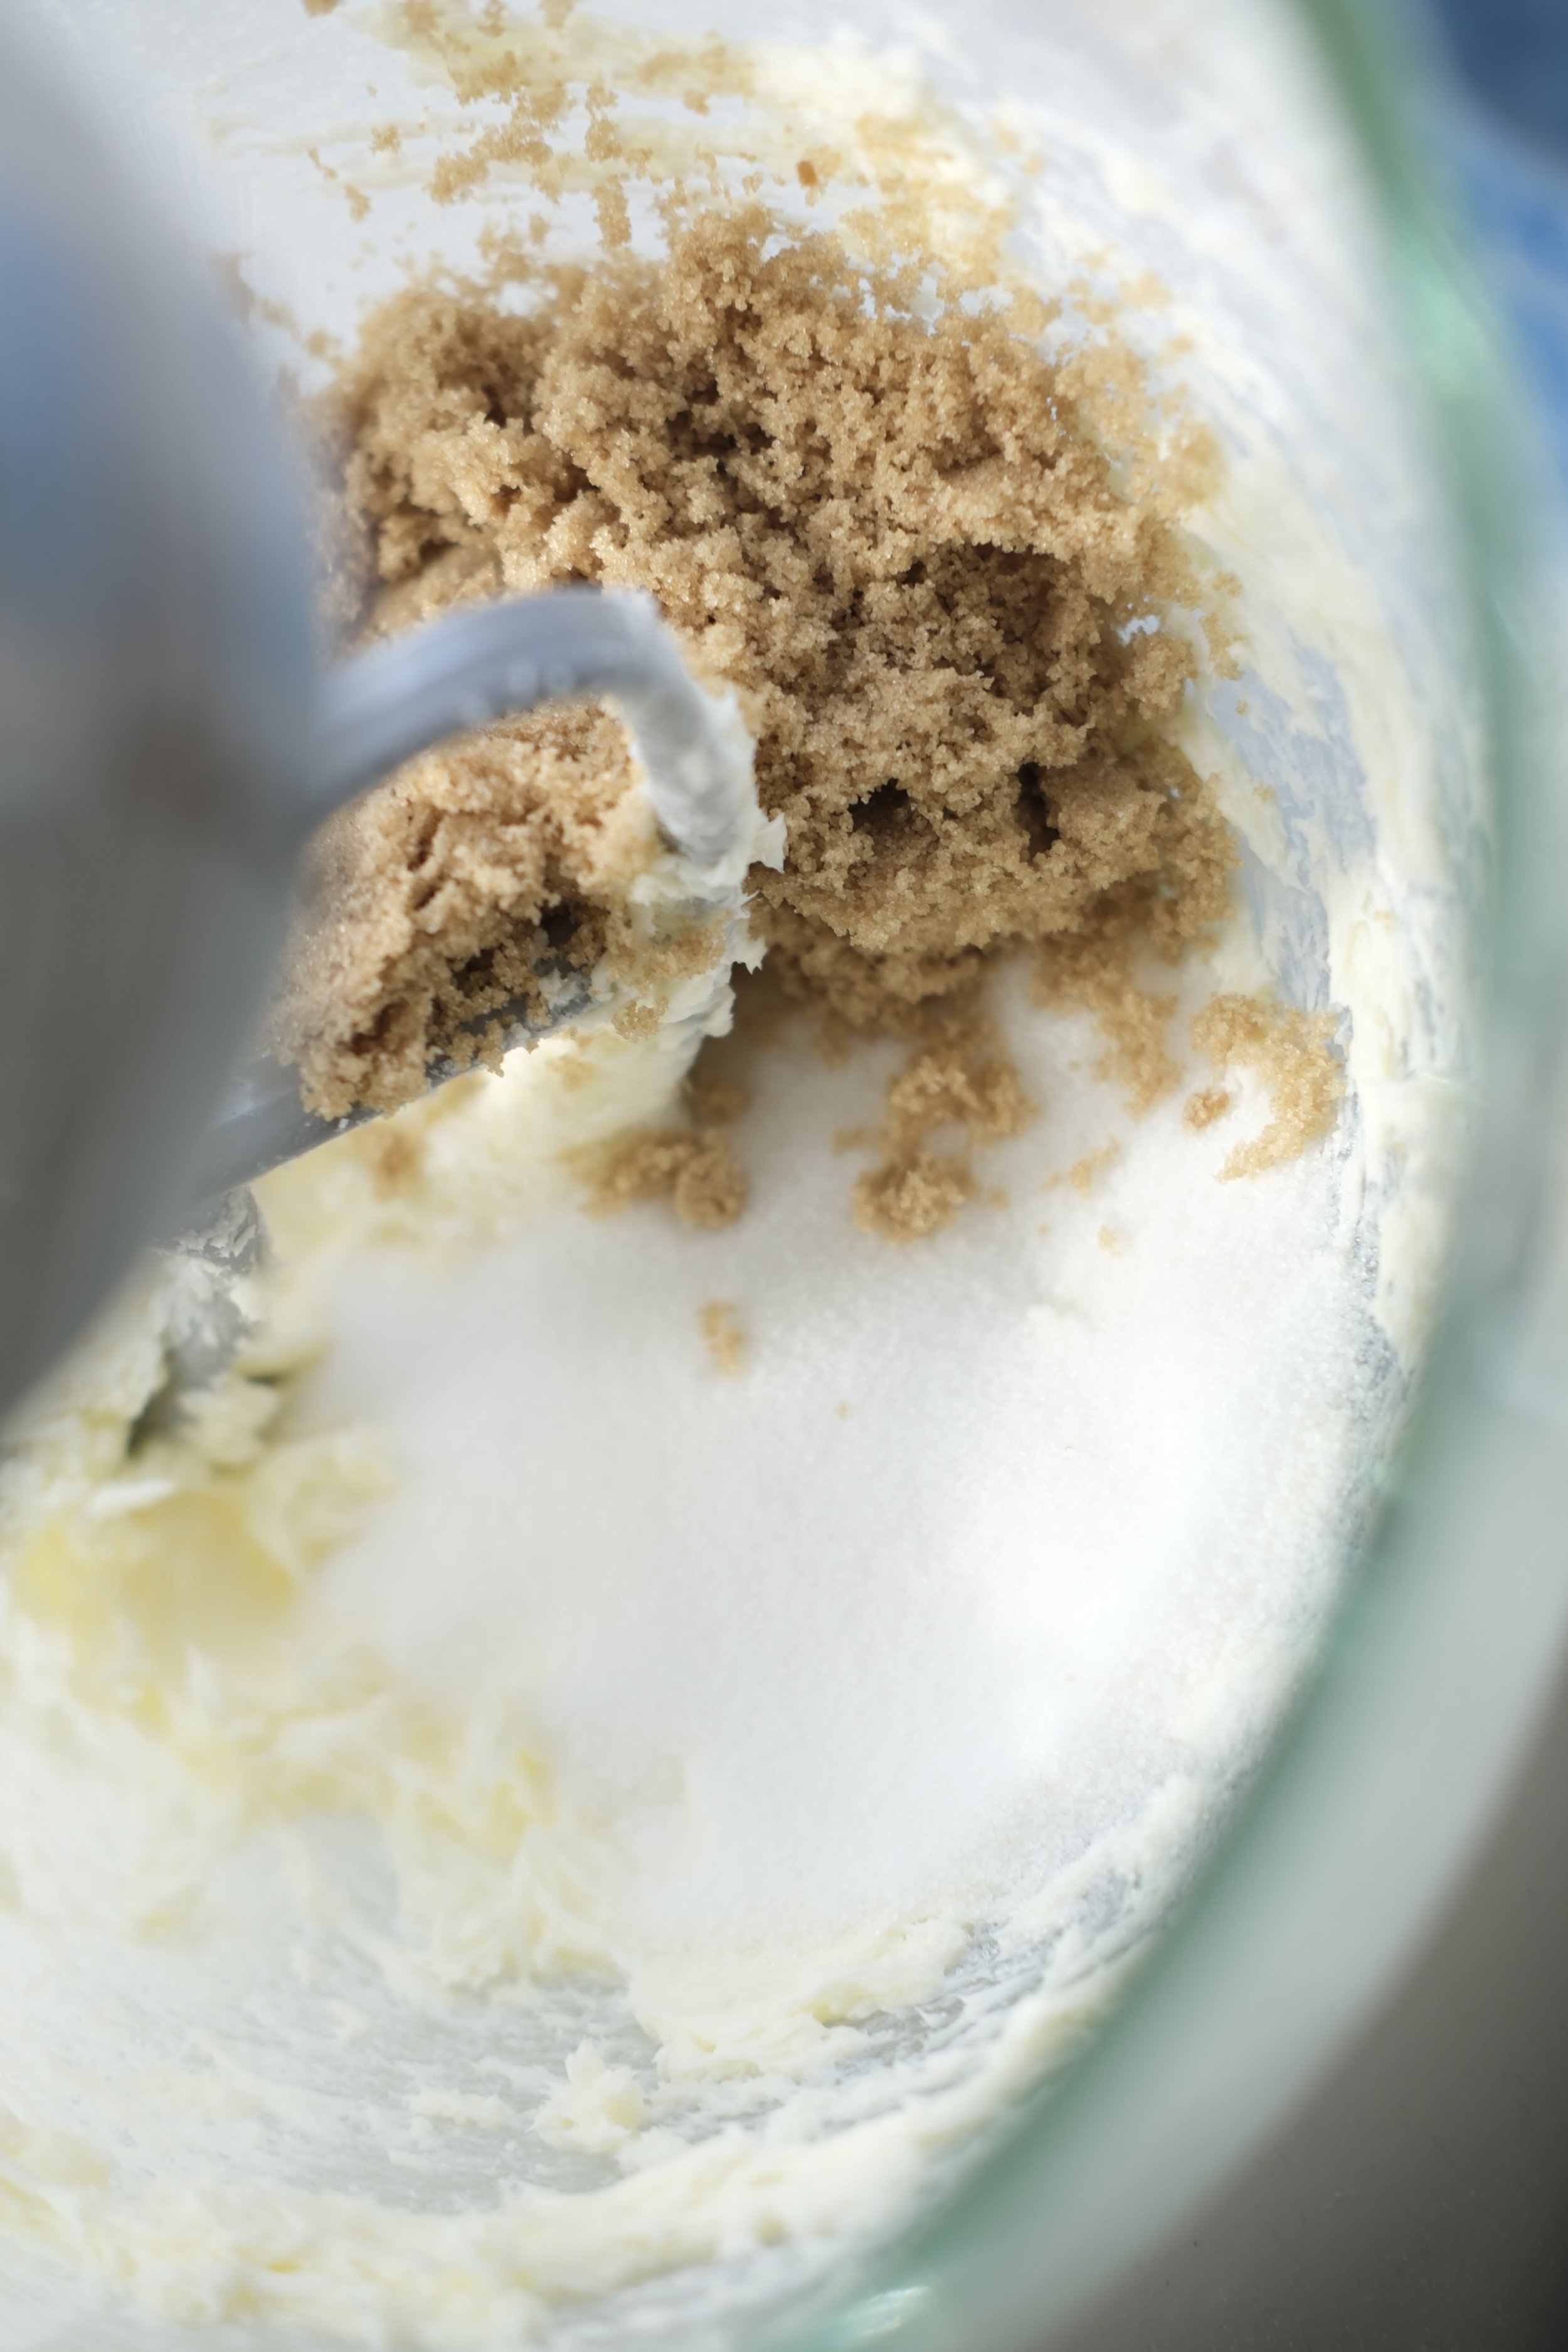
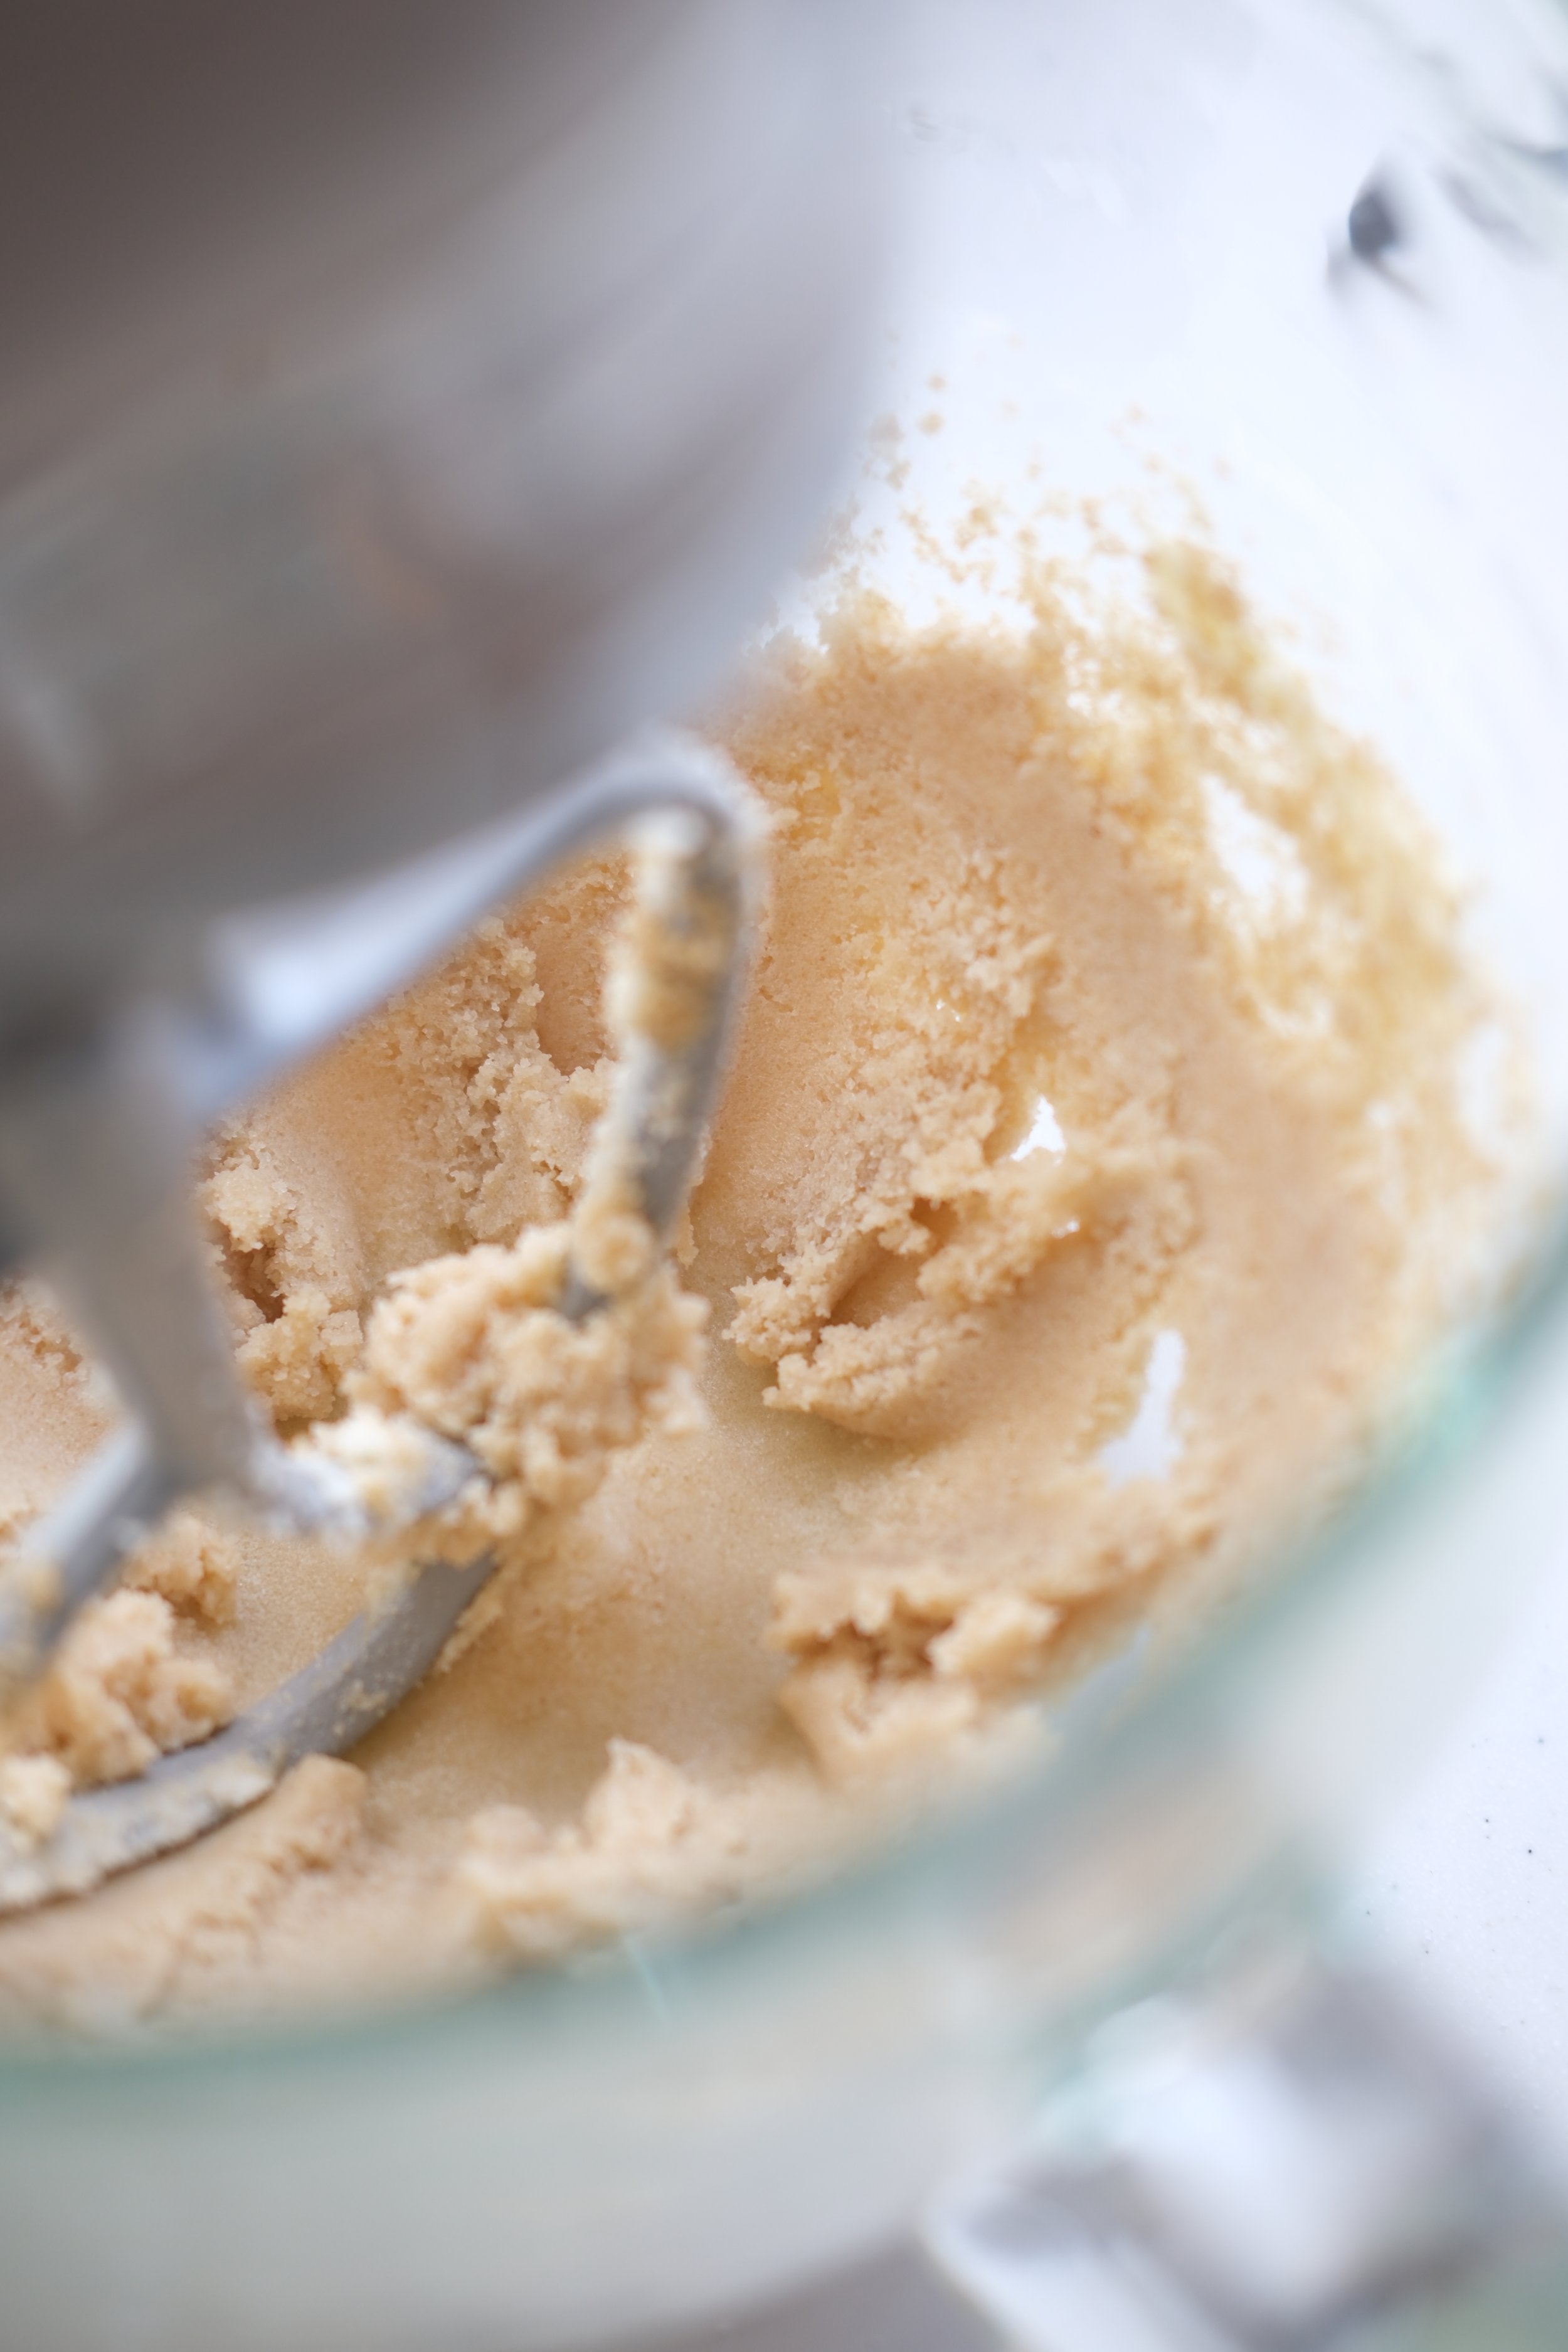
In a large bowl, cream the butter until smooth. Add both sugars and beat until the mixture looks fluffy and cohesive, stopping to scrape down the bowl as needed.
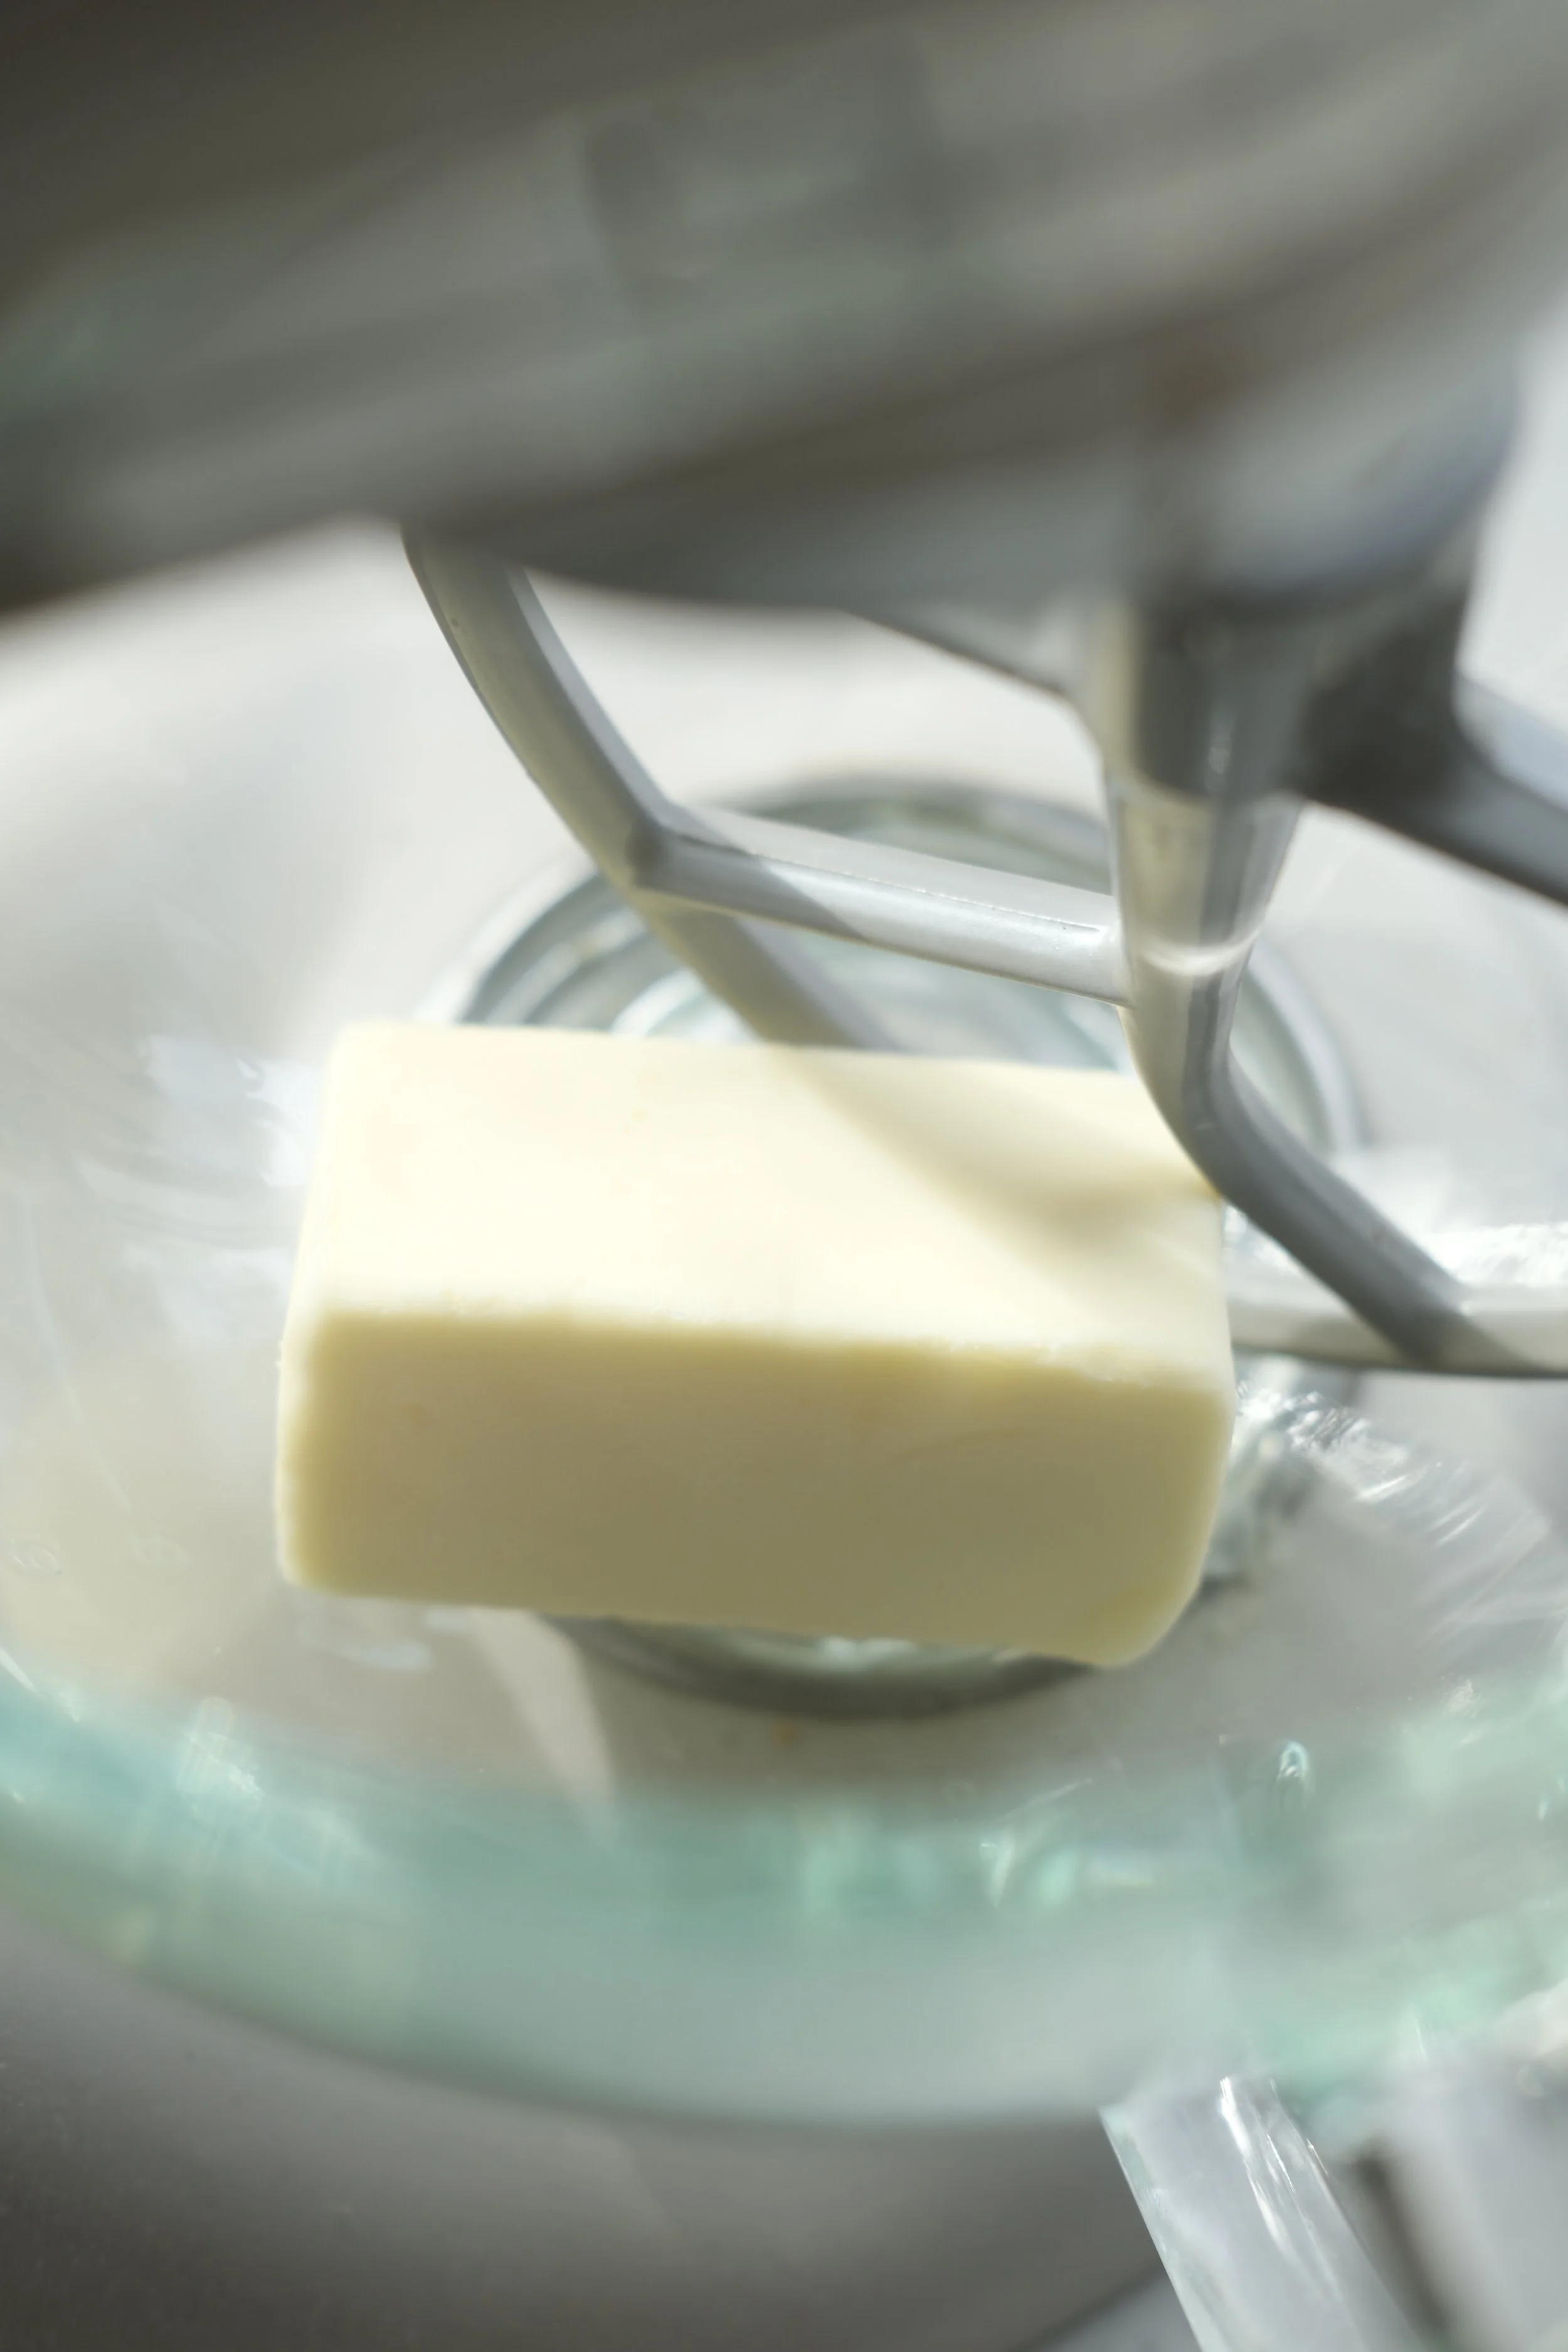
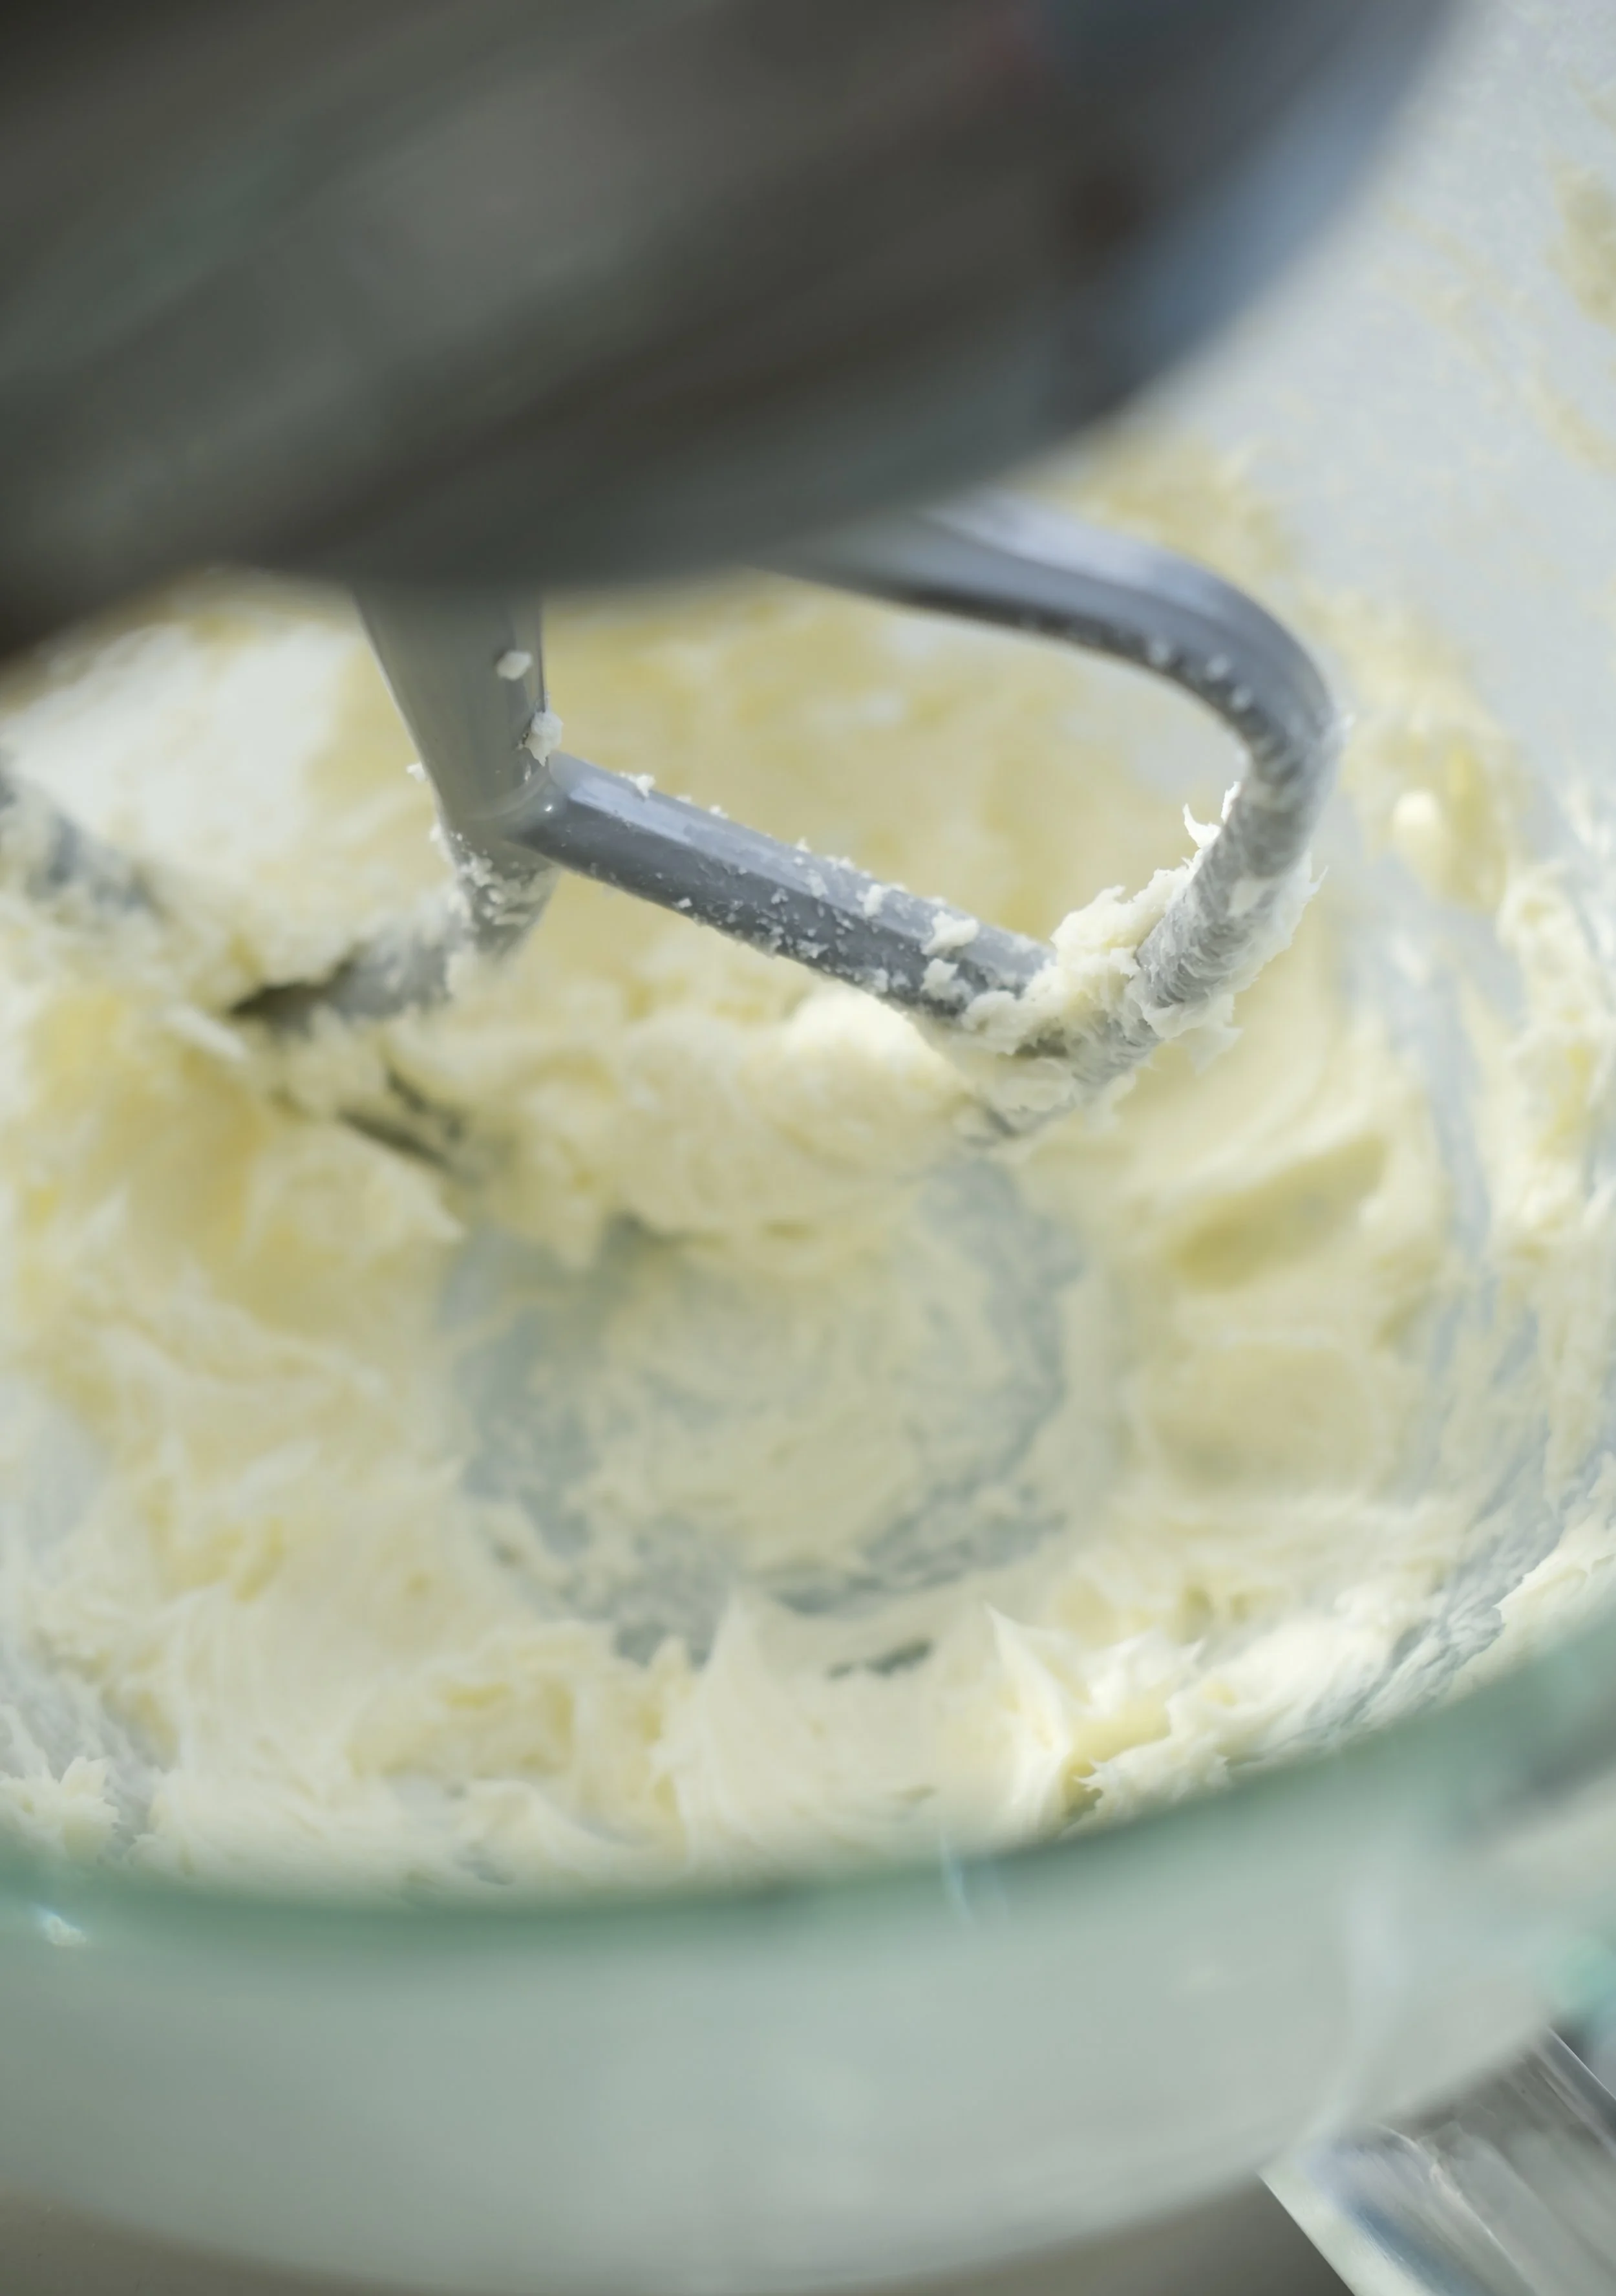
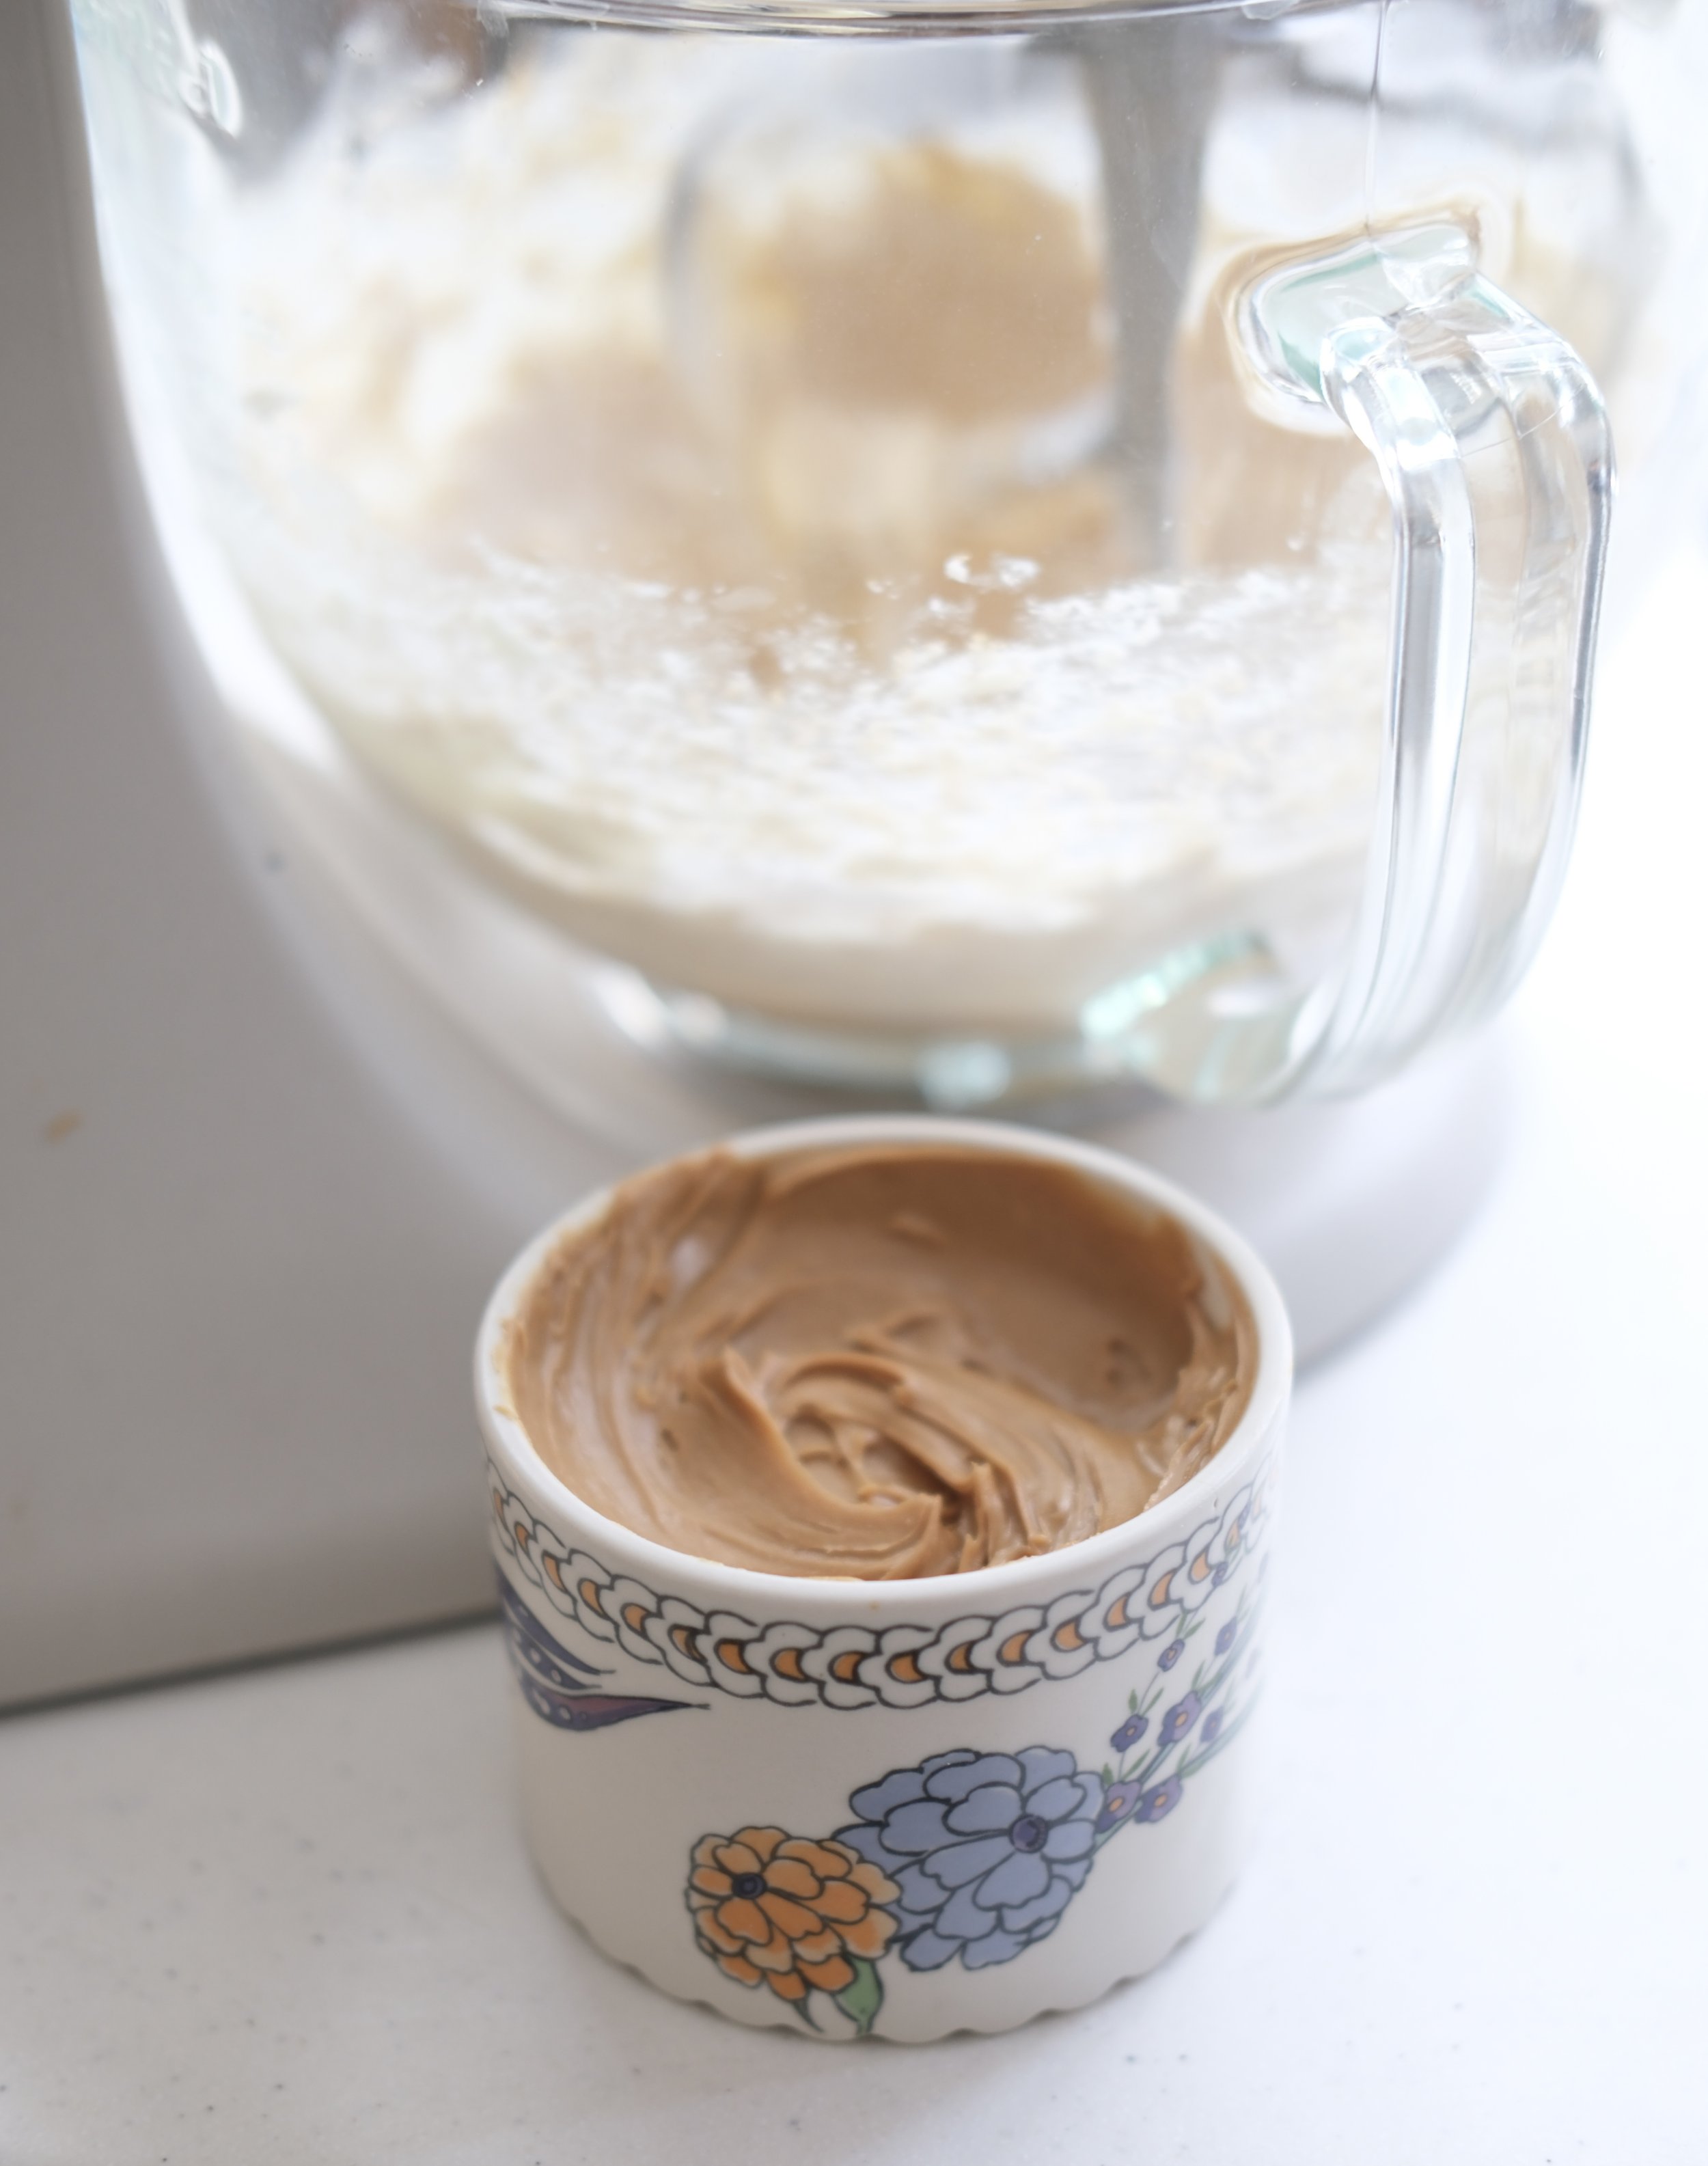
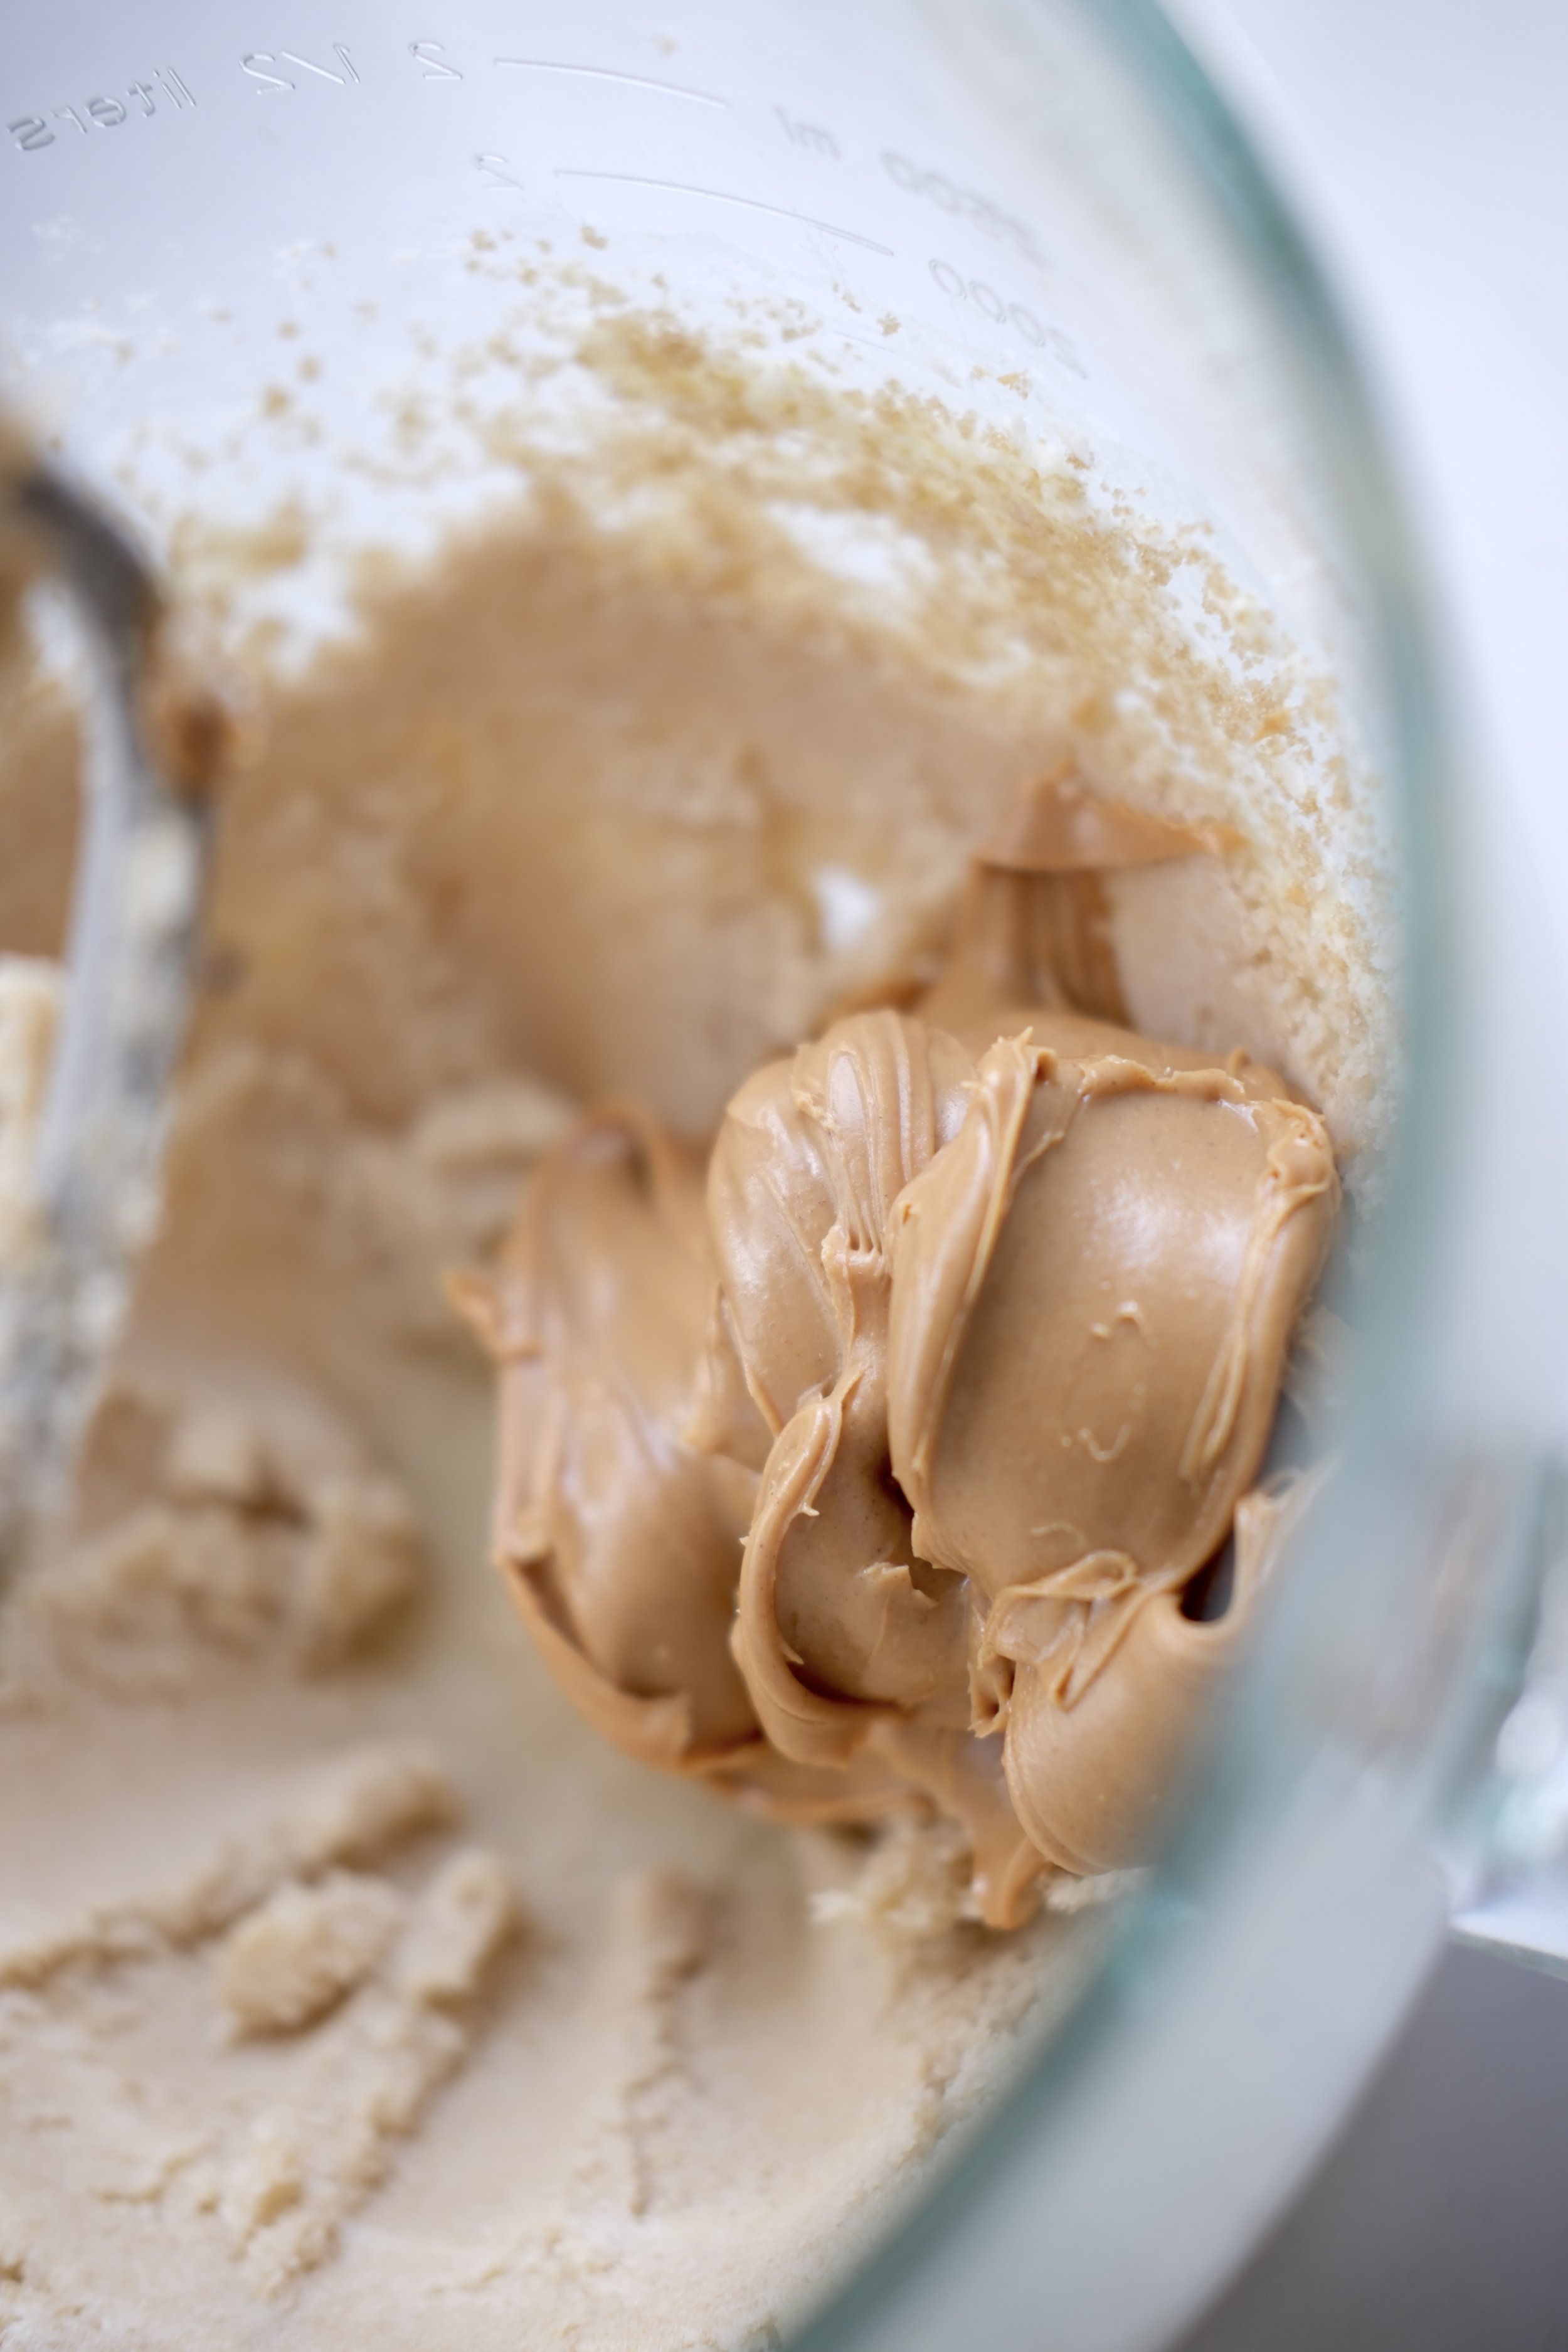
Mix in the peanut butter until fully incorporated, then add the egg and vanilla and stir until smooth.
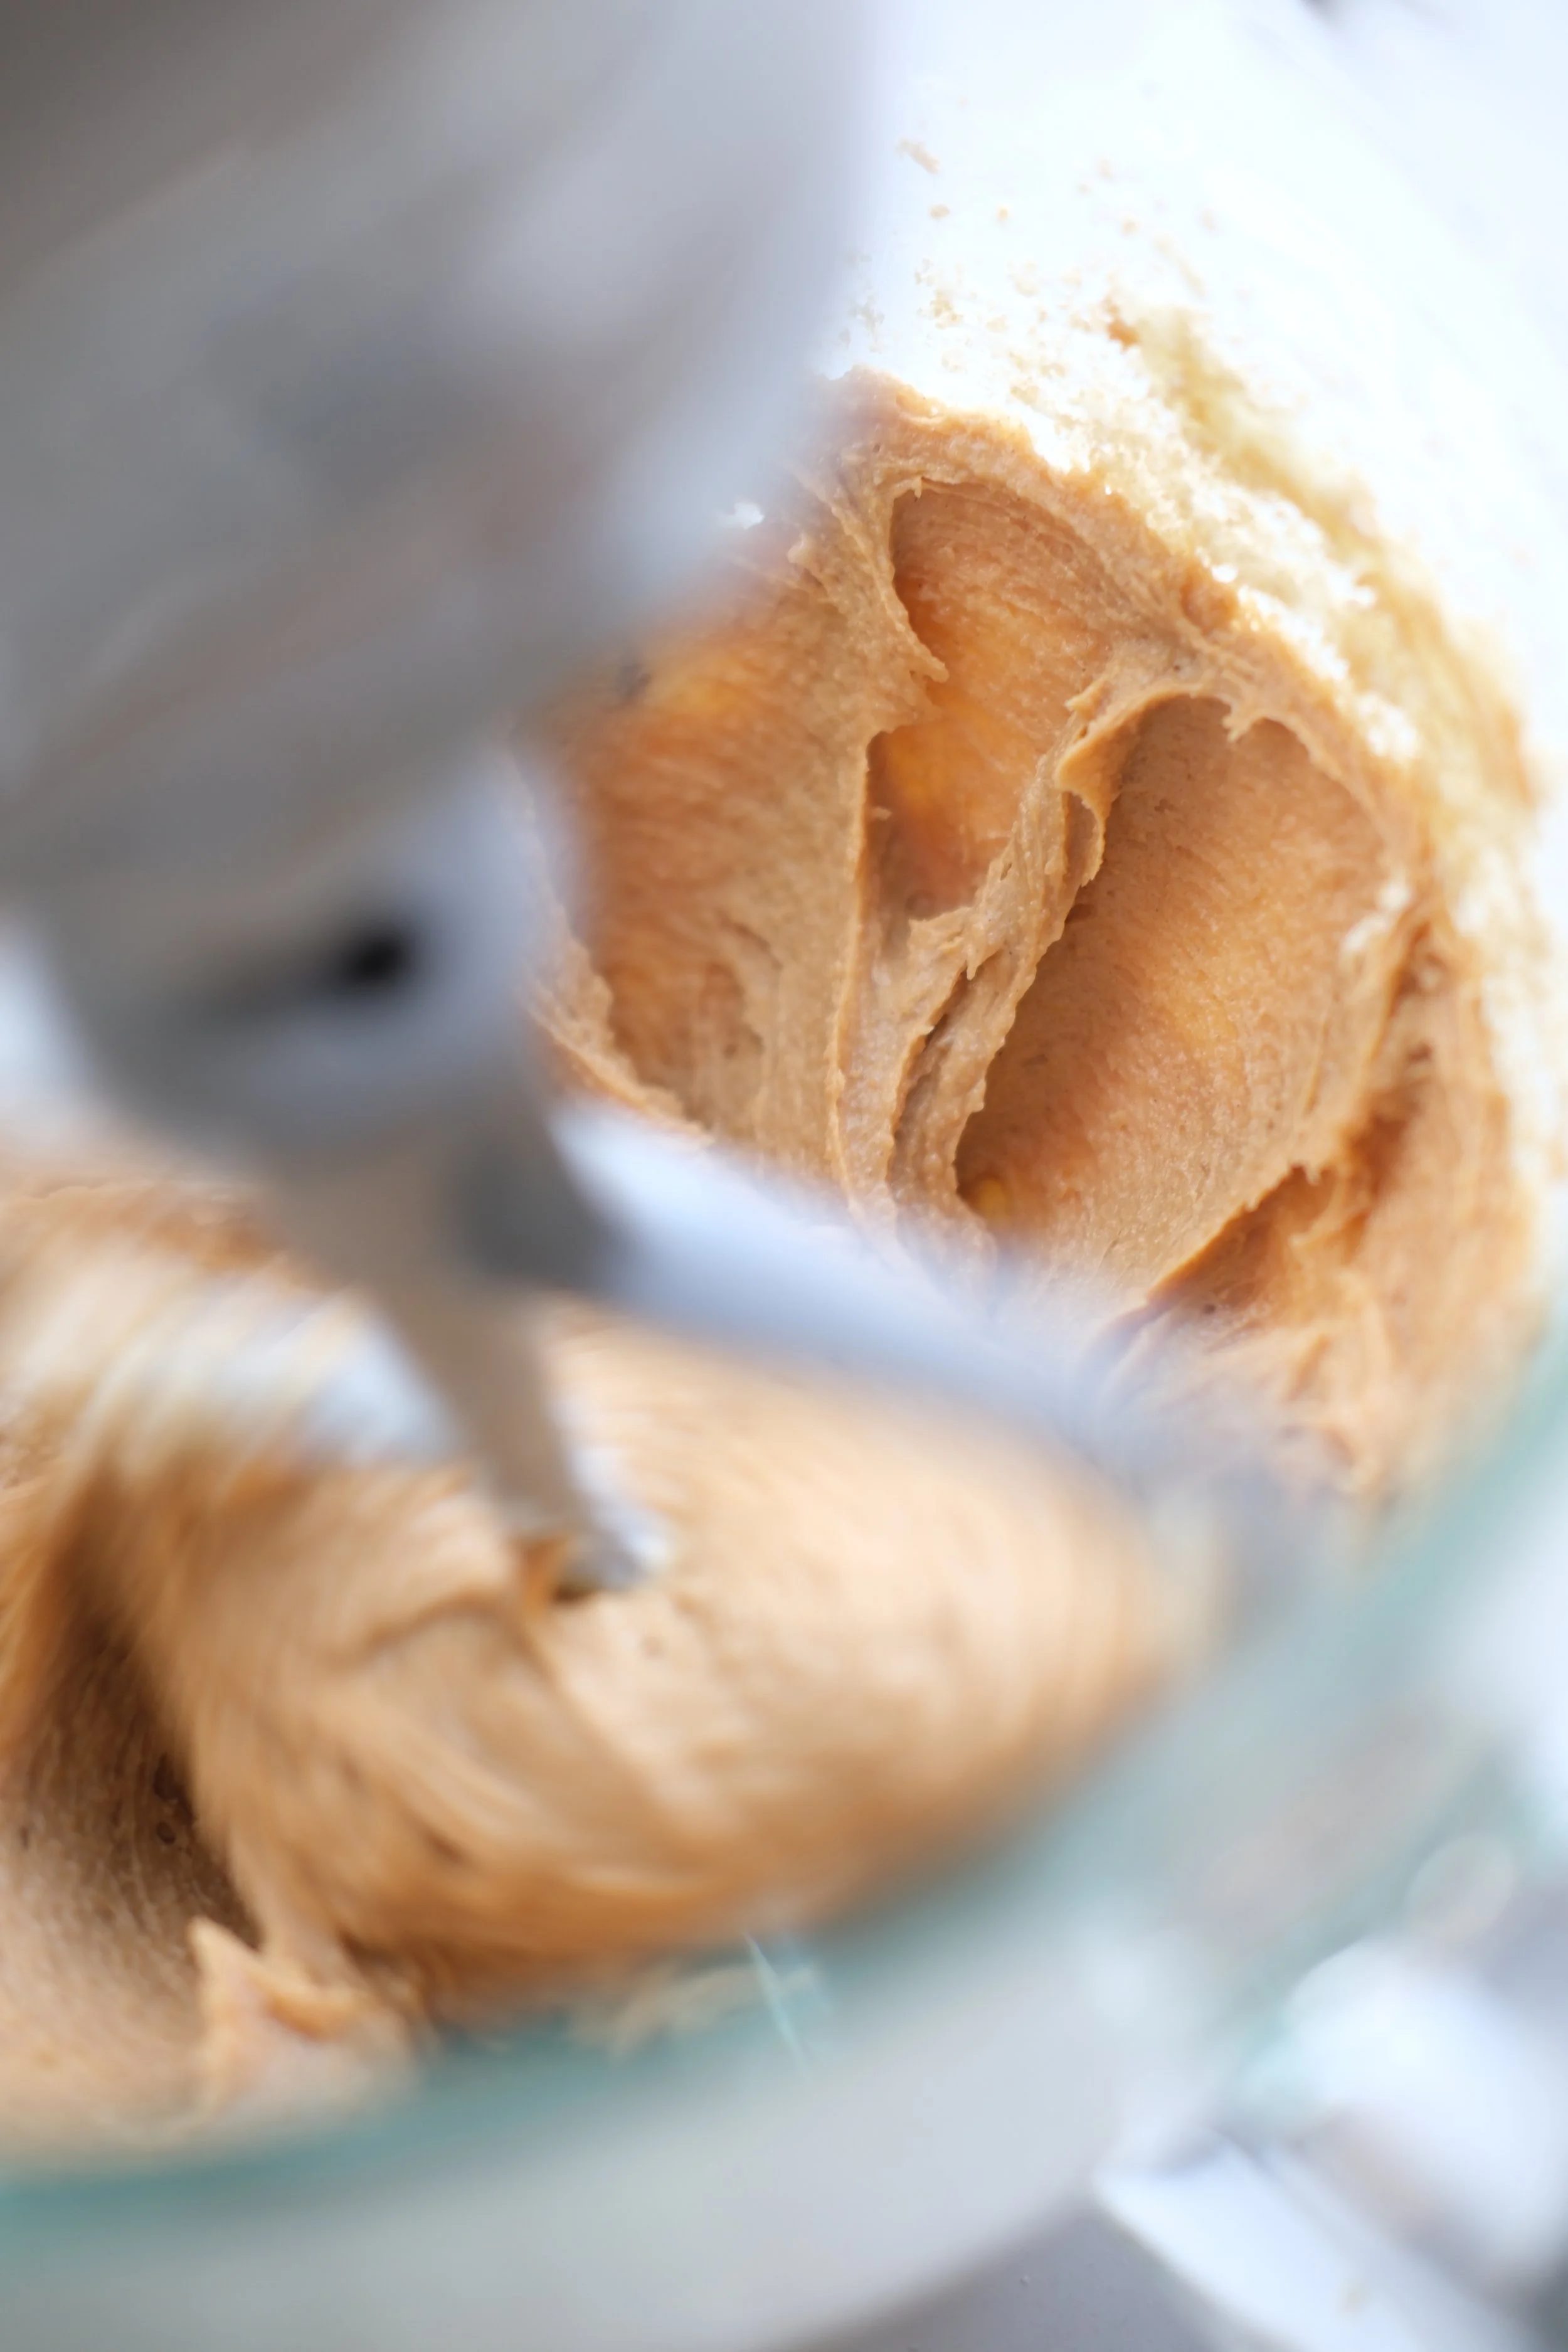
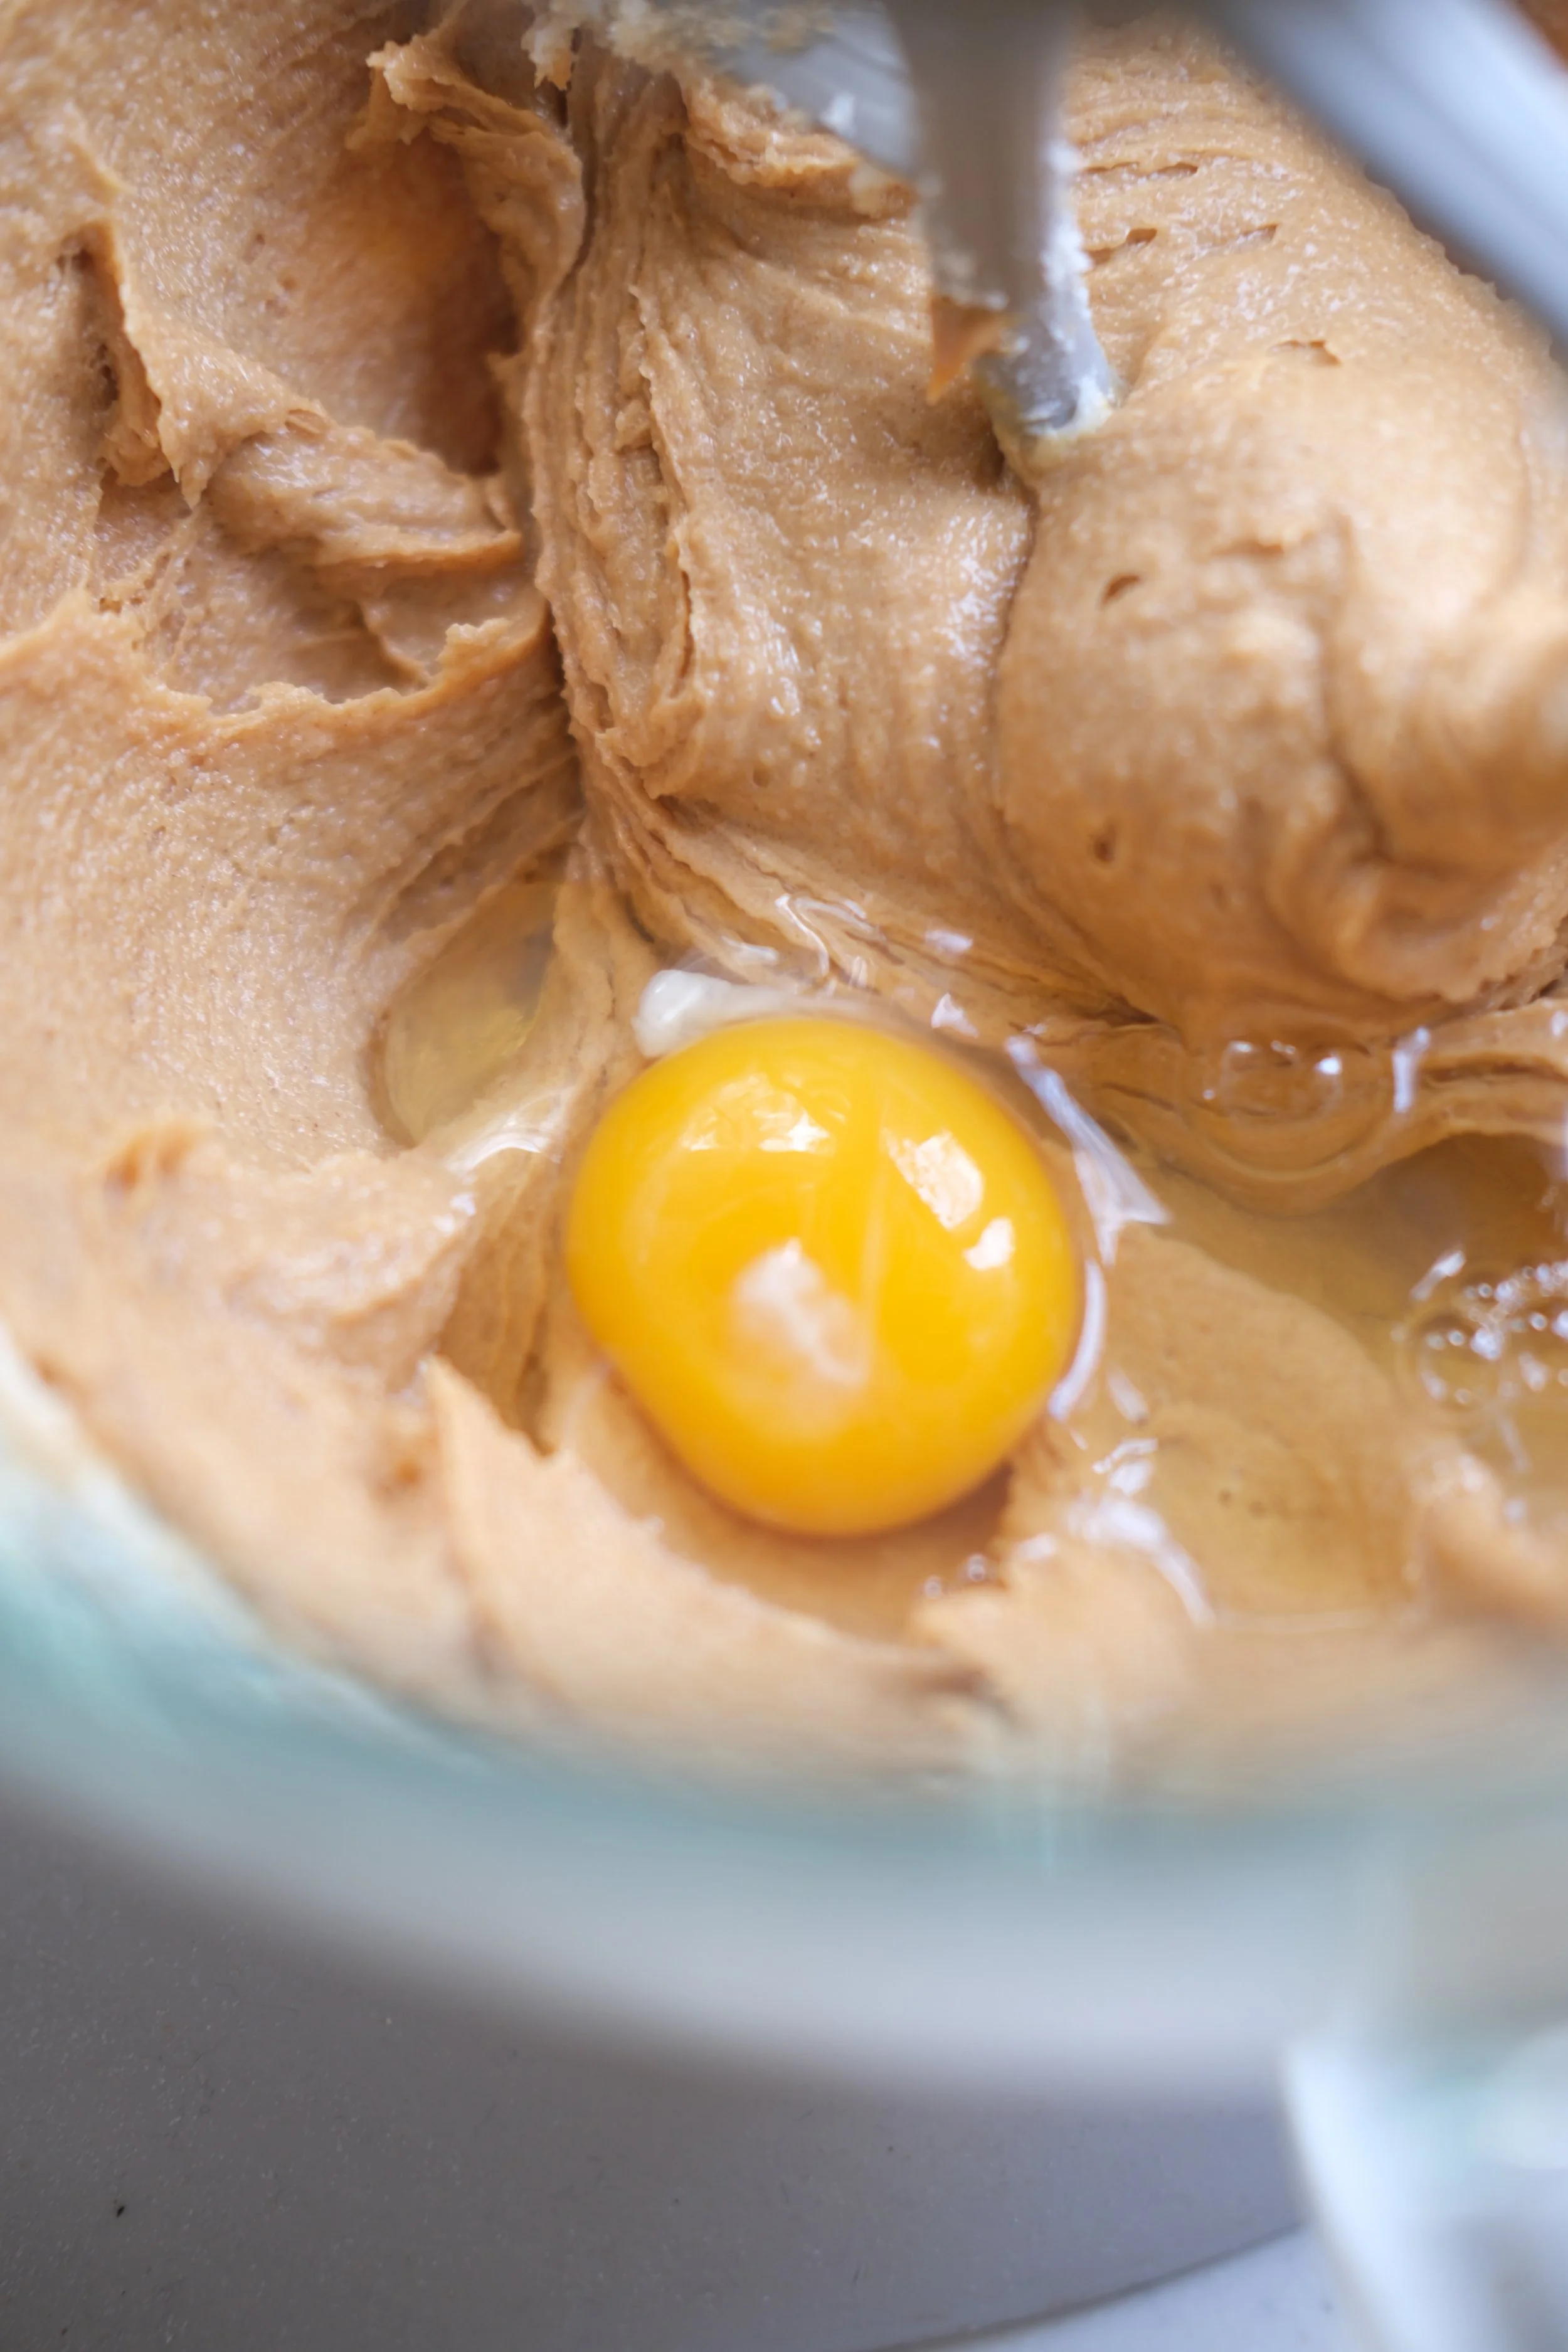
Add the flour to the bowl, then sprinkle the baking soda and salt over the top. Gently mix everything together just until a soft dough forms. Stop mixing as soon as the flour disappears. The dough should look thick but tender.
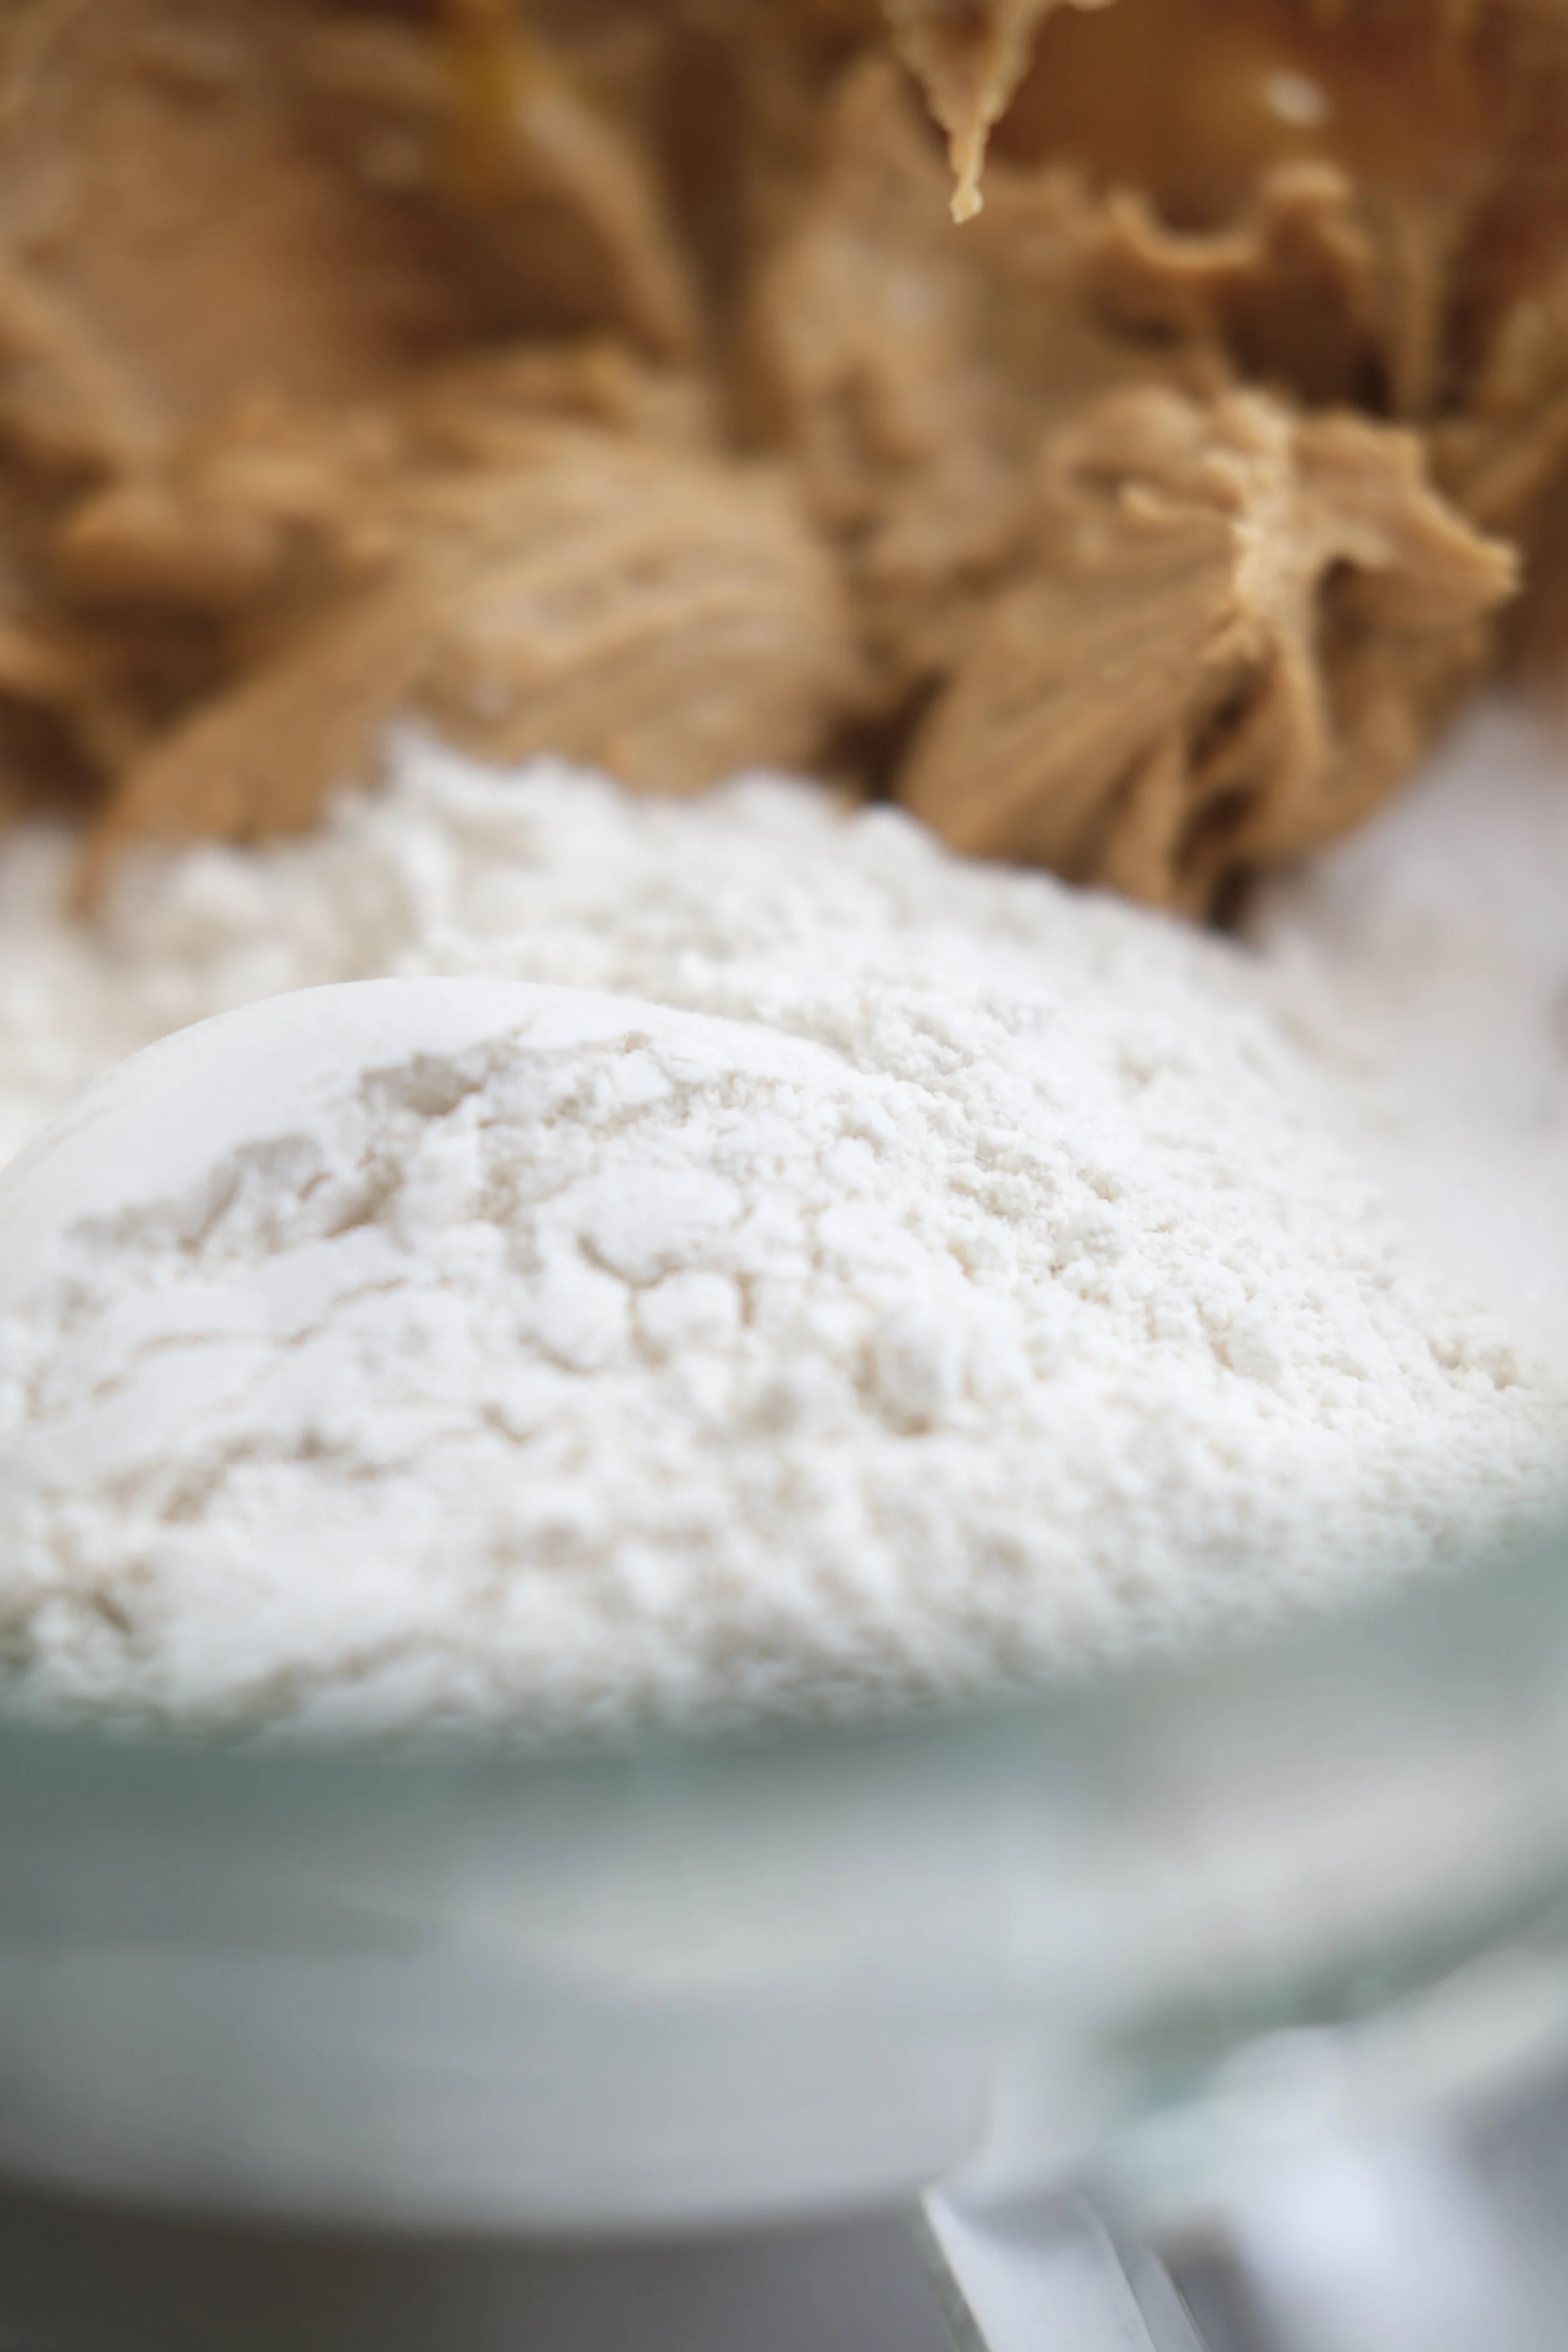
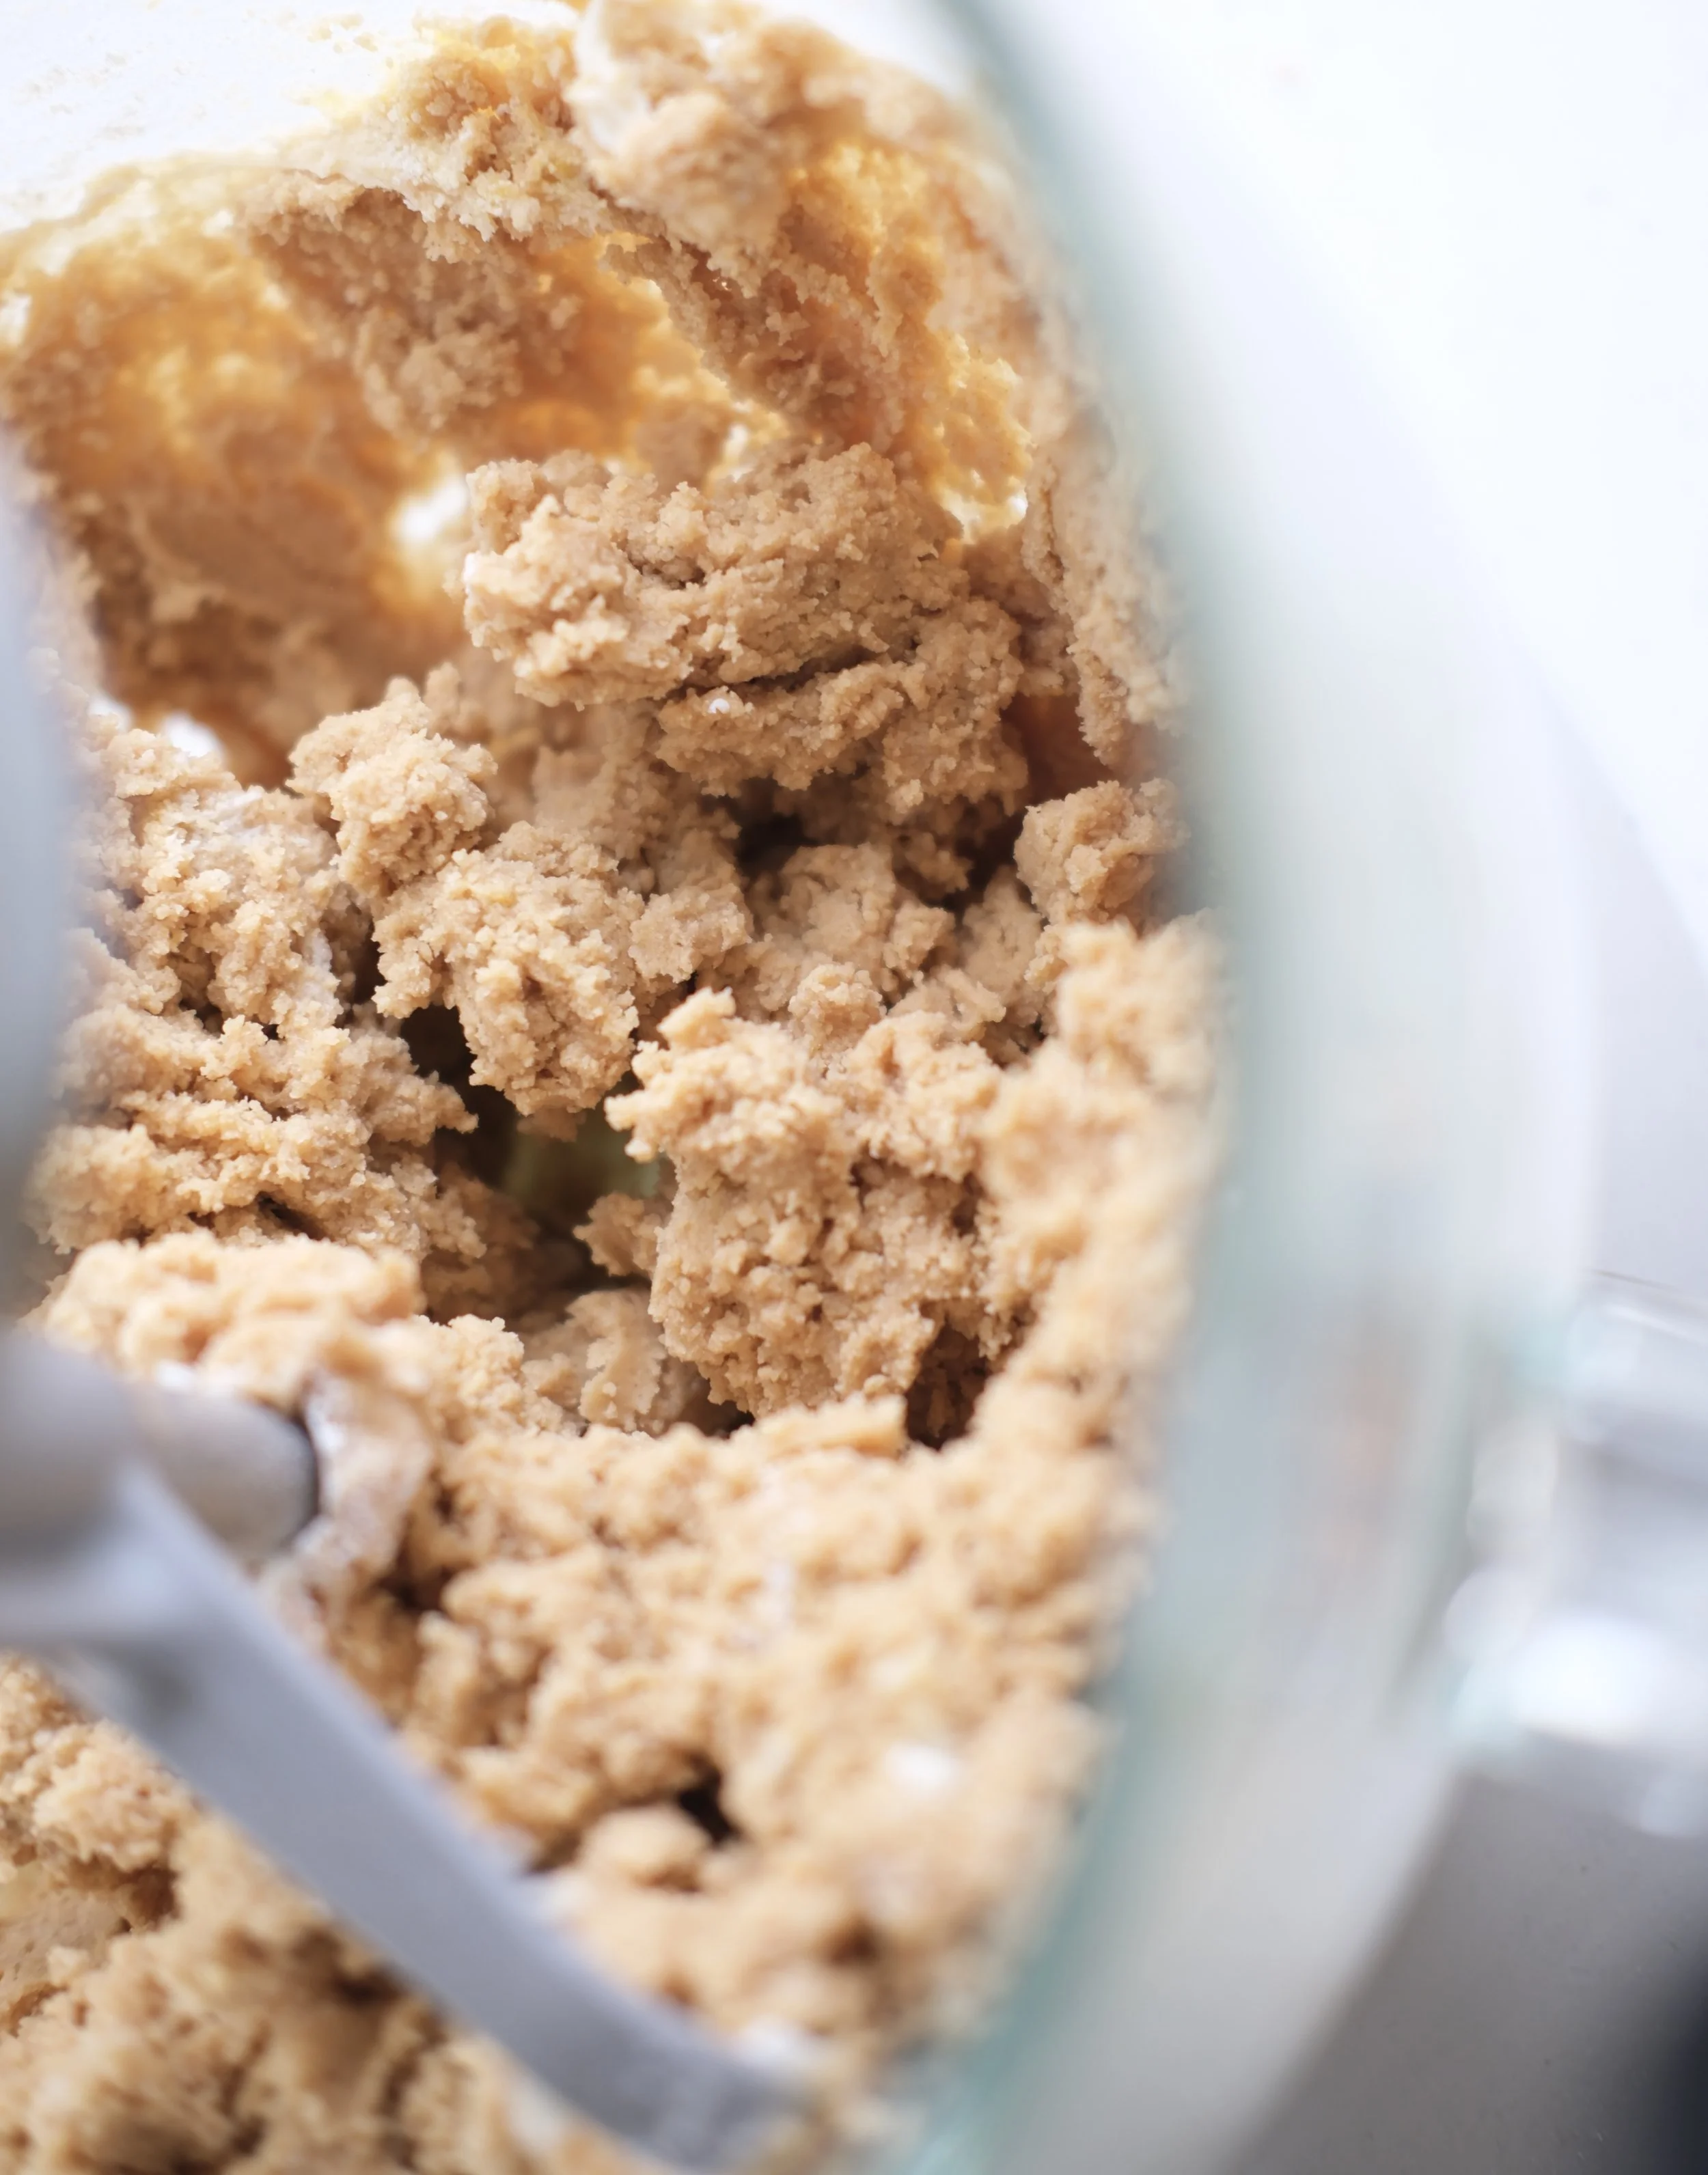
Cover and chill the dough for at least 15 minutes. This keeps the cookies from spreading too much and gives them that classic blossom shape.
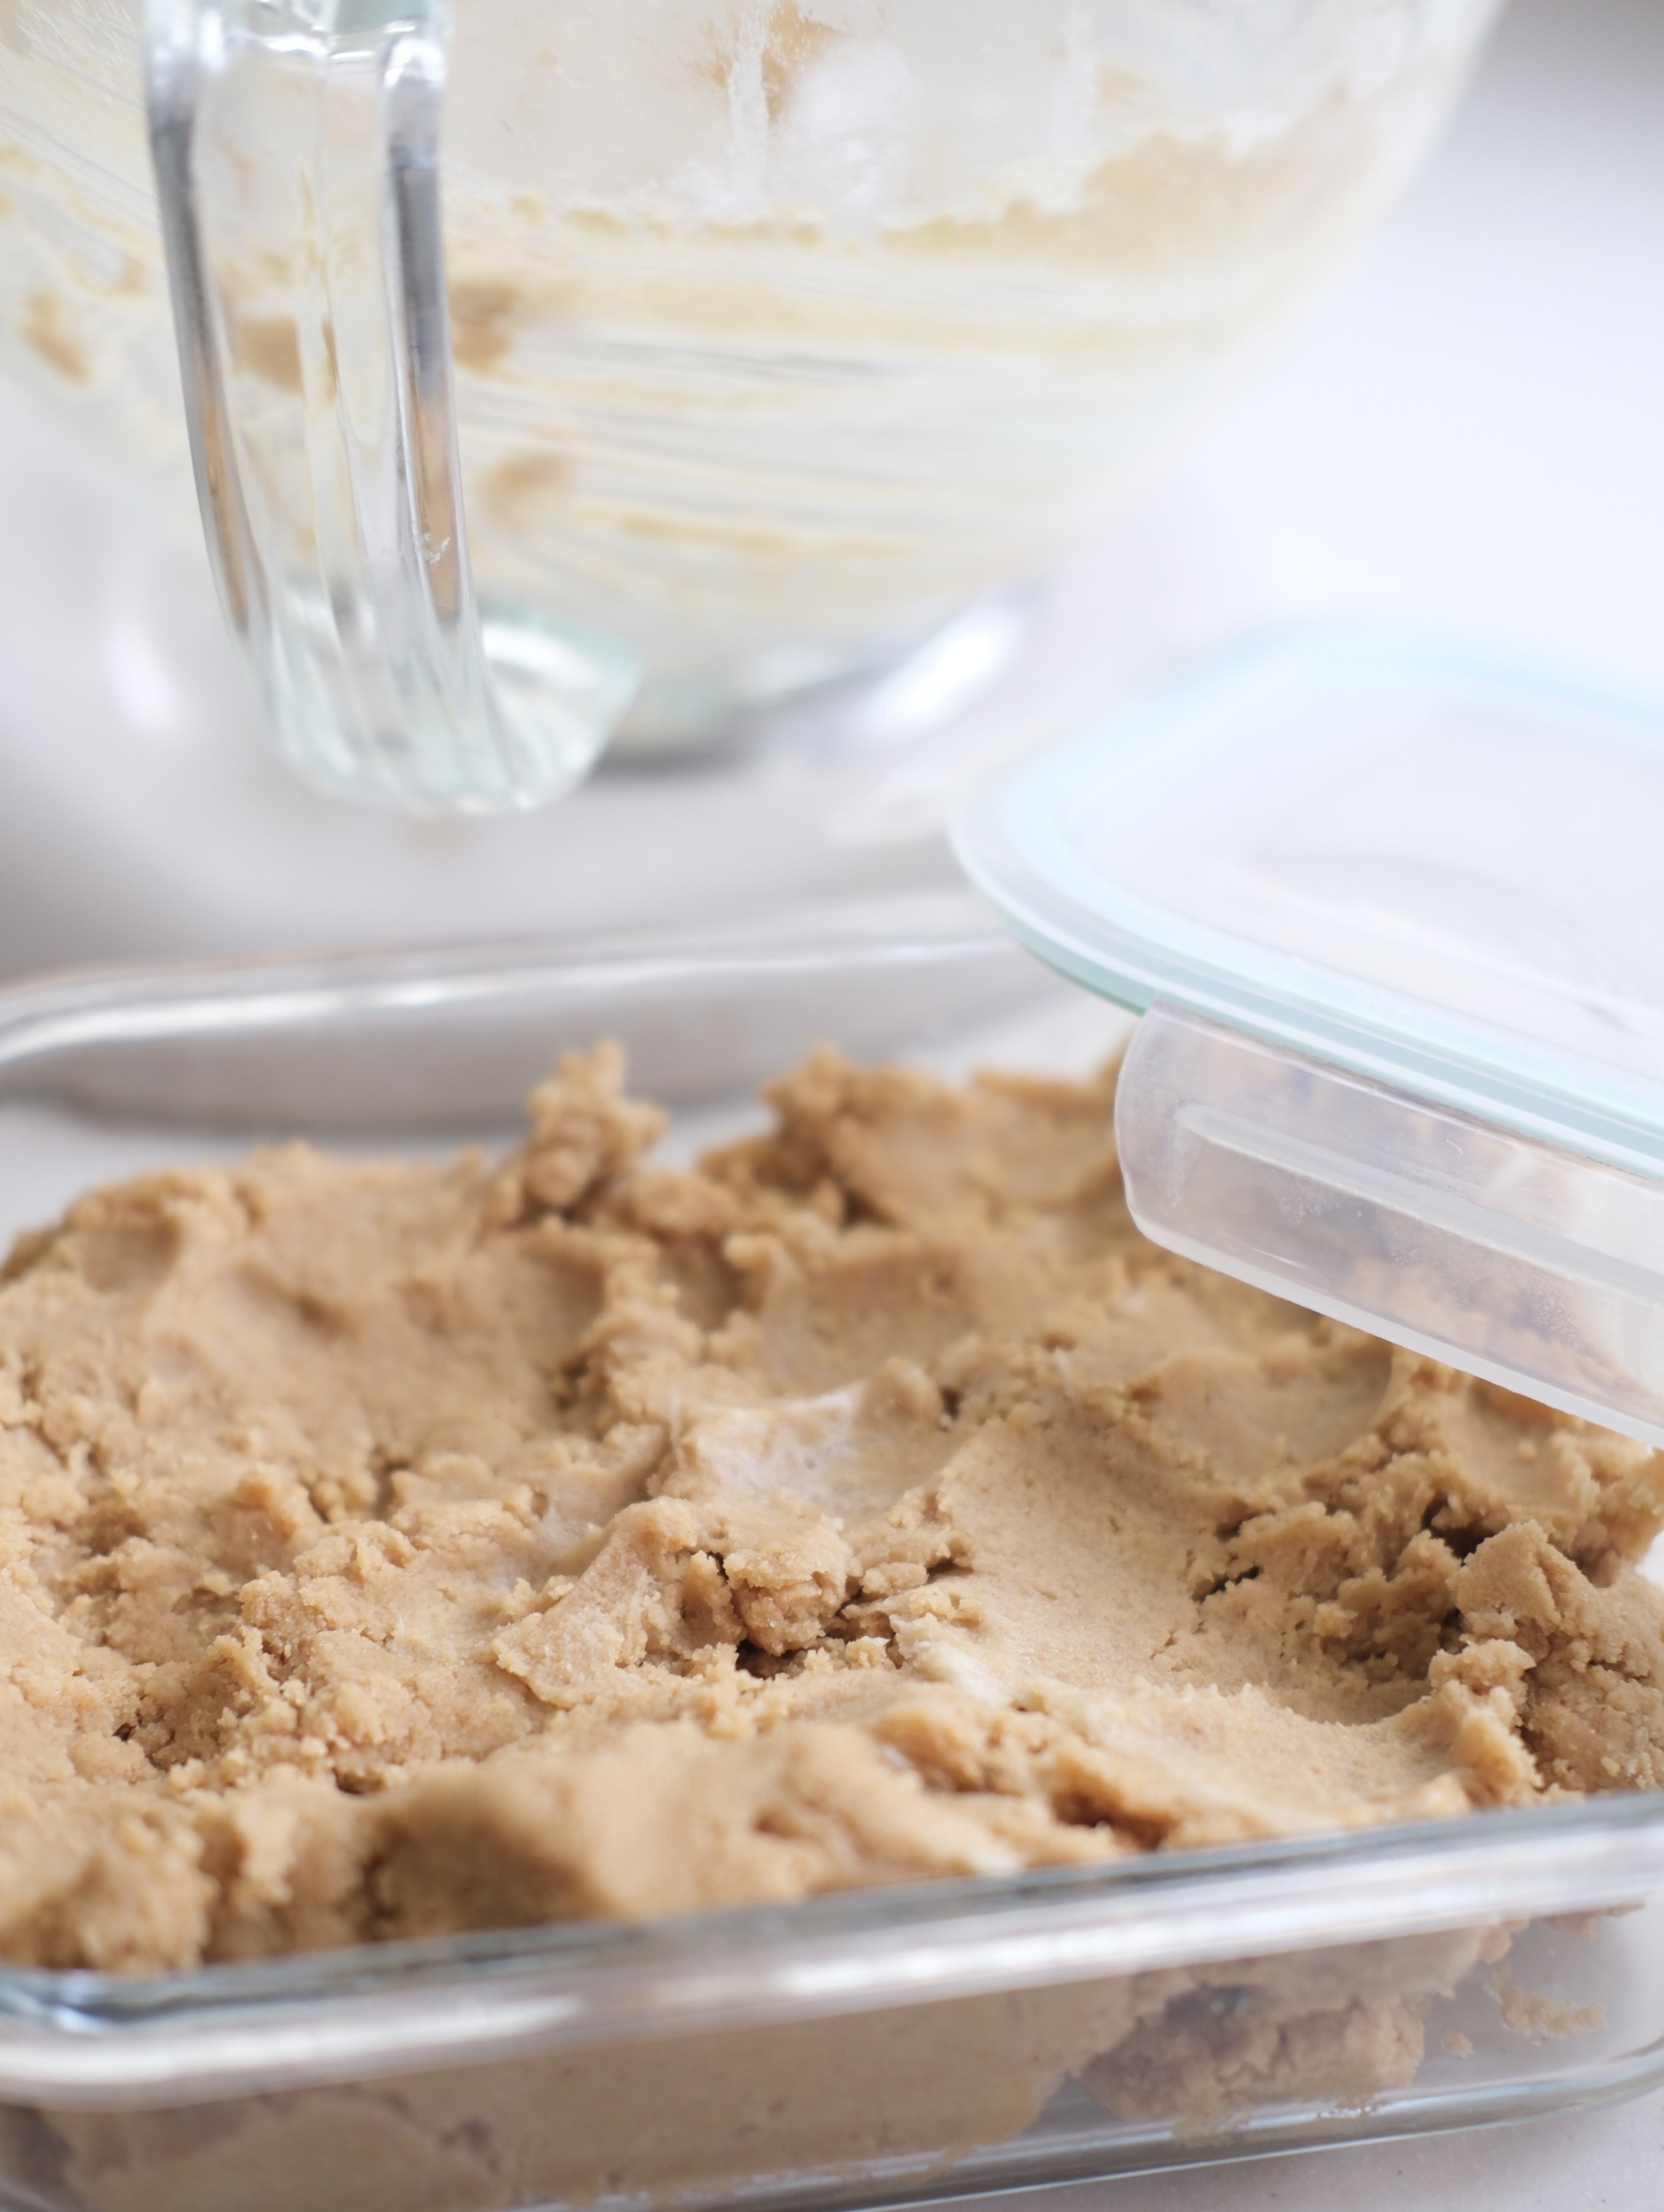
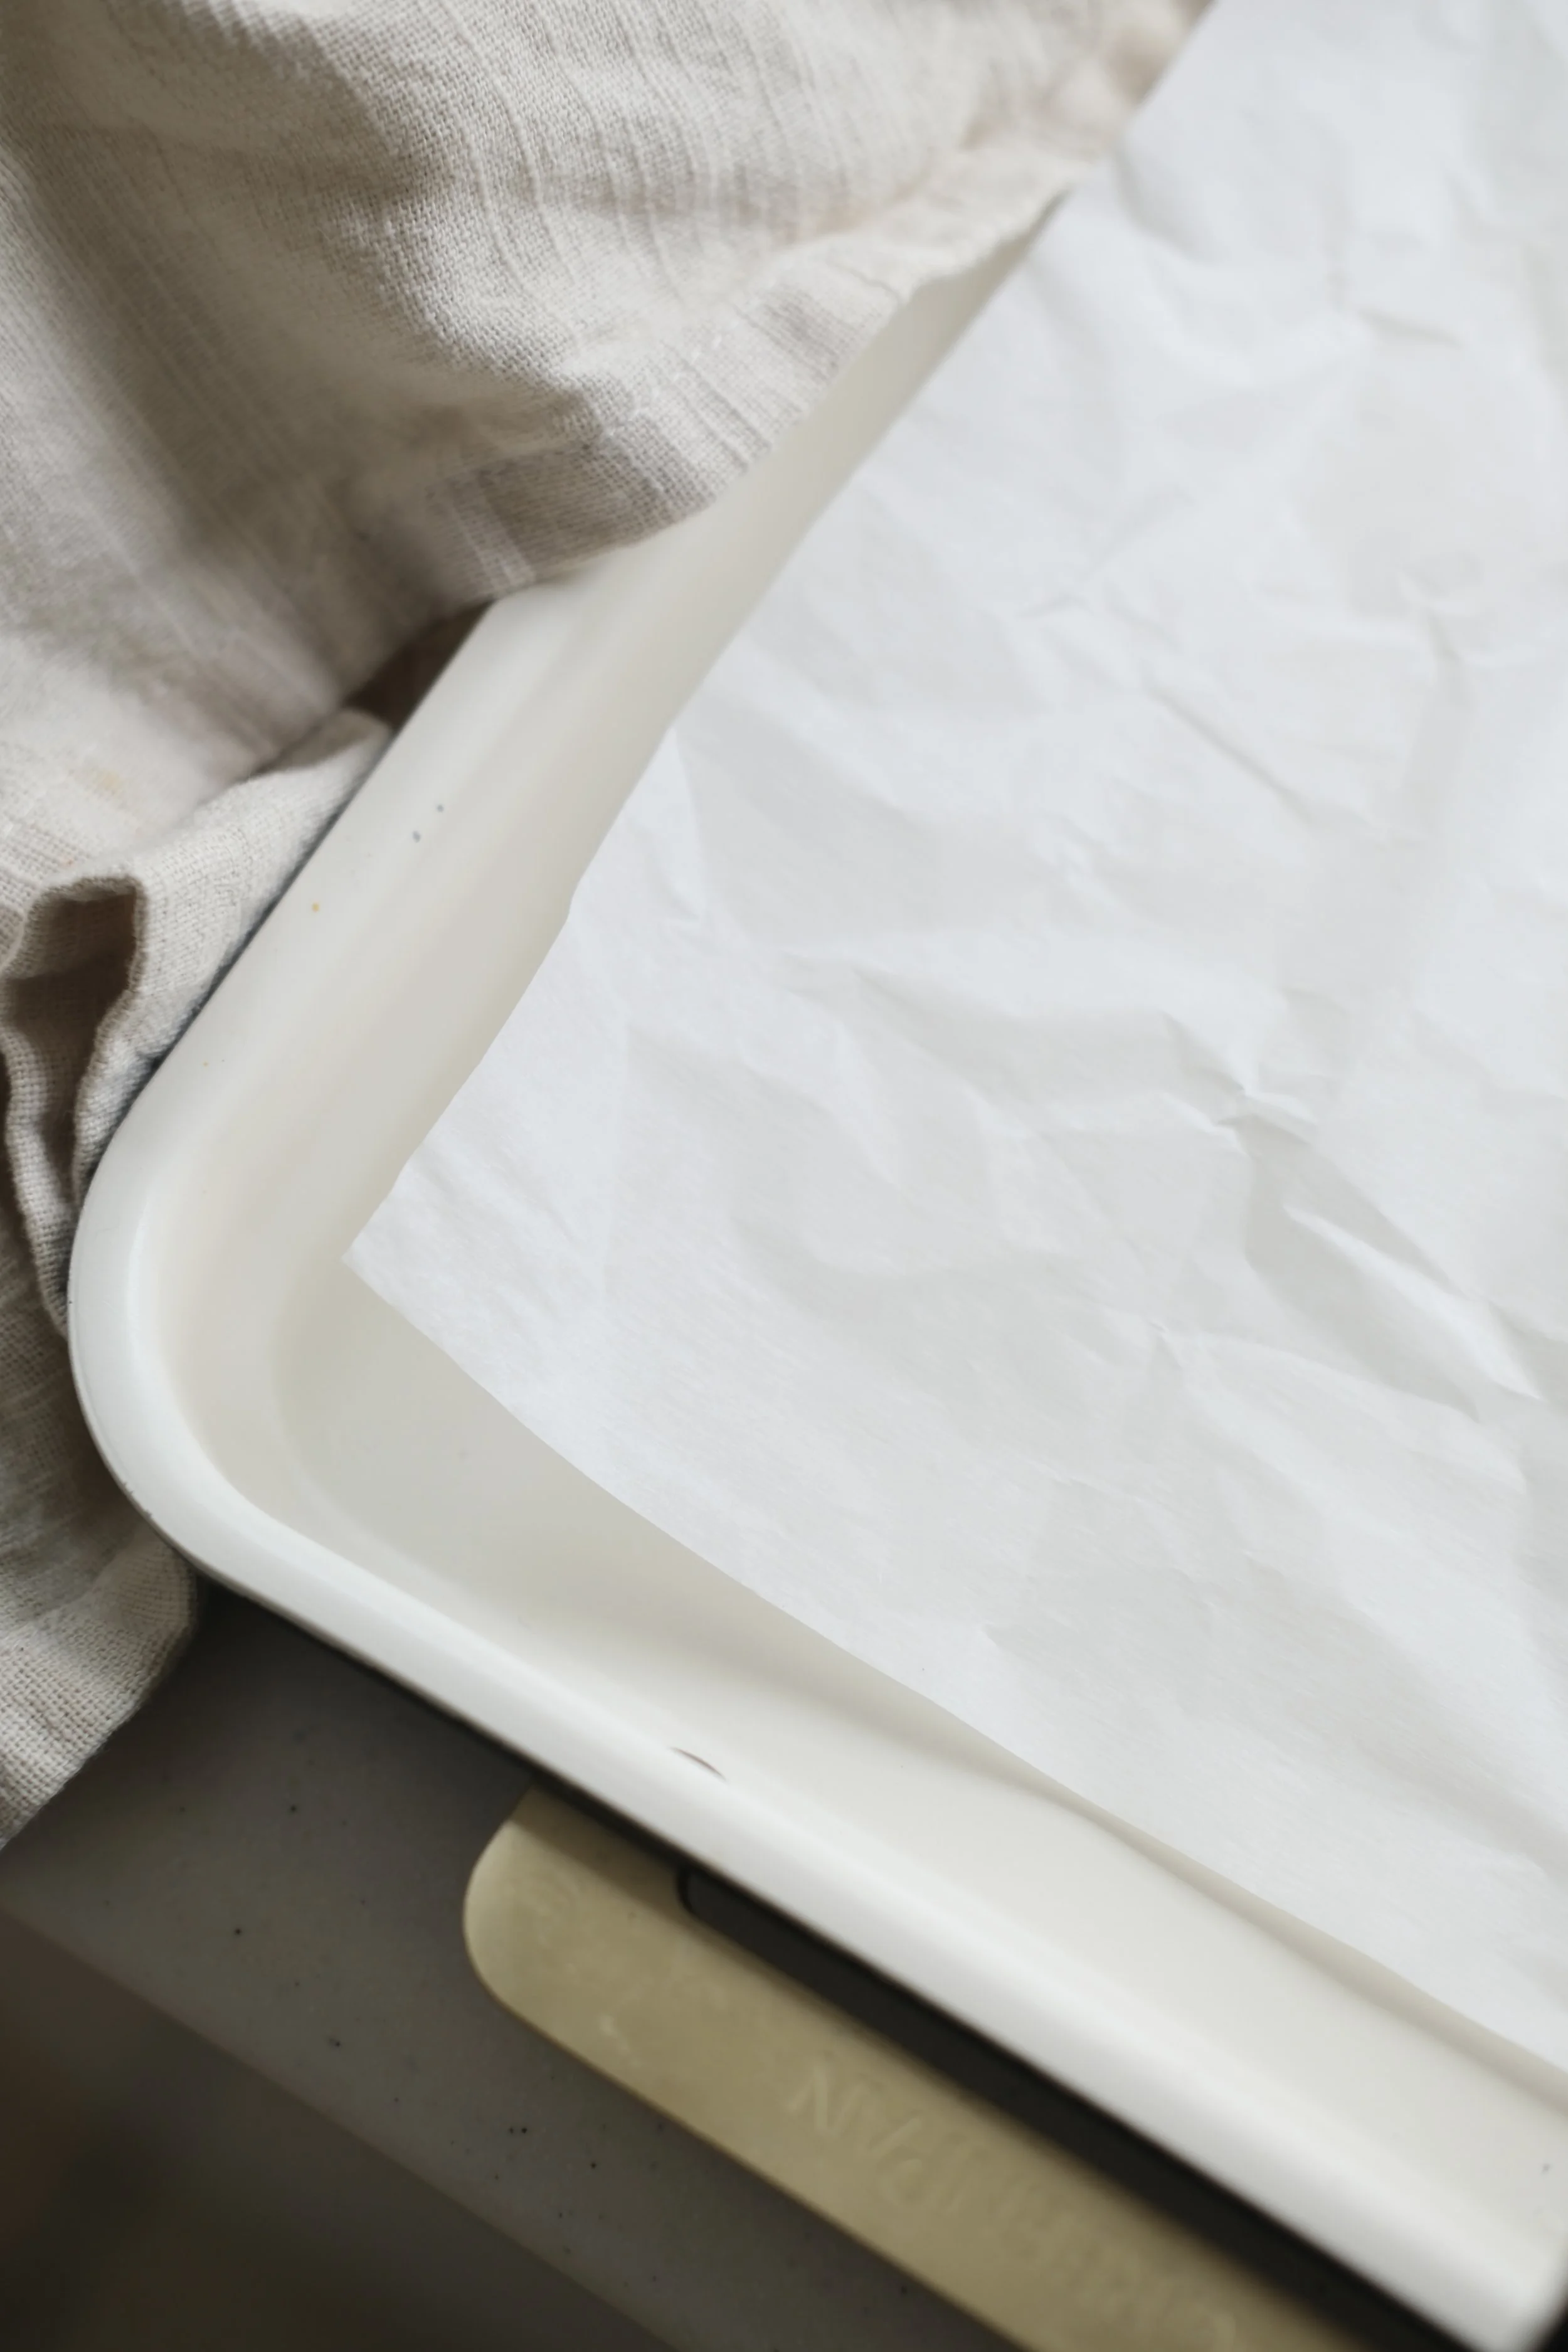
Preheat the oven to 350°F and line your baking sheets.
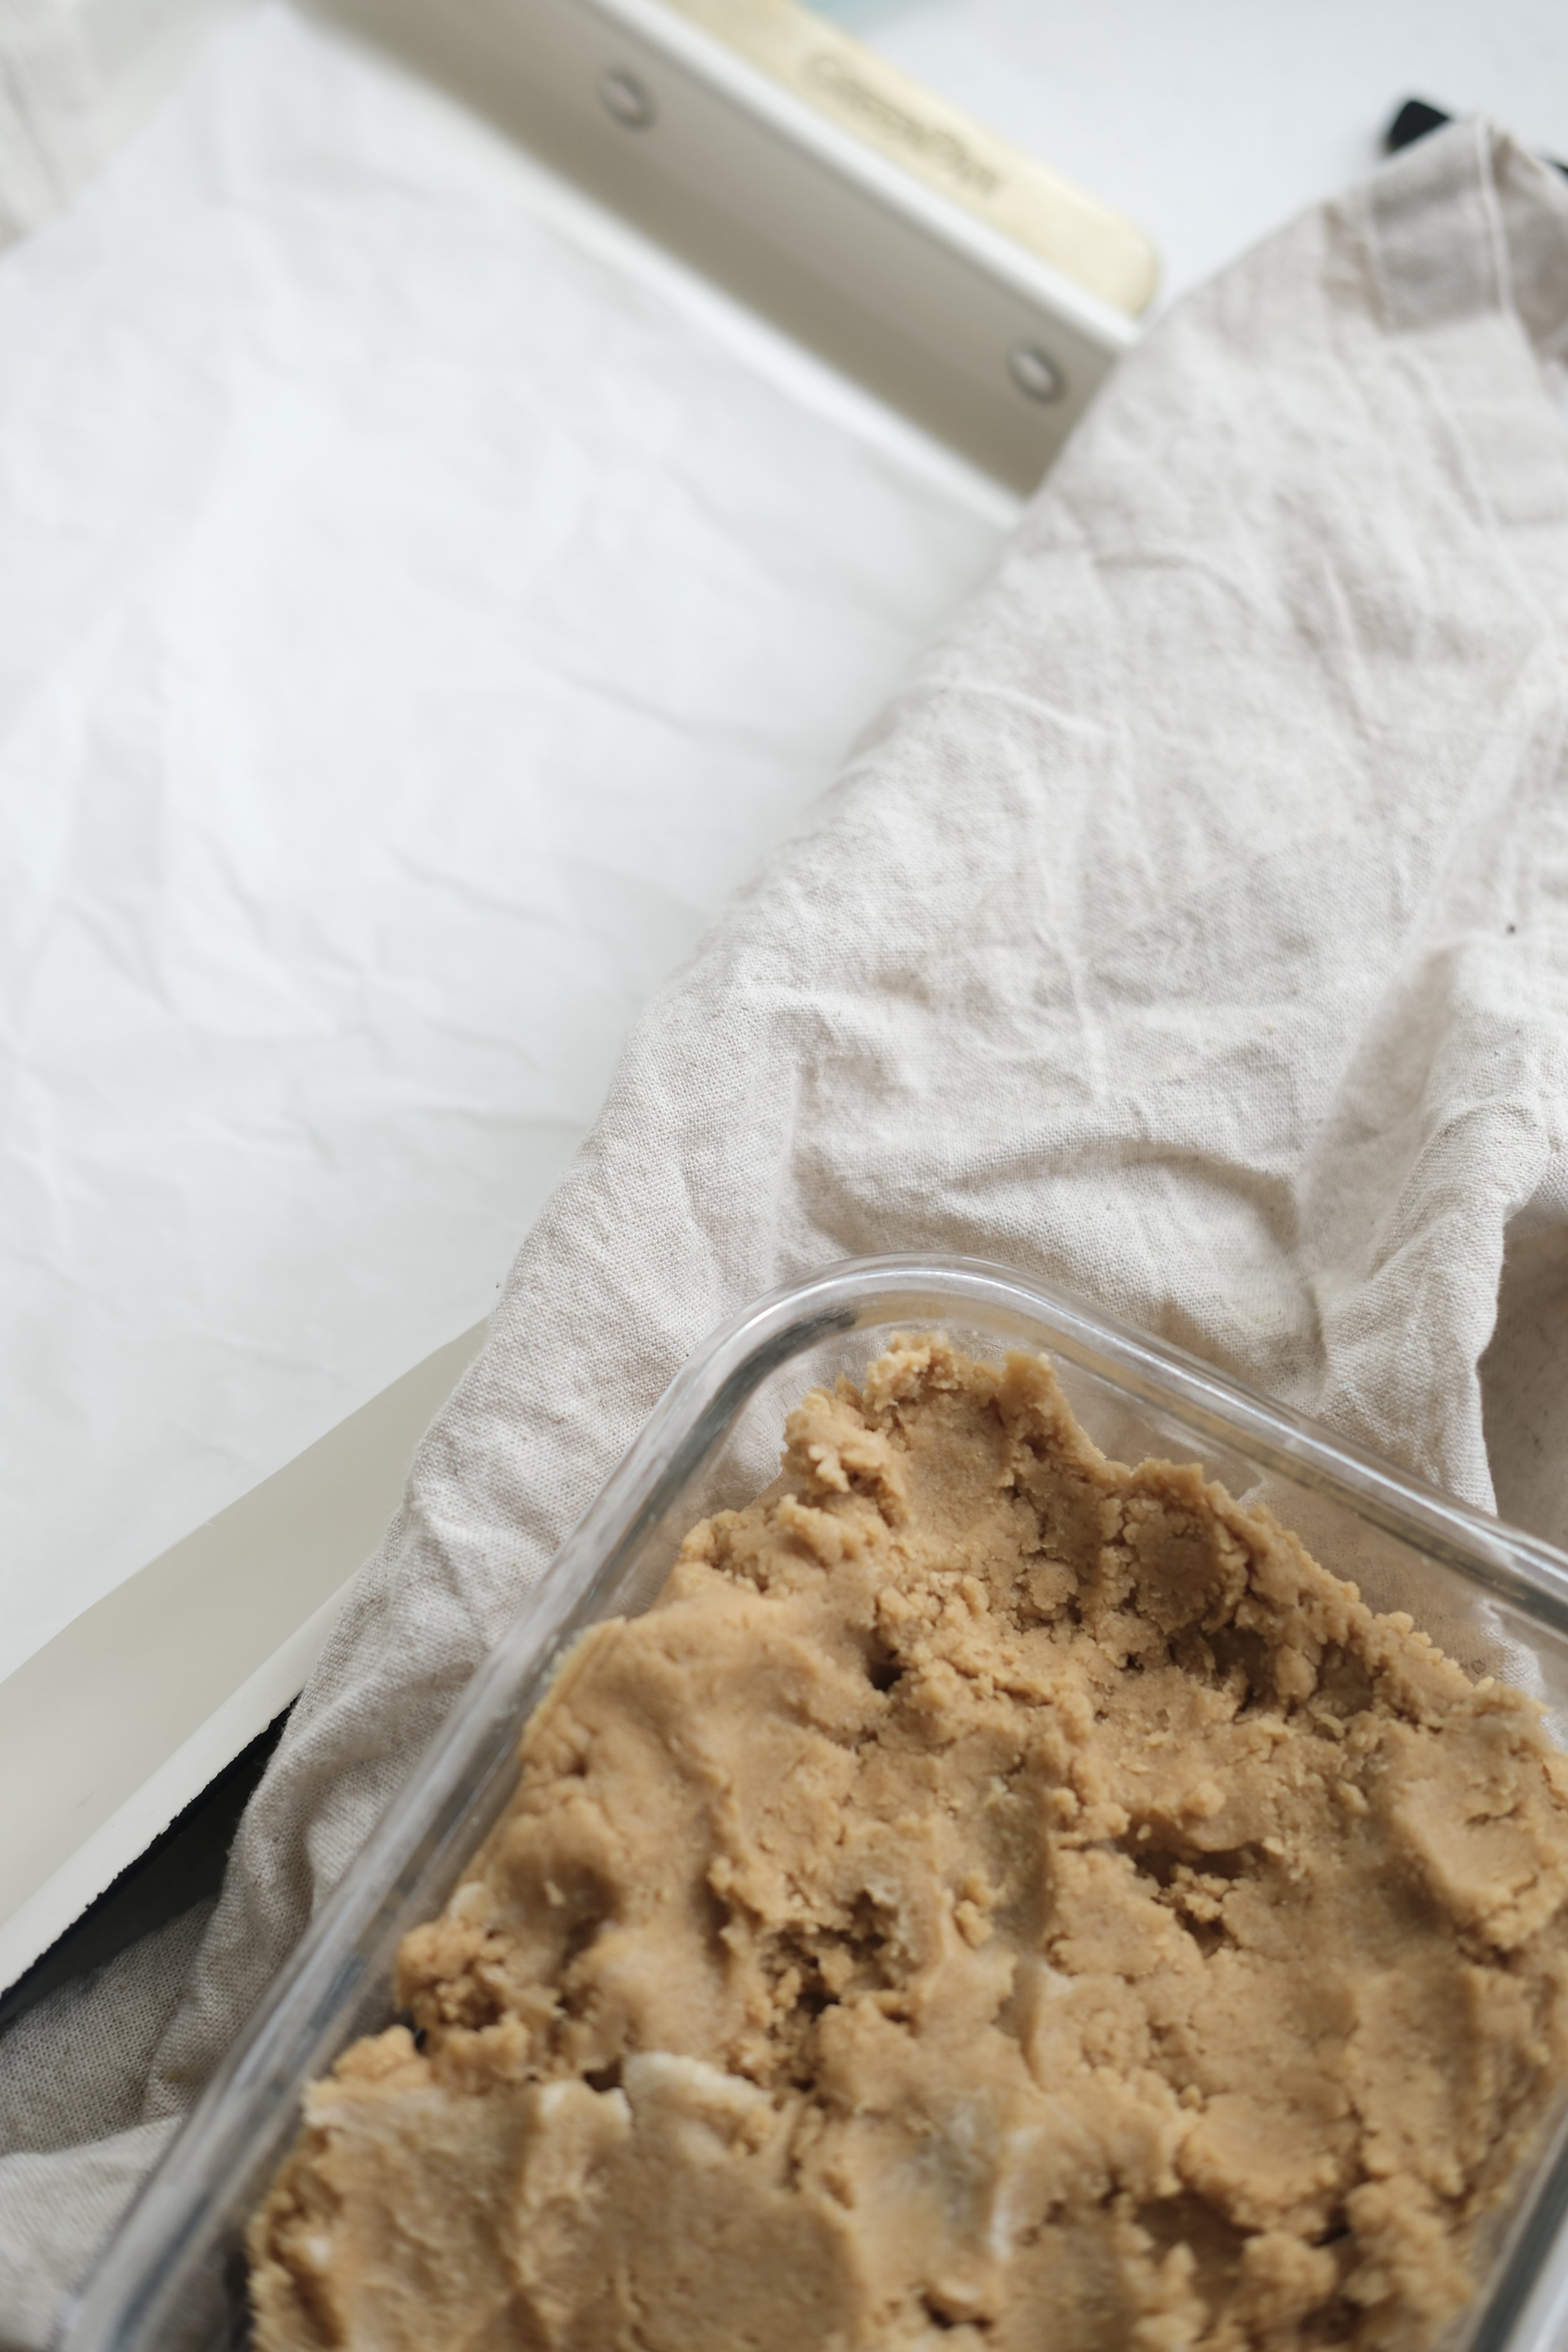
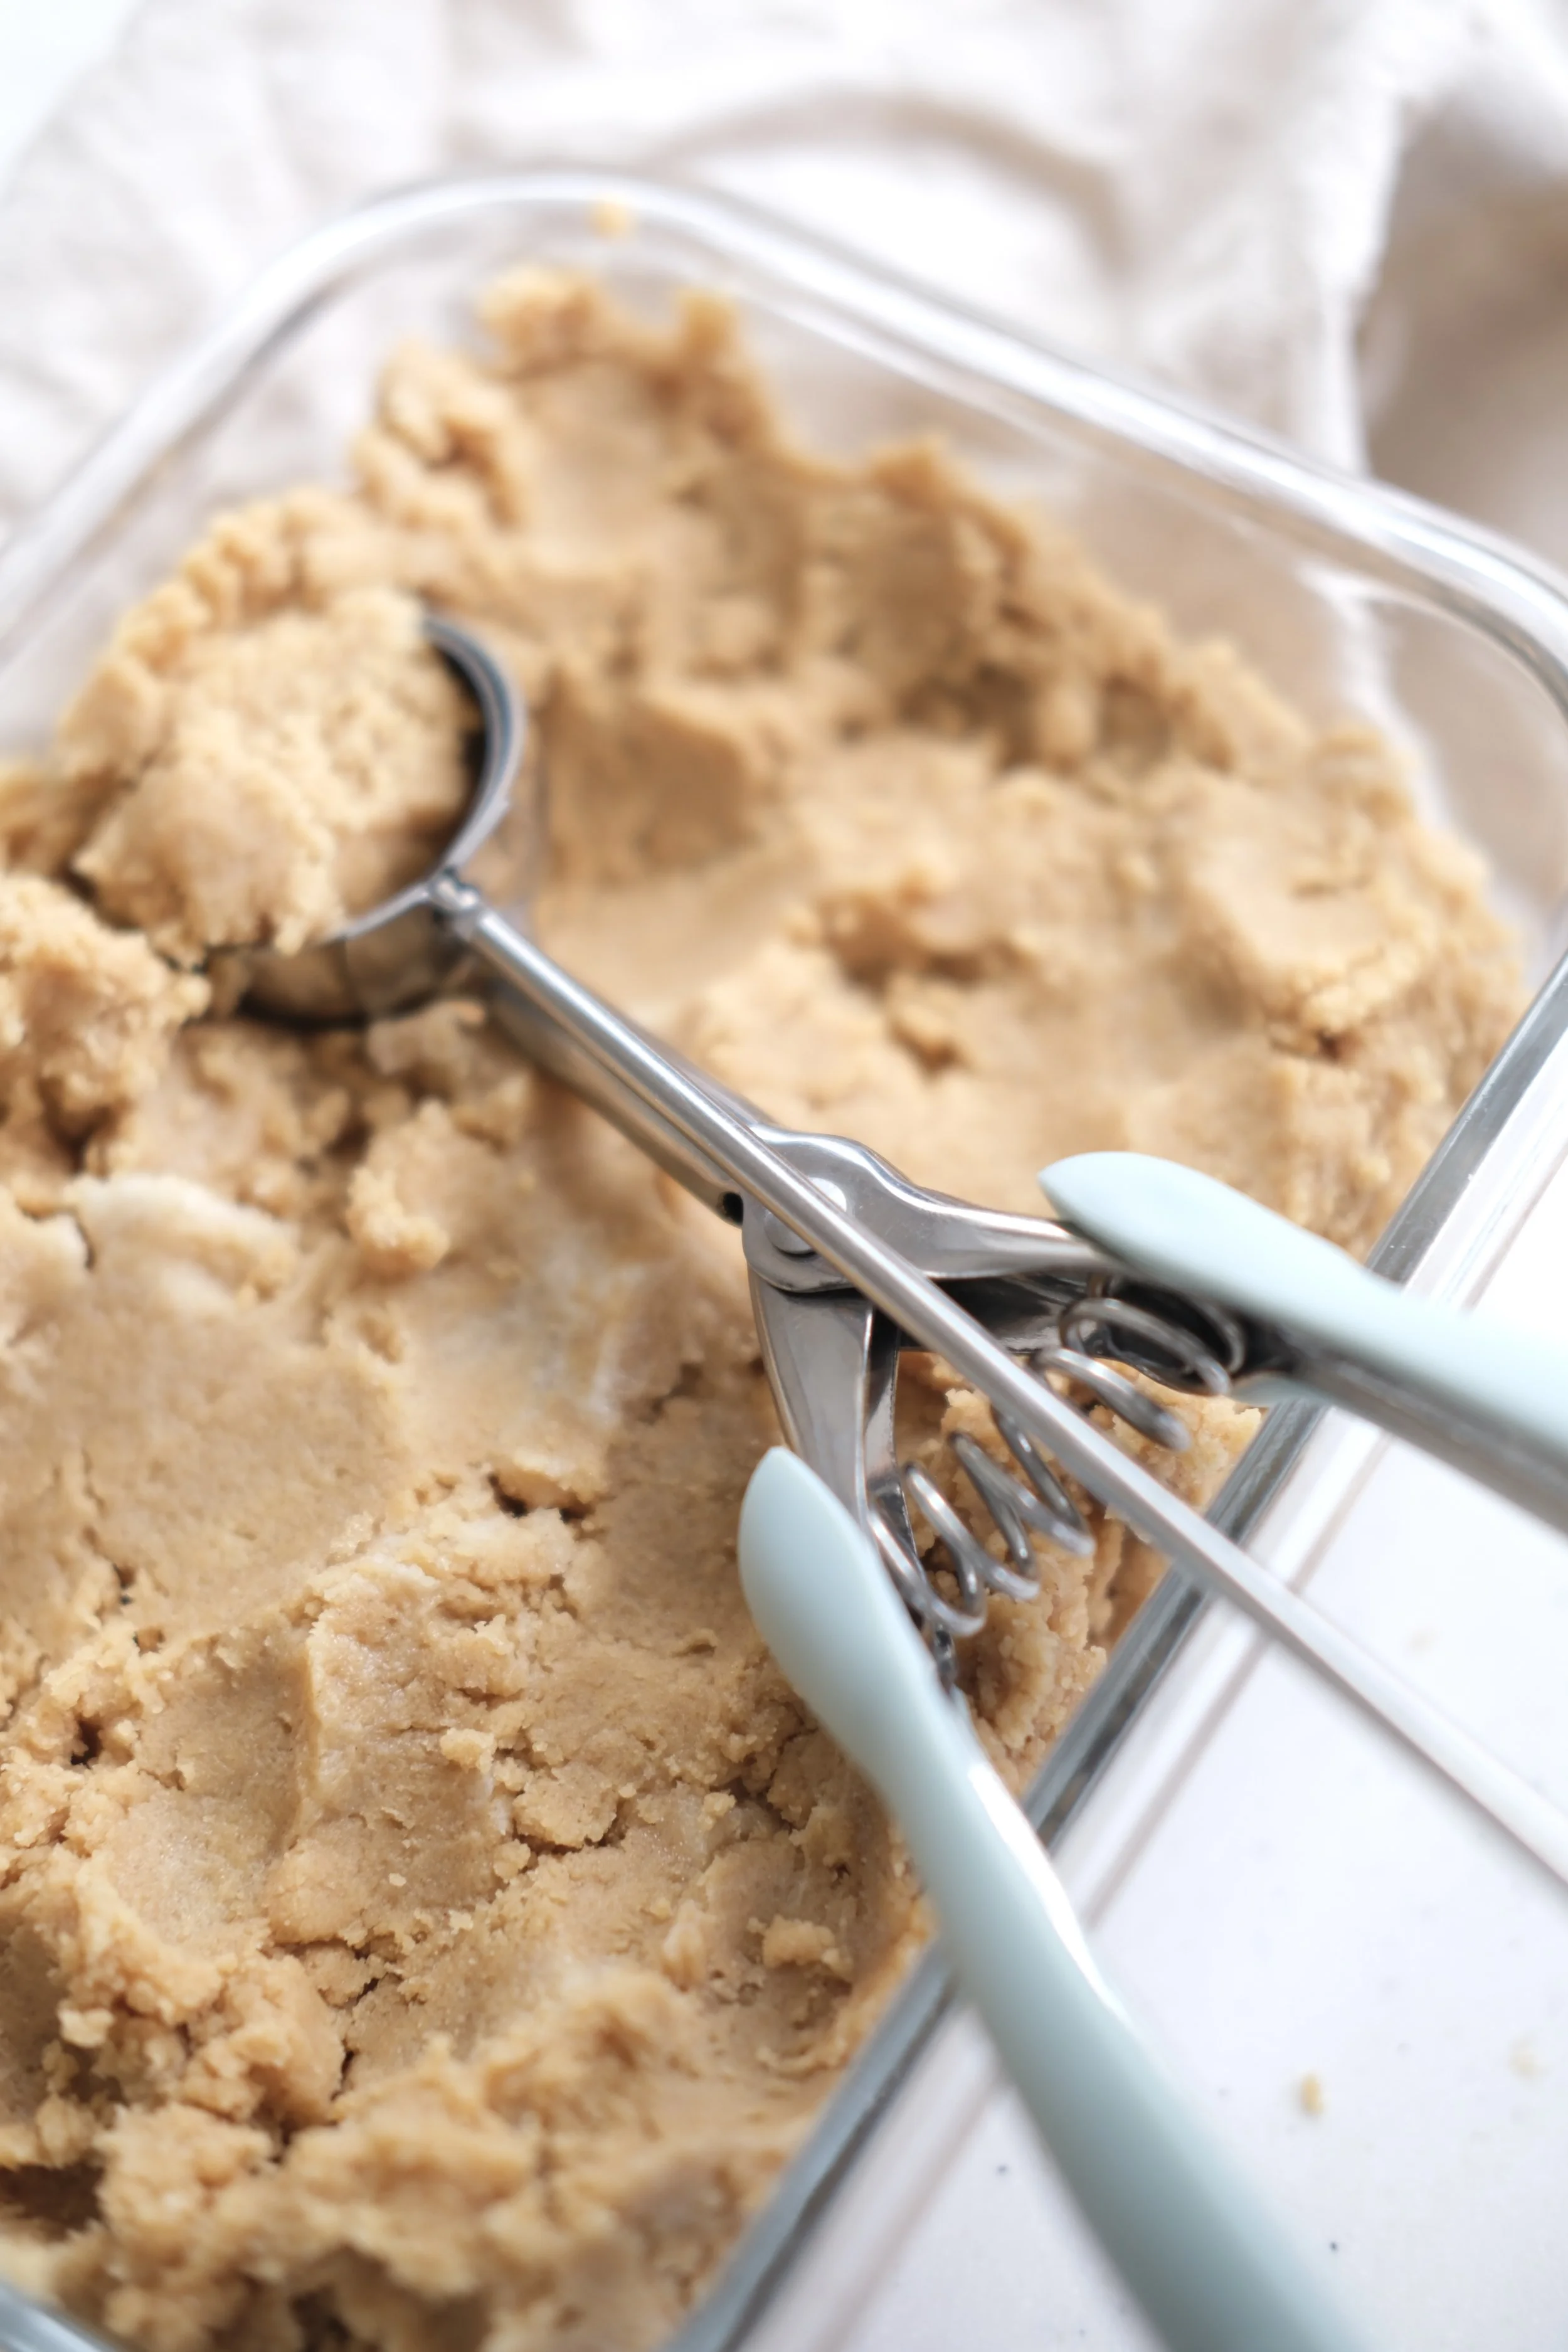
Scoop the dough into small balls (about 1 inch) and place them directly onto the baking sheet. There’s no need to roll them in sugar unless you’d like to. I am not a huge fan of the grainy texture of sugar.
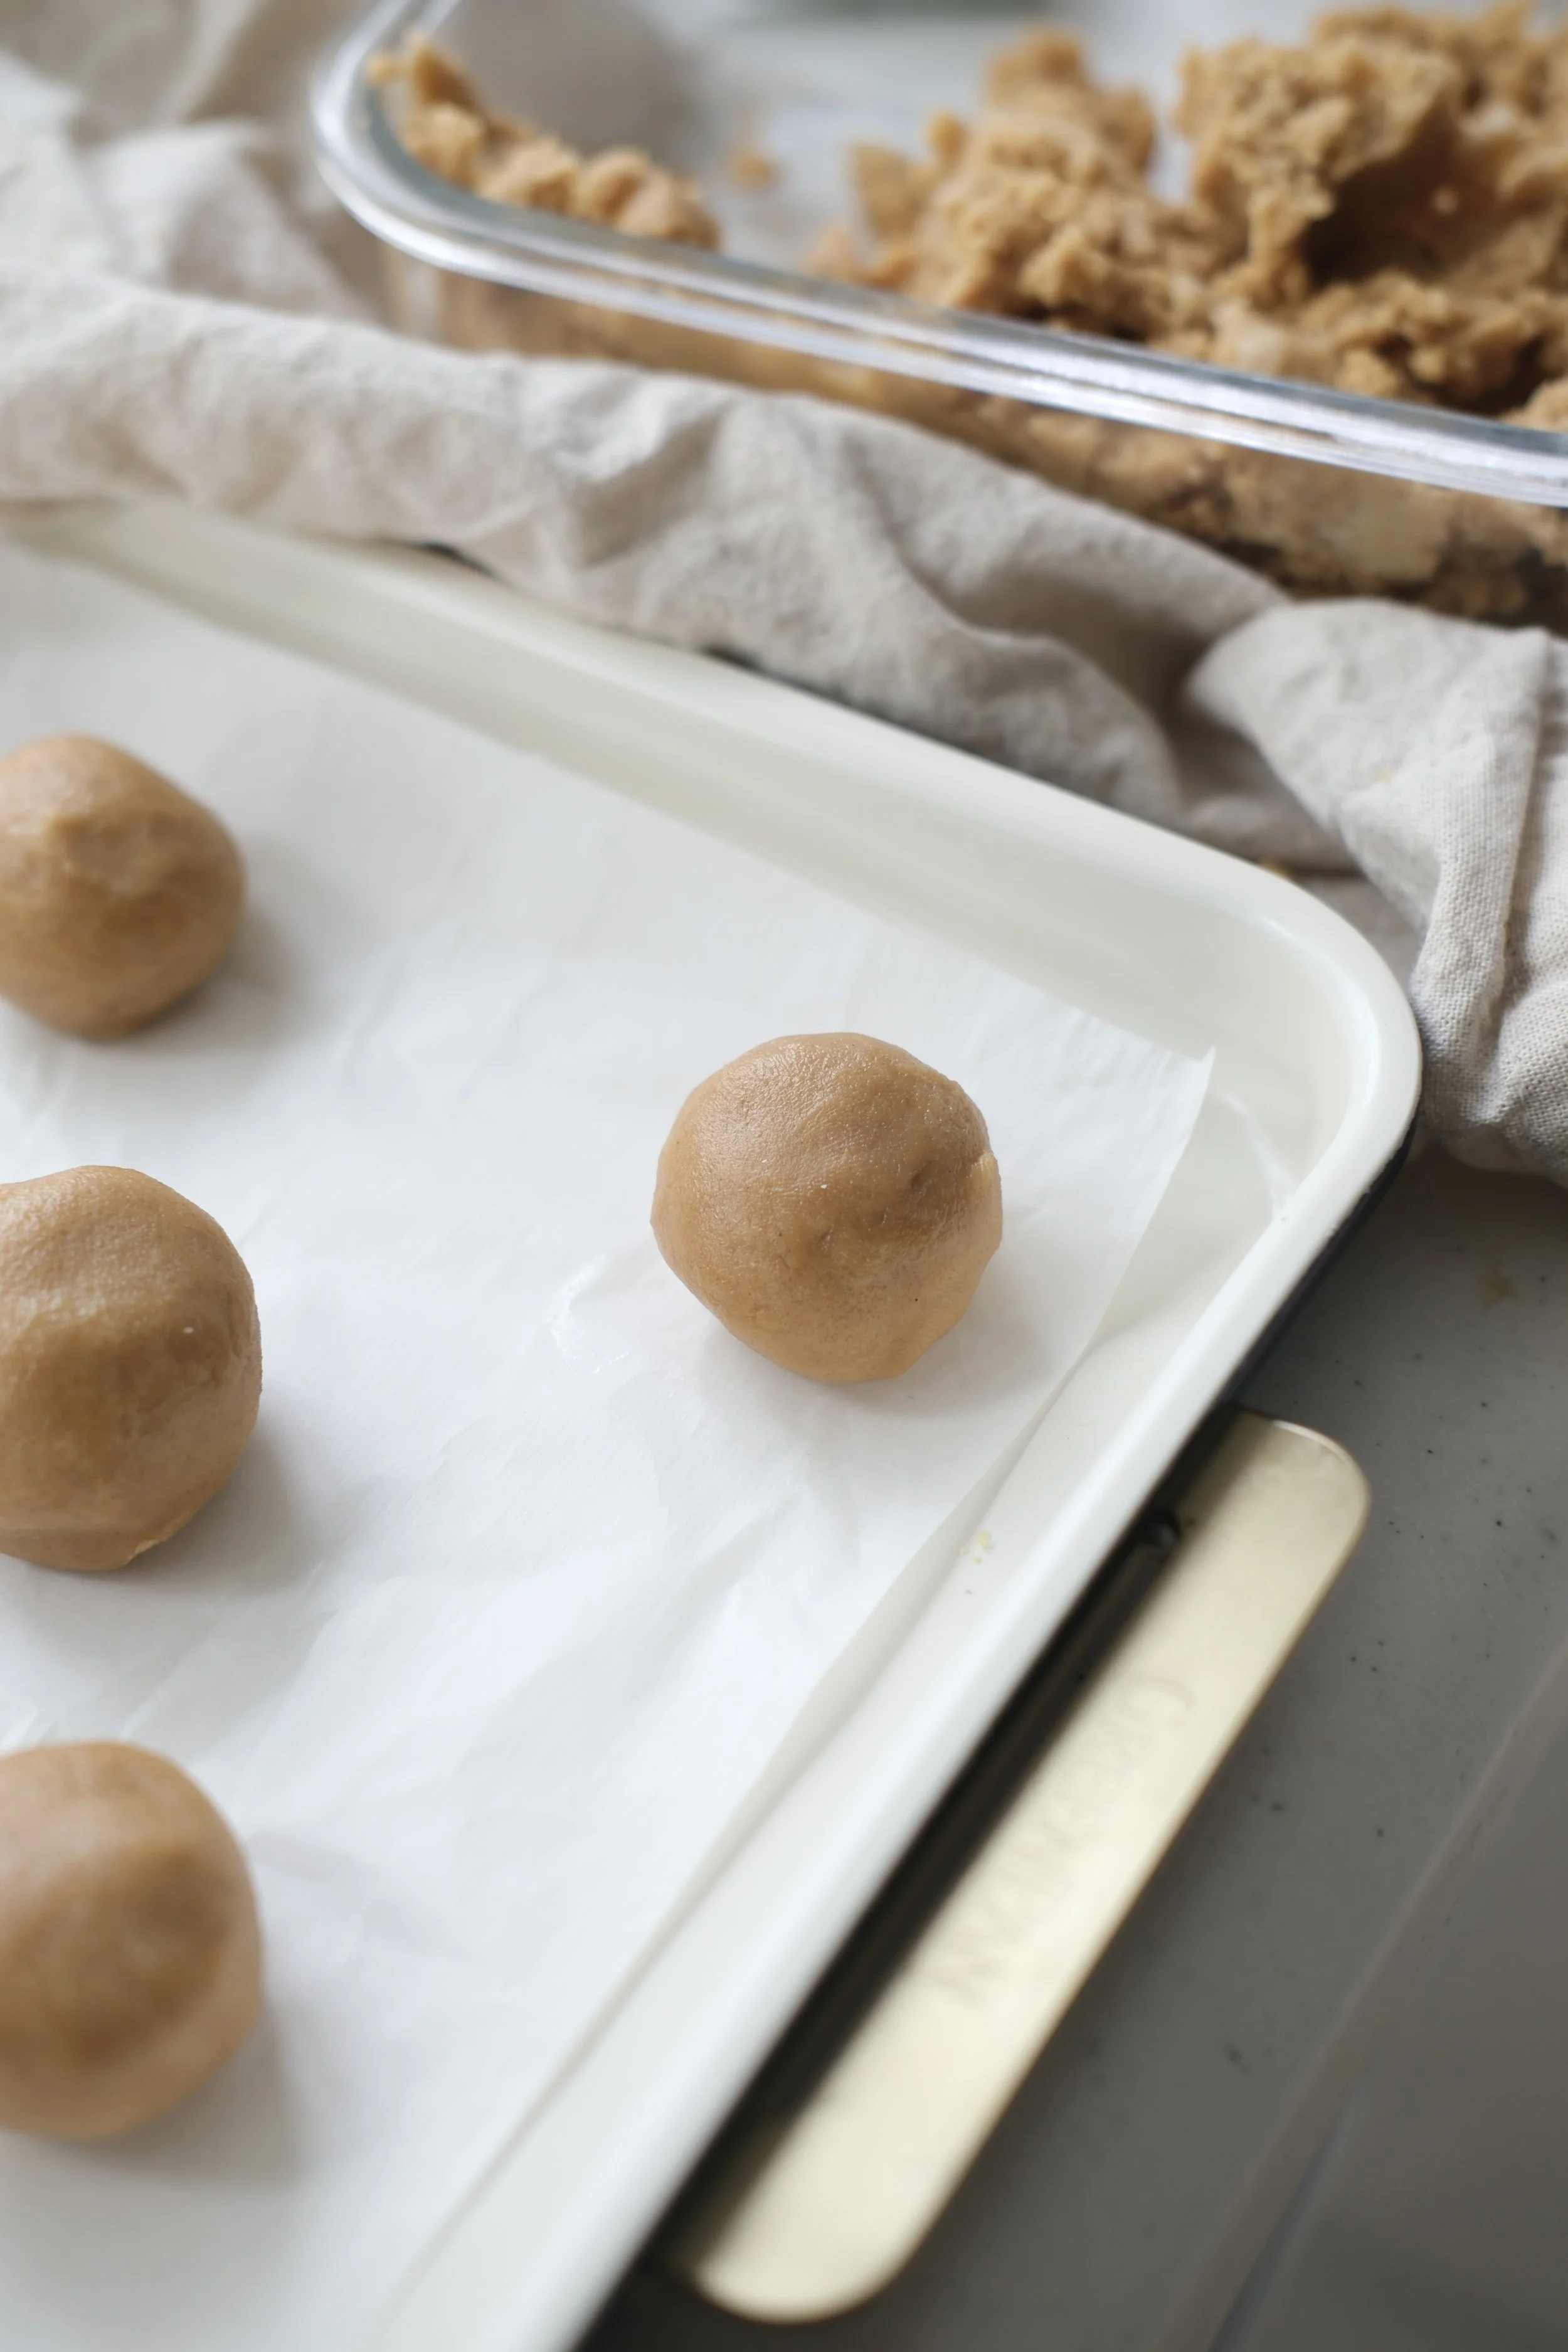
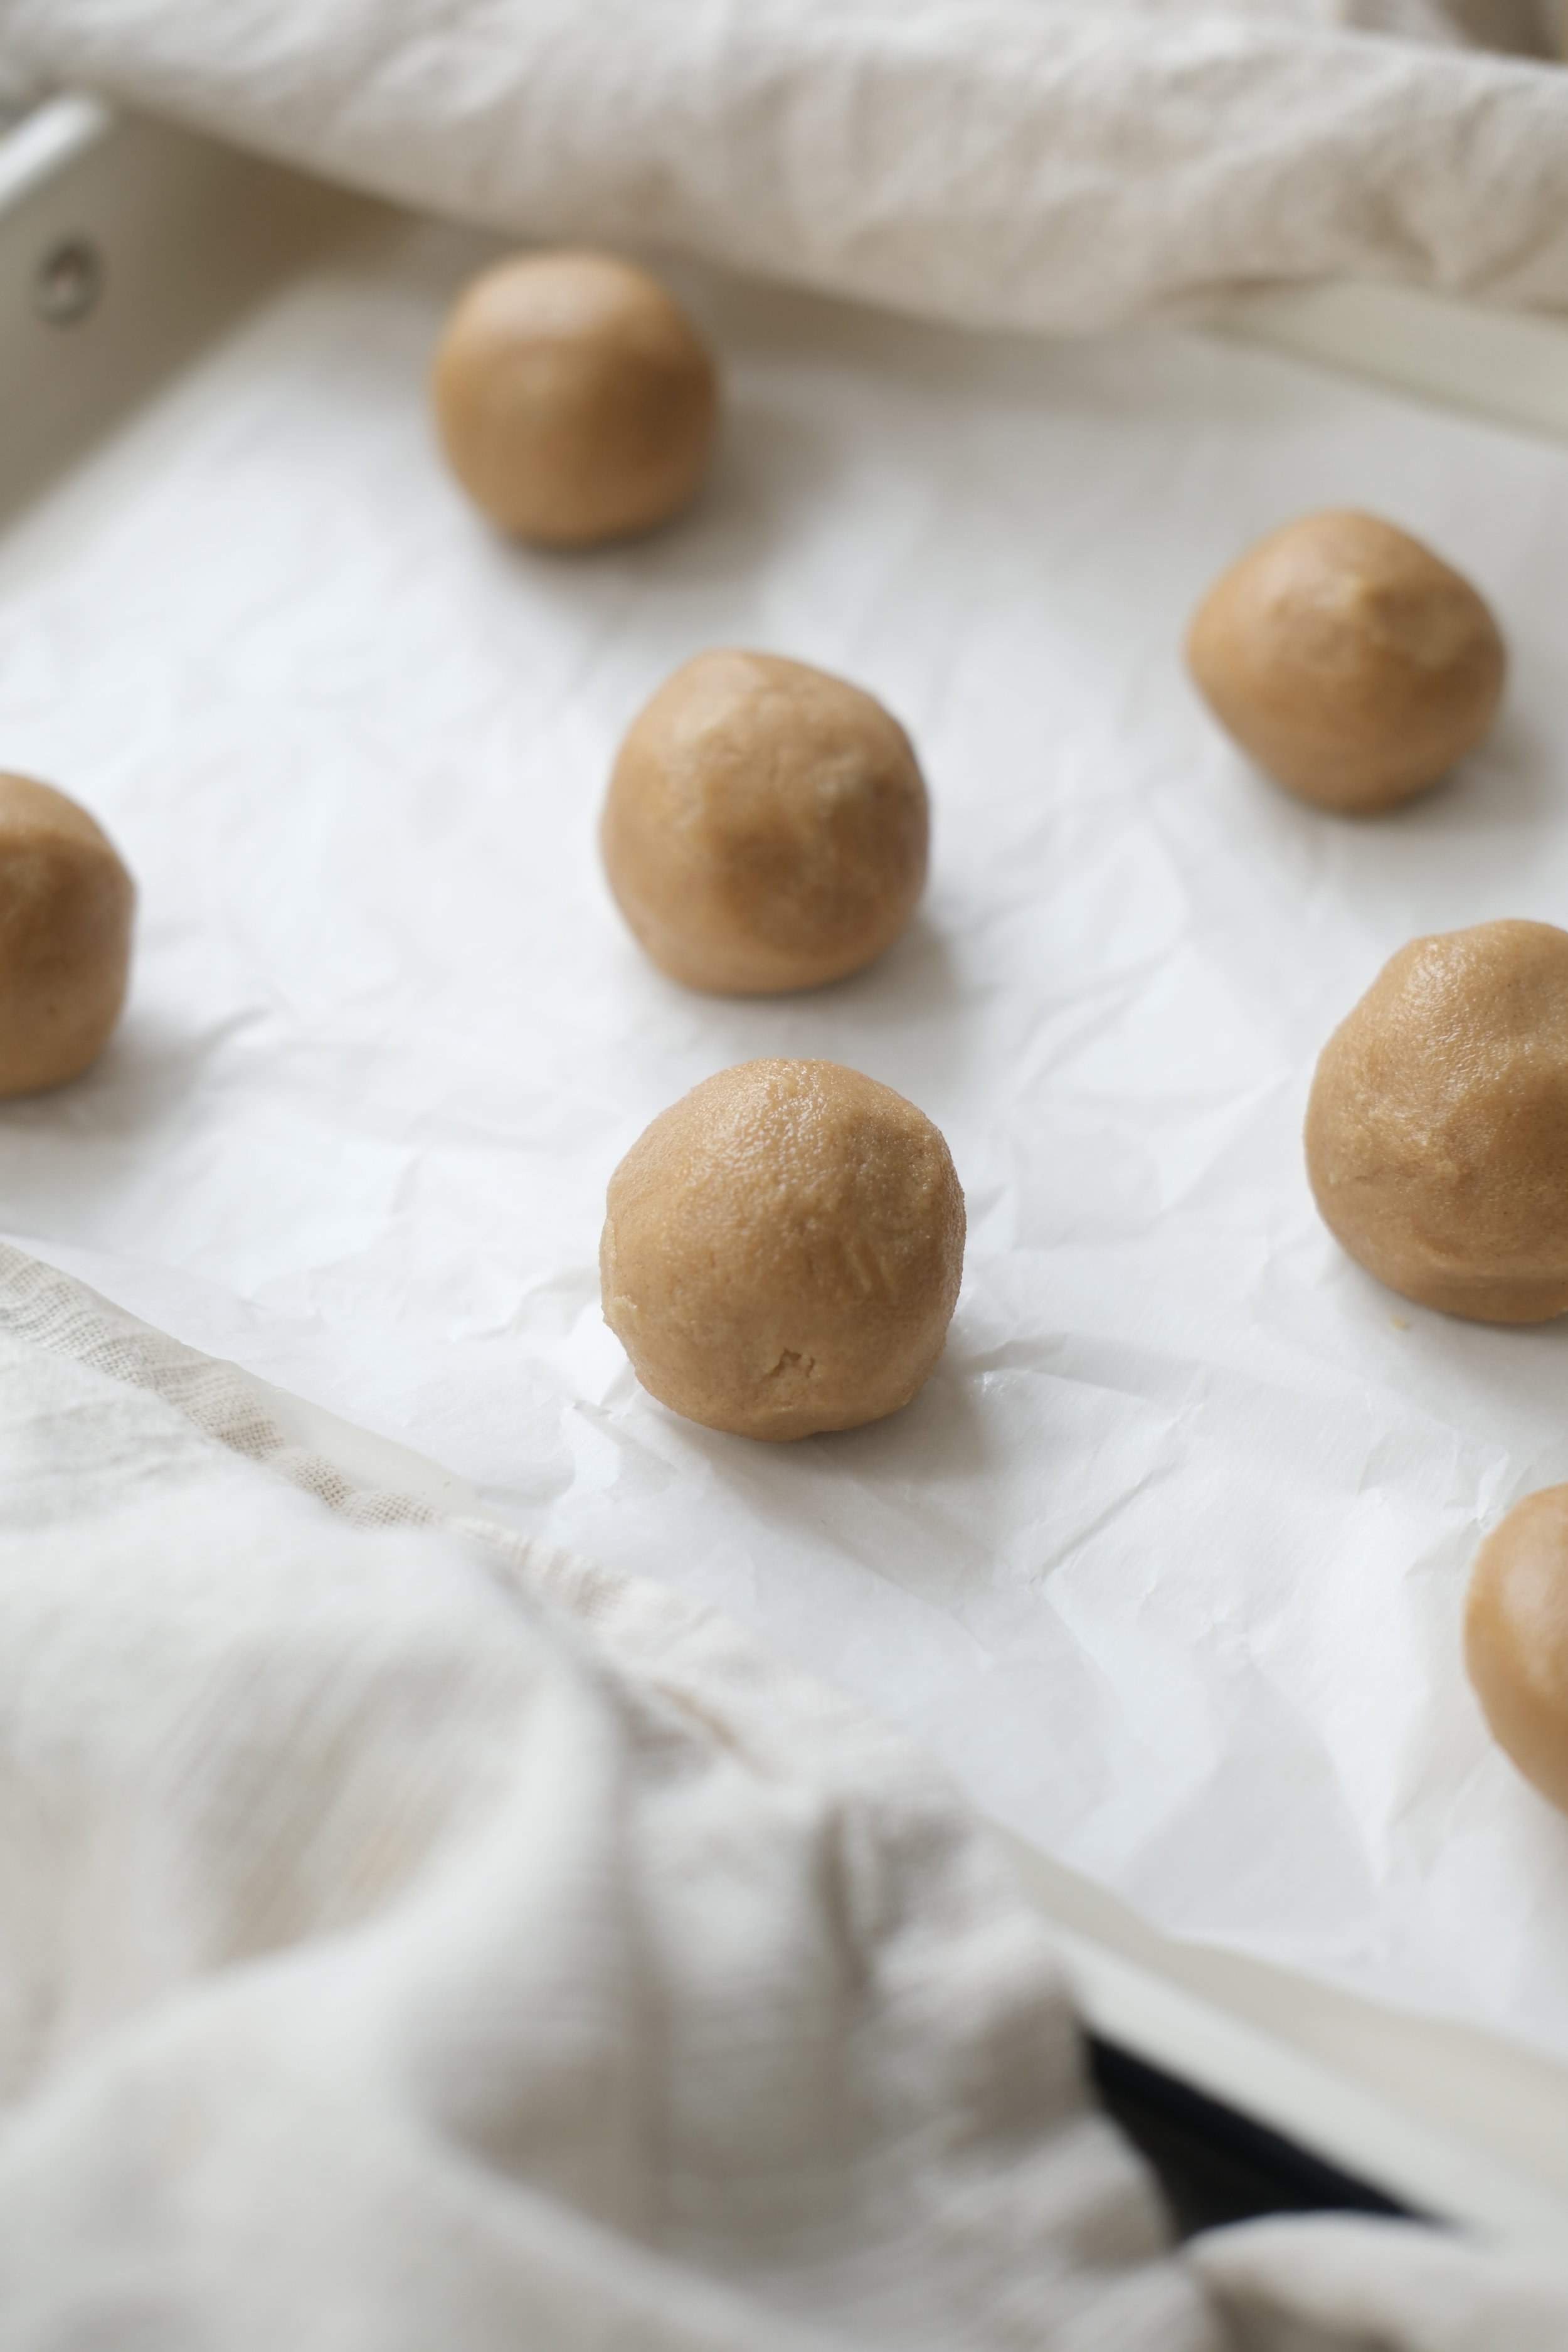
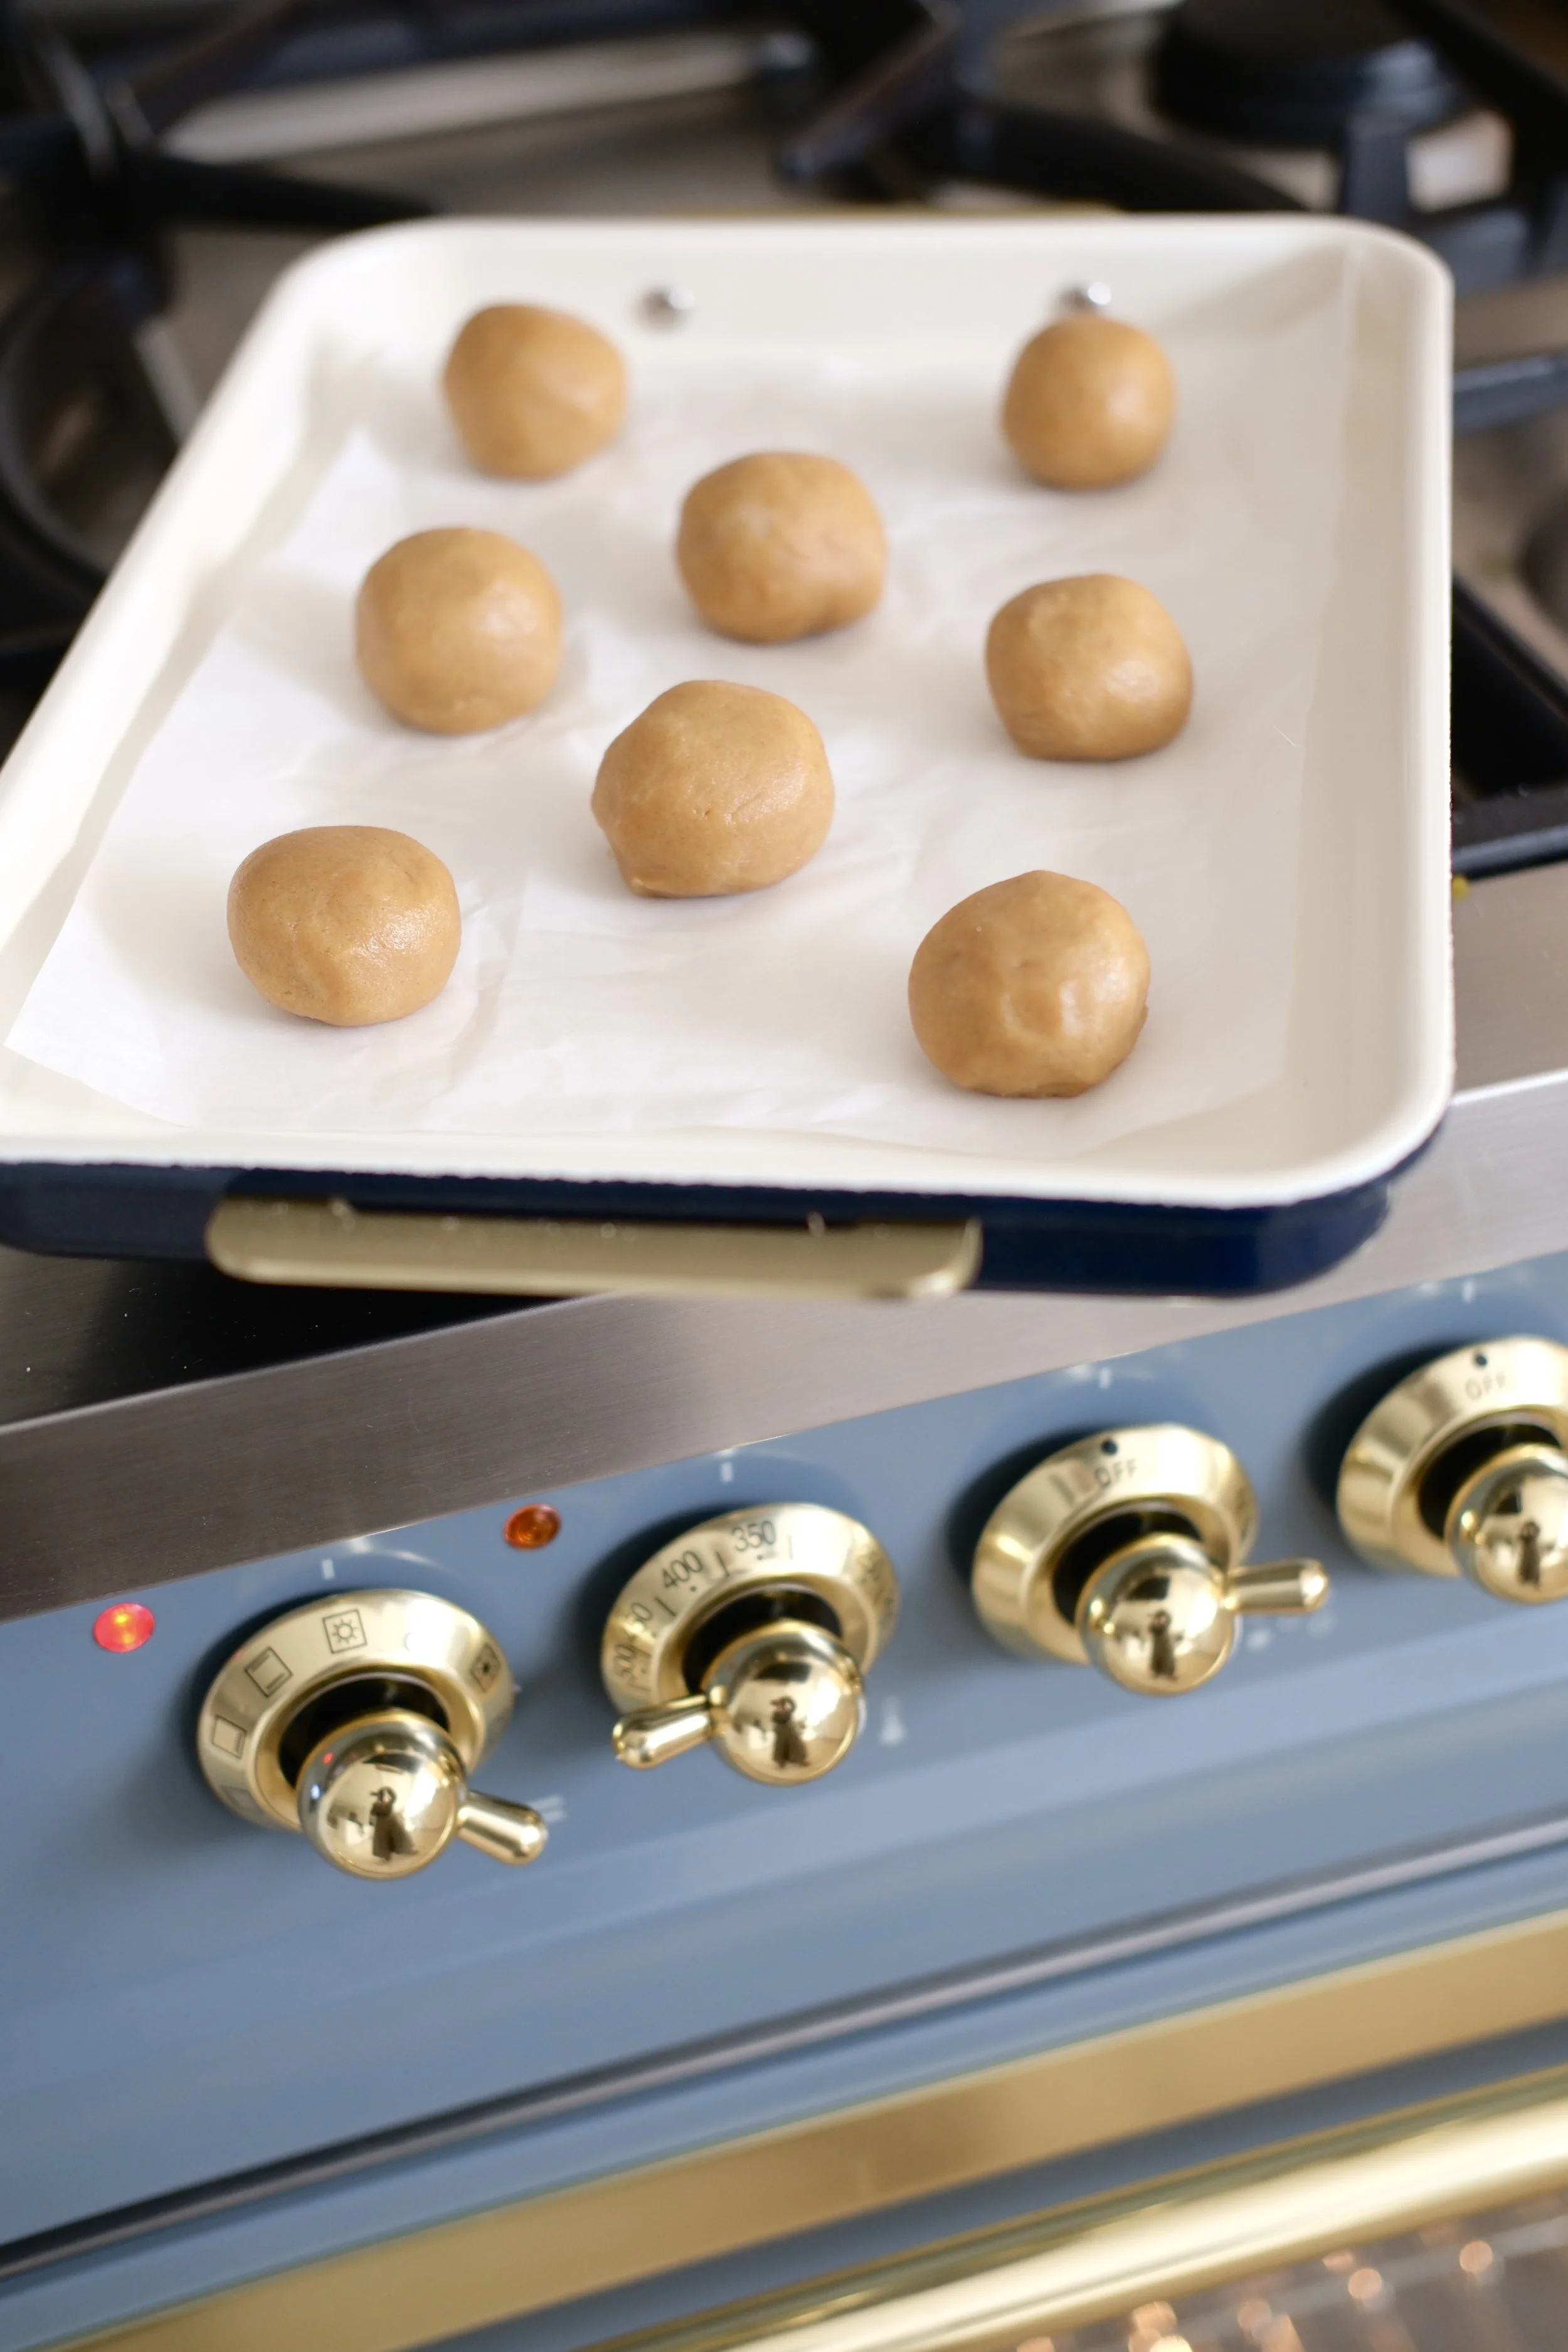
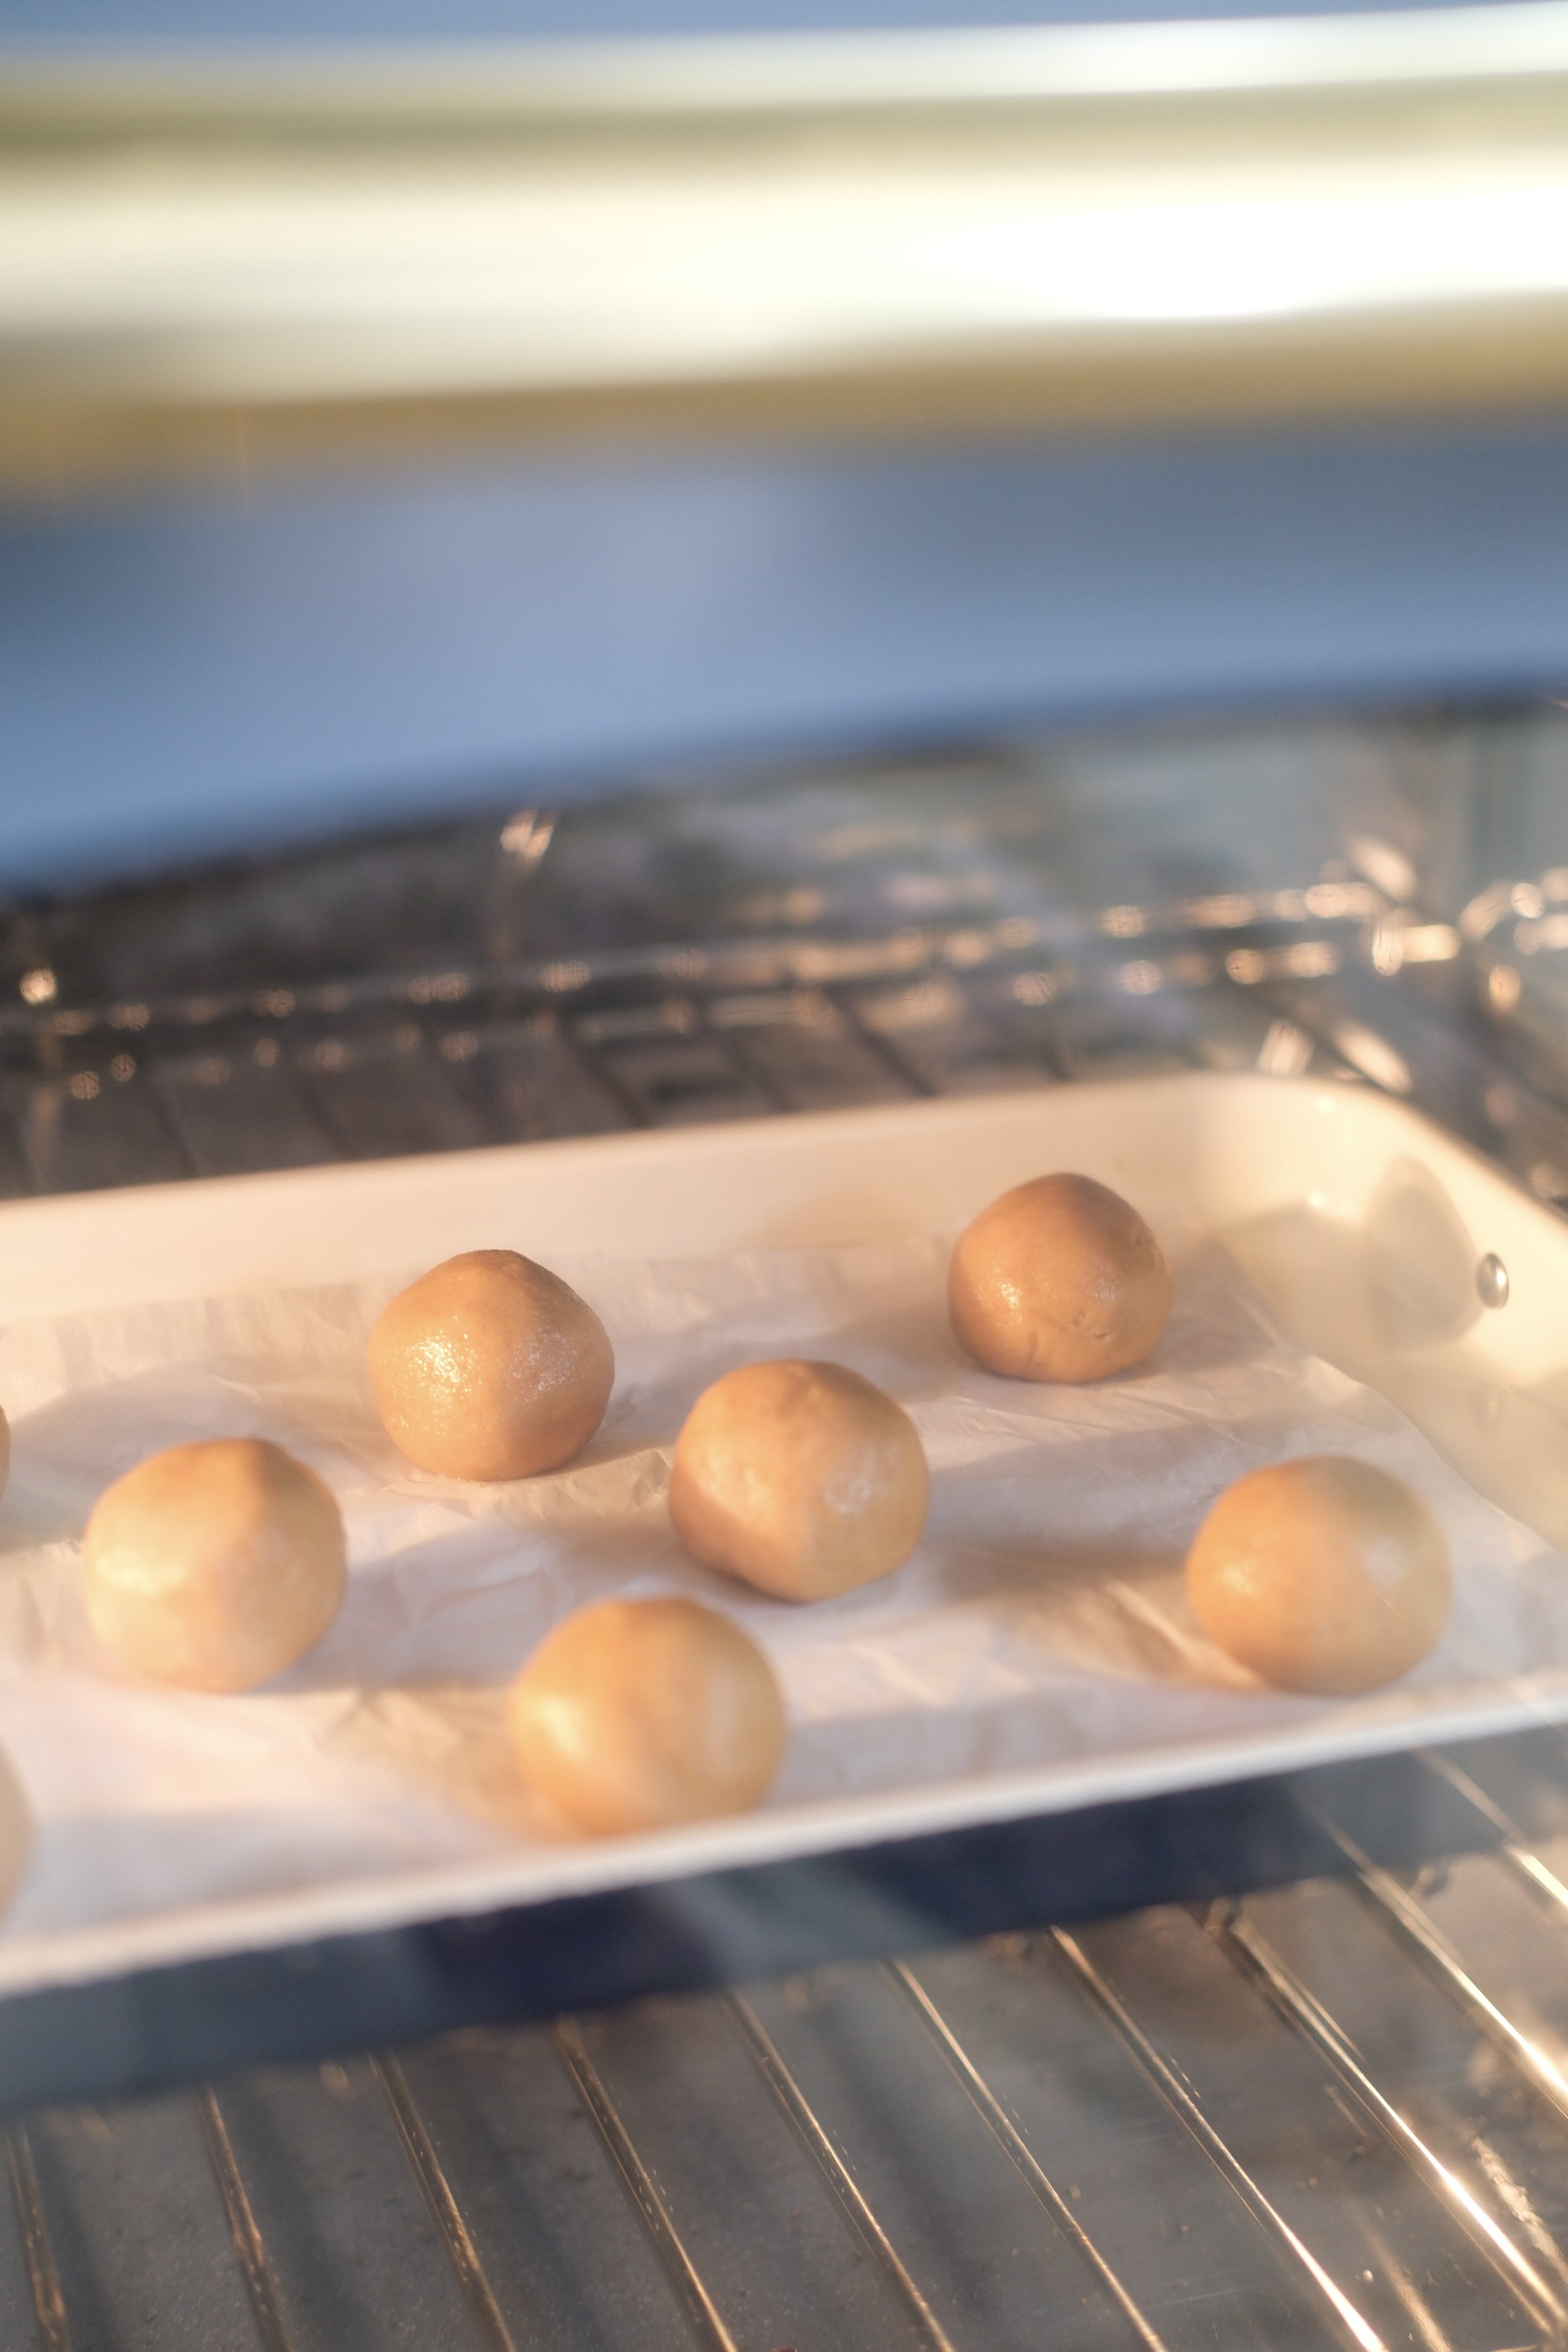
Bake for 8–10 minutes, until the cookies are set around the edges and no longer glossy on top. They should look puffed and soft, not browned.
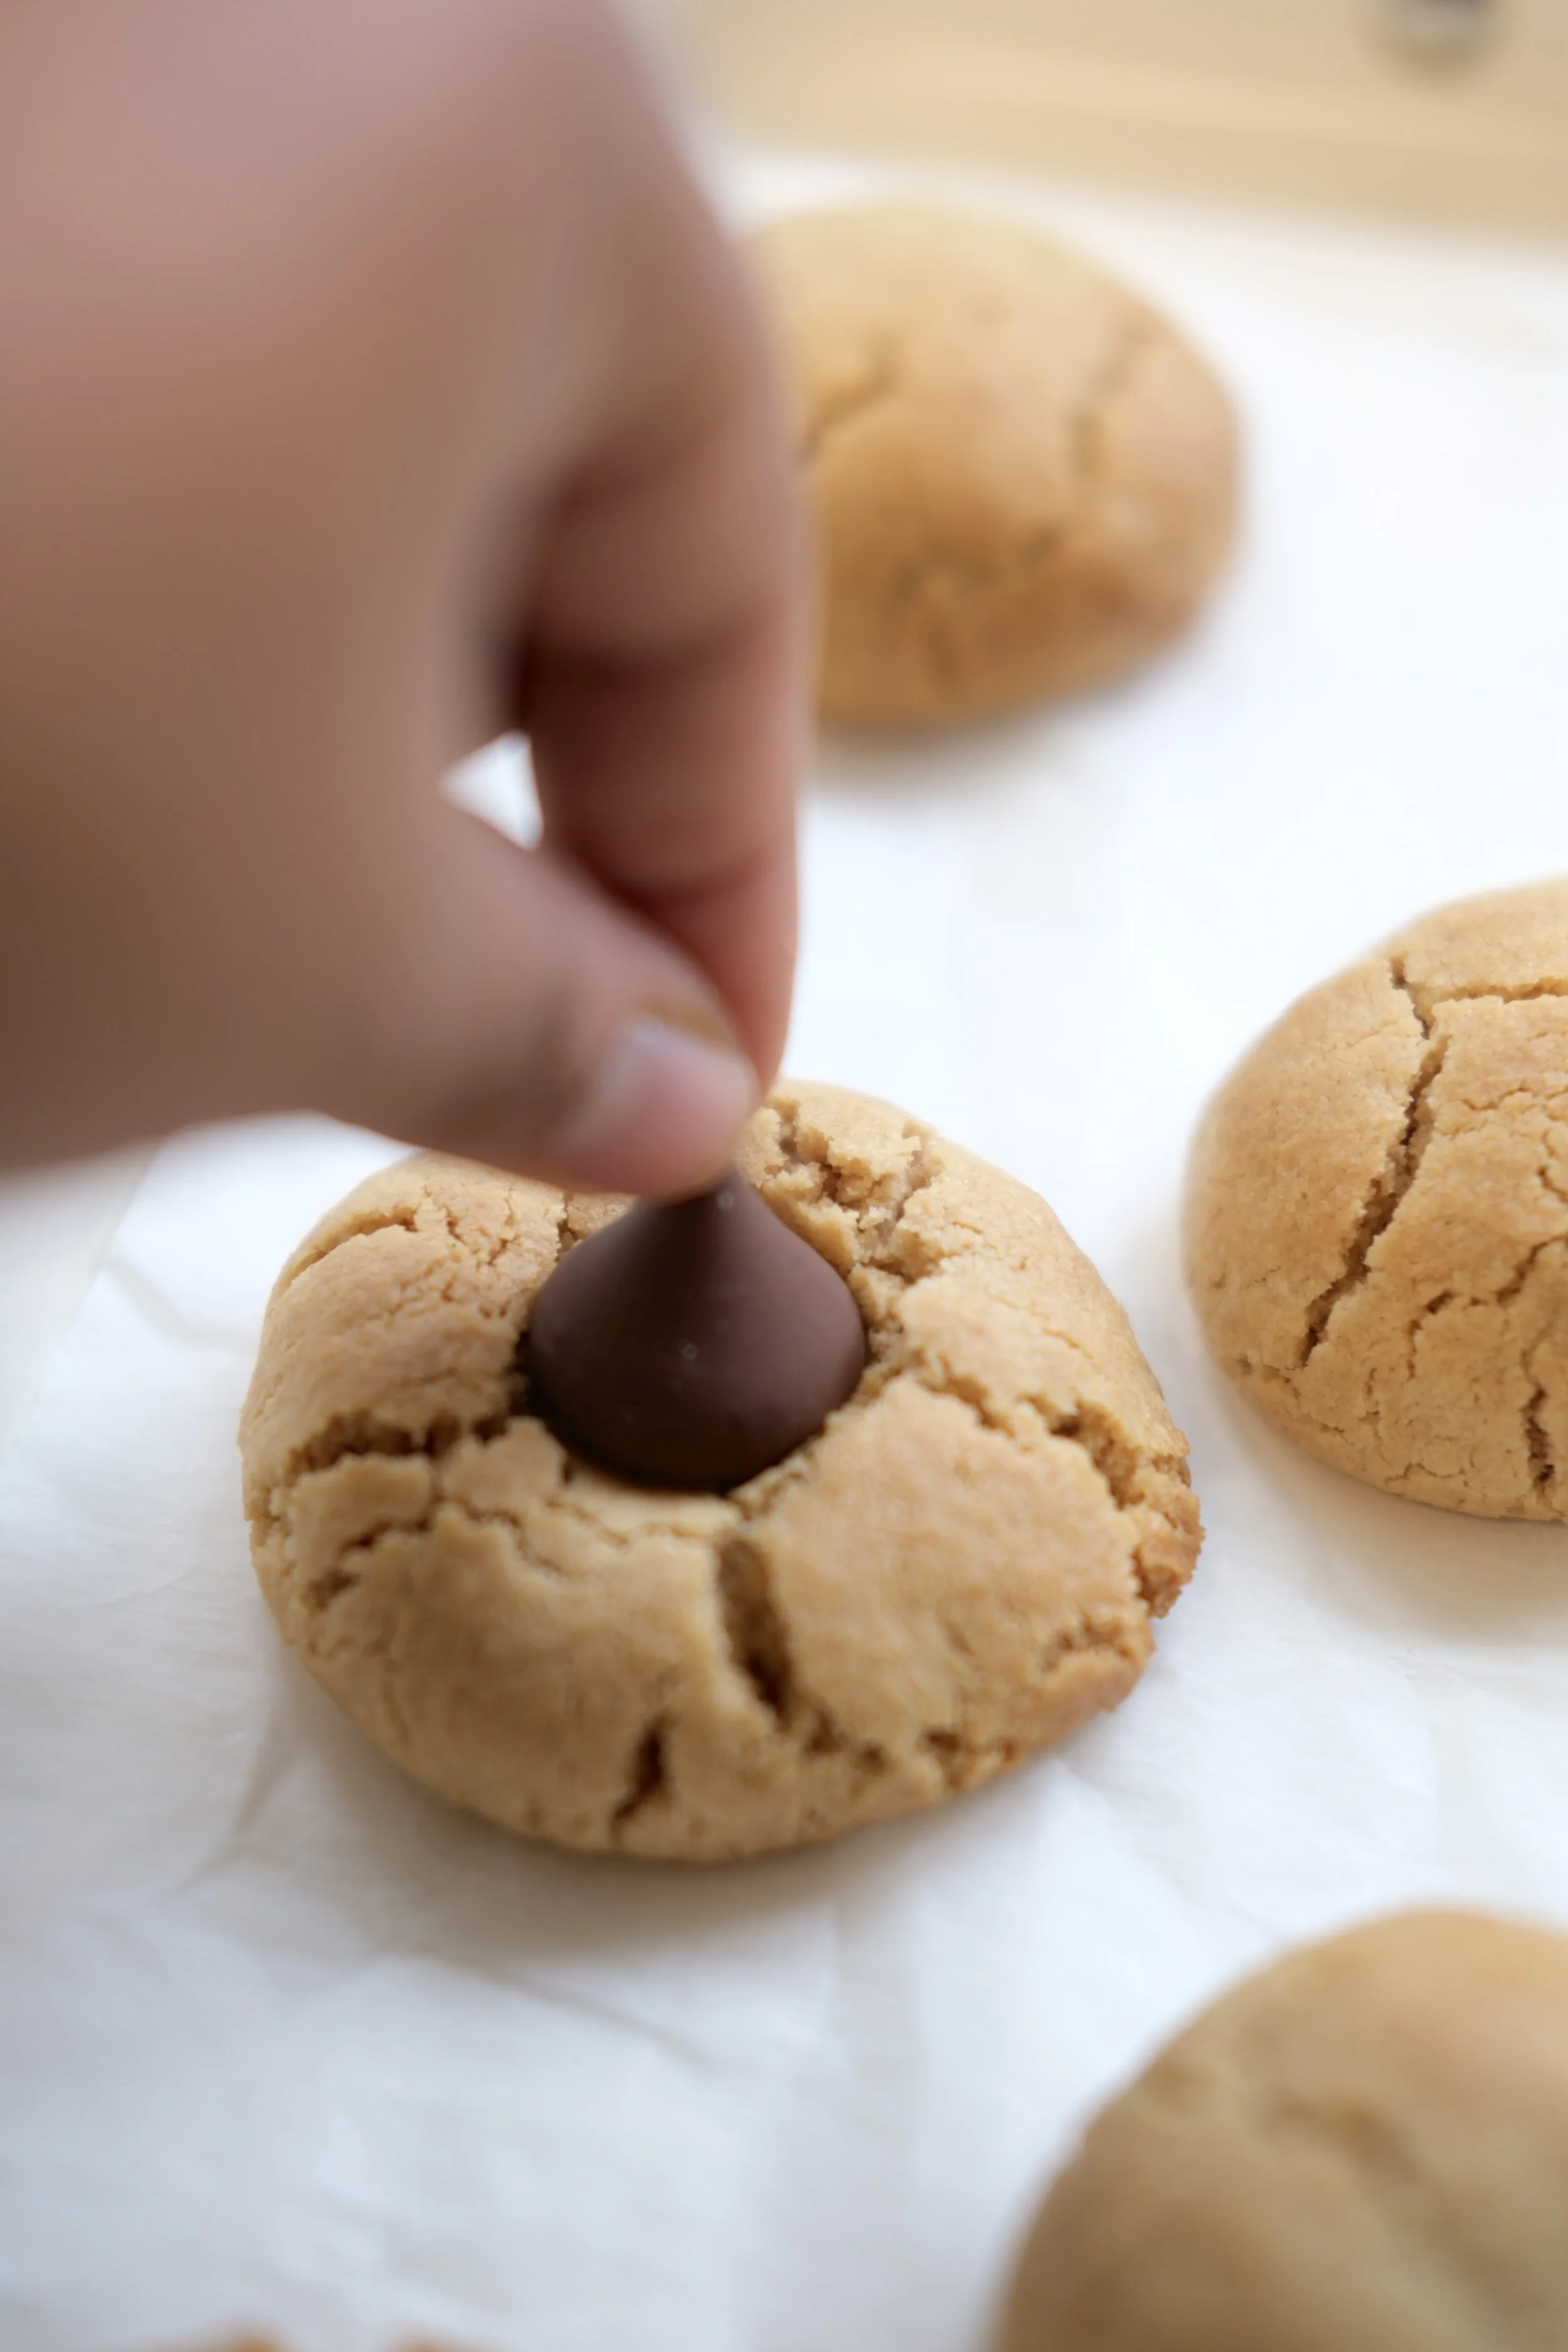
Remove the cookies from the oven and immediately press a frozen Hershey’s Kiss into the center of each one. The cookie will crack slightly around the edges as the chocolate sinks in.
Let the cookies rest on the baking sheet for a few minutes before moving them to a cooling rack. The chocolate will soften as the cookies cool but will hold its shape once set.
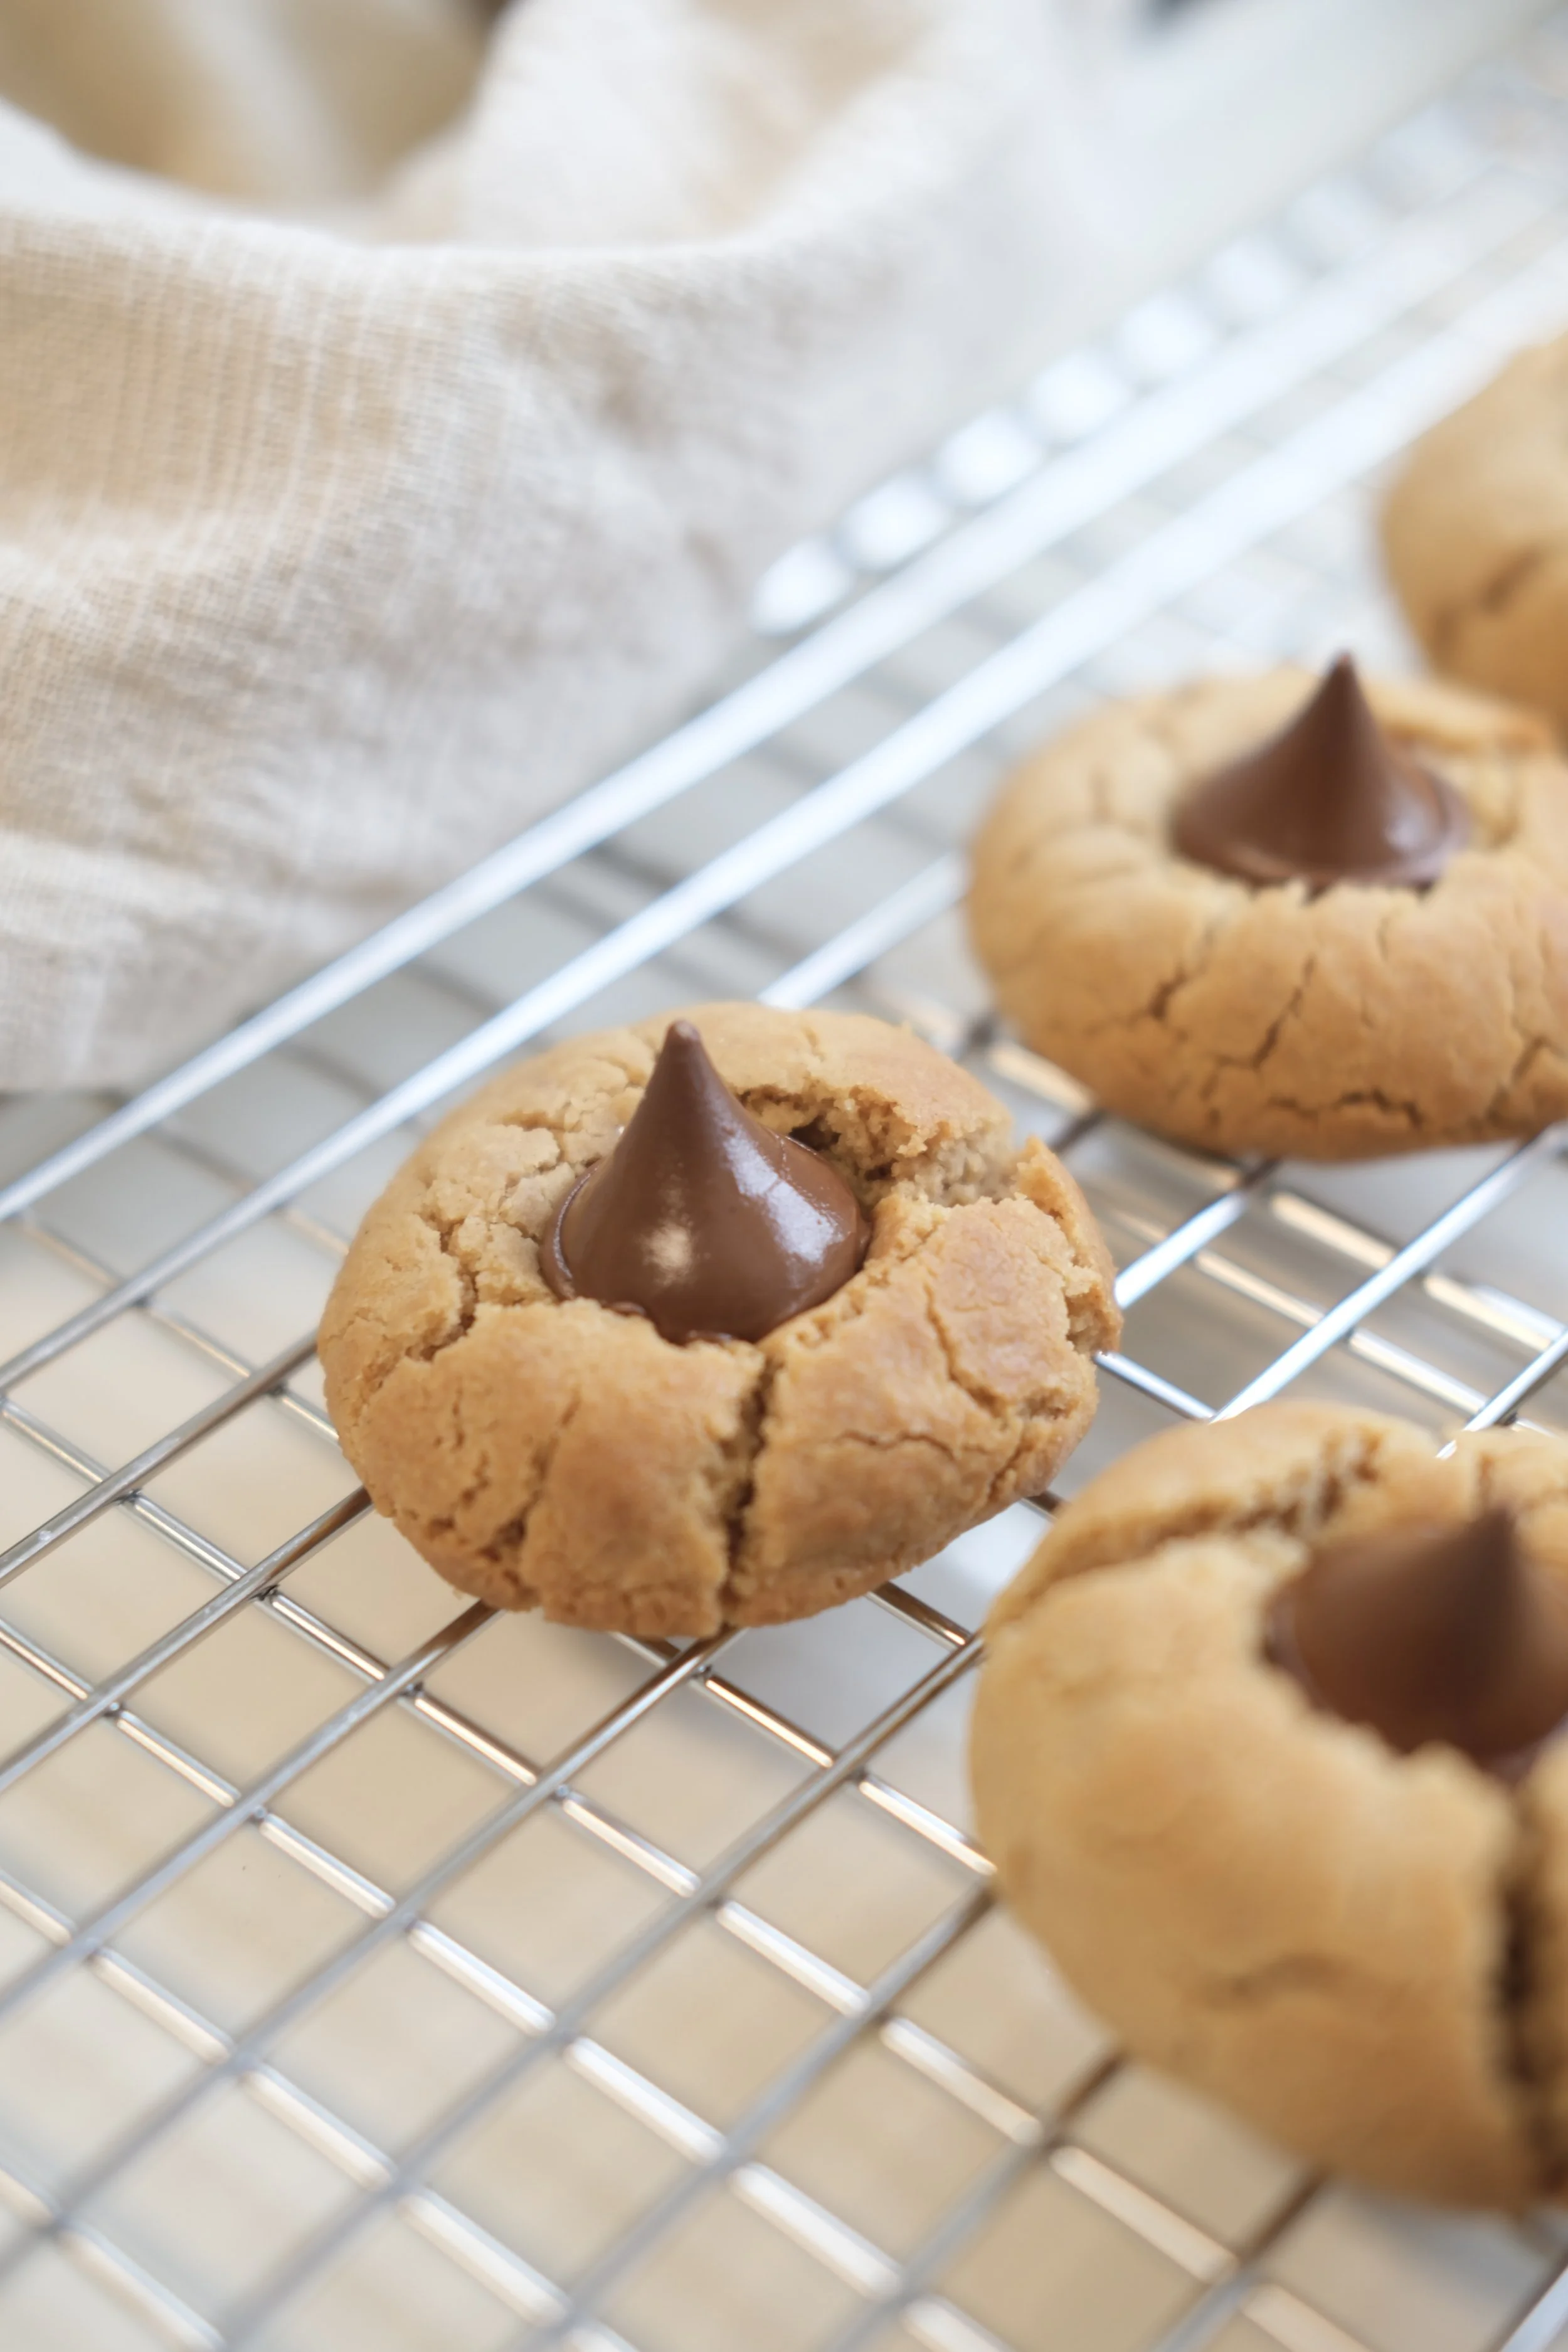
Best enjoyed slightly warm, ideally with milk.
A Recipe by Madeline May
Peanut Butter Blossom Cookies
Soft, puffy peanut butter cookies with crackled edges and a melted chocolate kiss pressed right into the center.
Ingredients
Cookies
Instructions
- Freeze the chocolate kisses Place the unwrapped chocolate kisses in the freezer while you prepare the dough.
- Cream the butter and sugars Beat the butter until smooth. Add the granulated sugar and brown sugar and mix until fluffy.
- Add the peanut butter Beat in the peanut butter until smooth, then mix in the egg and vanilla.
- Make the dough Add the flour, baking soda, and salt. Mix just until a soft dough forms, stopping as soon as the flour disappears.
- Chill Cover and refrigerate the dough for at least 15 minutes.
- Prepare to bake Preheat the oven to 350°F and line baking sheets with parchment paper.
- Shape Scoop the dough into 1-inch balls and place on the baking sheets. No sugar coating is needed.
- Bake Bake for 8–10 minutes until the edges are set and the tops are matte and puffed.
- Add the chocolate Immediately press one frozen chocolate kiss into the center of each cookie.
- Cool Cool on the baking sheet for several minutes before transferring to a wire rack. Let the chocolate set before serving.
Storage
Store in an airtight container at room temperature for up to 5 days.
Make Ahead
The dough can be made up to 2 days ahead and refrigerated before baking.
A Note from Madeline May
These cookies are especially delicious slightly warm with a cold glass of milk.
Browse More Recent Recipes



Achiote Chicken Tacos with Cotija & Guacamole