

Brown Sugar & Biscoff Apple Crumble Cheesecake
This post may contain affiliate links, which means that I make a small commission off items you purchase at no additional cost to you.
Ooooohhh so cozy!
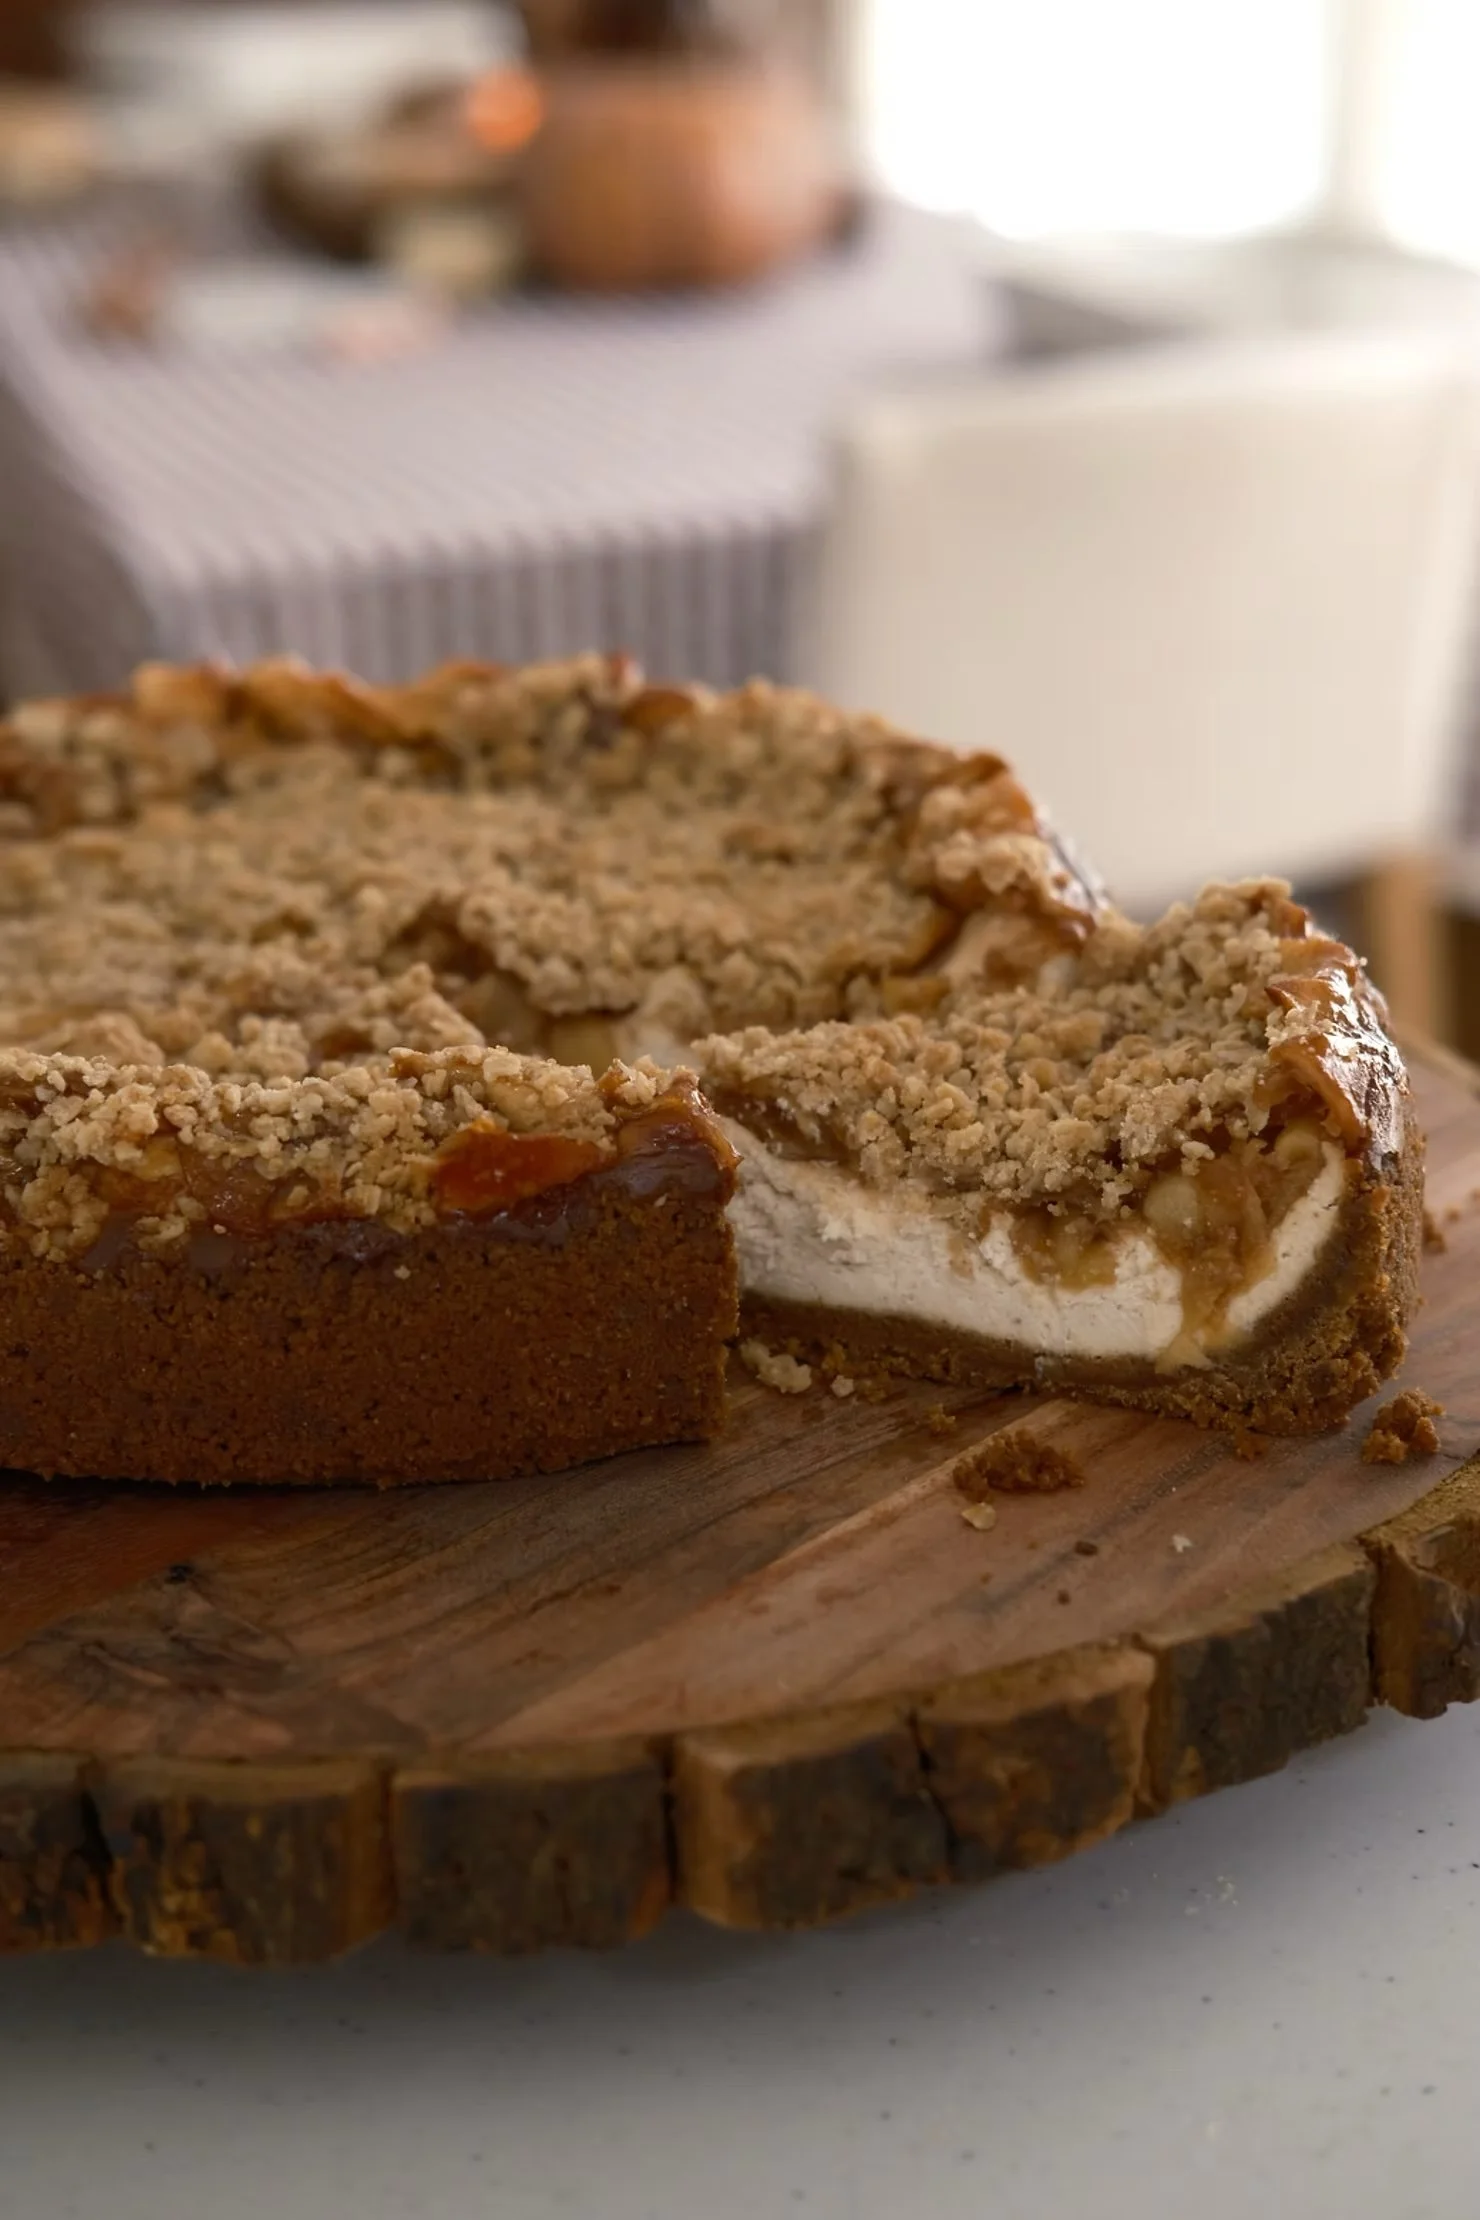
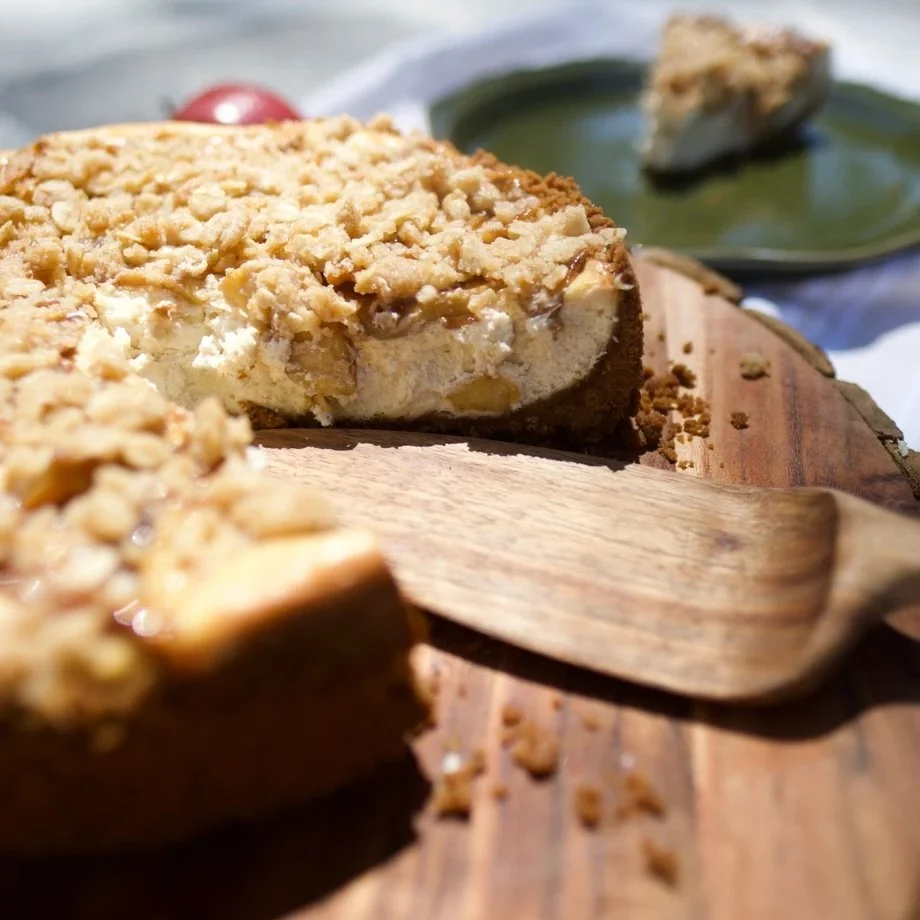
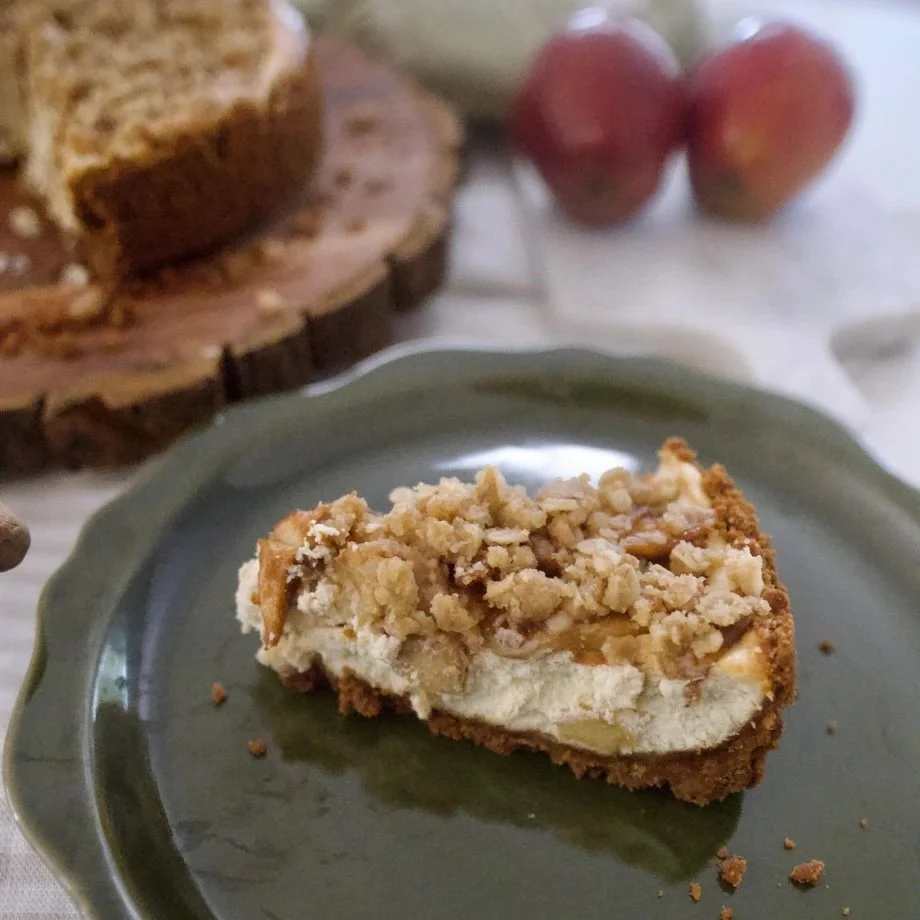
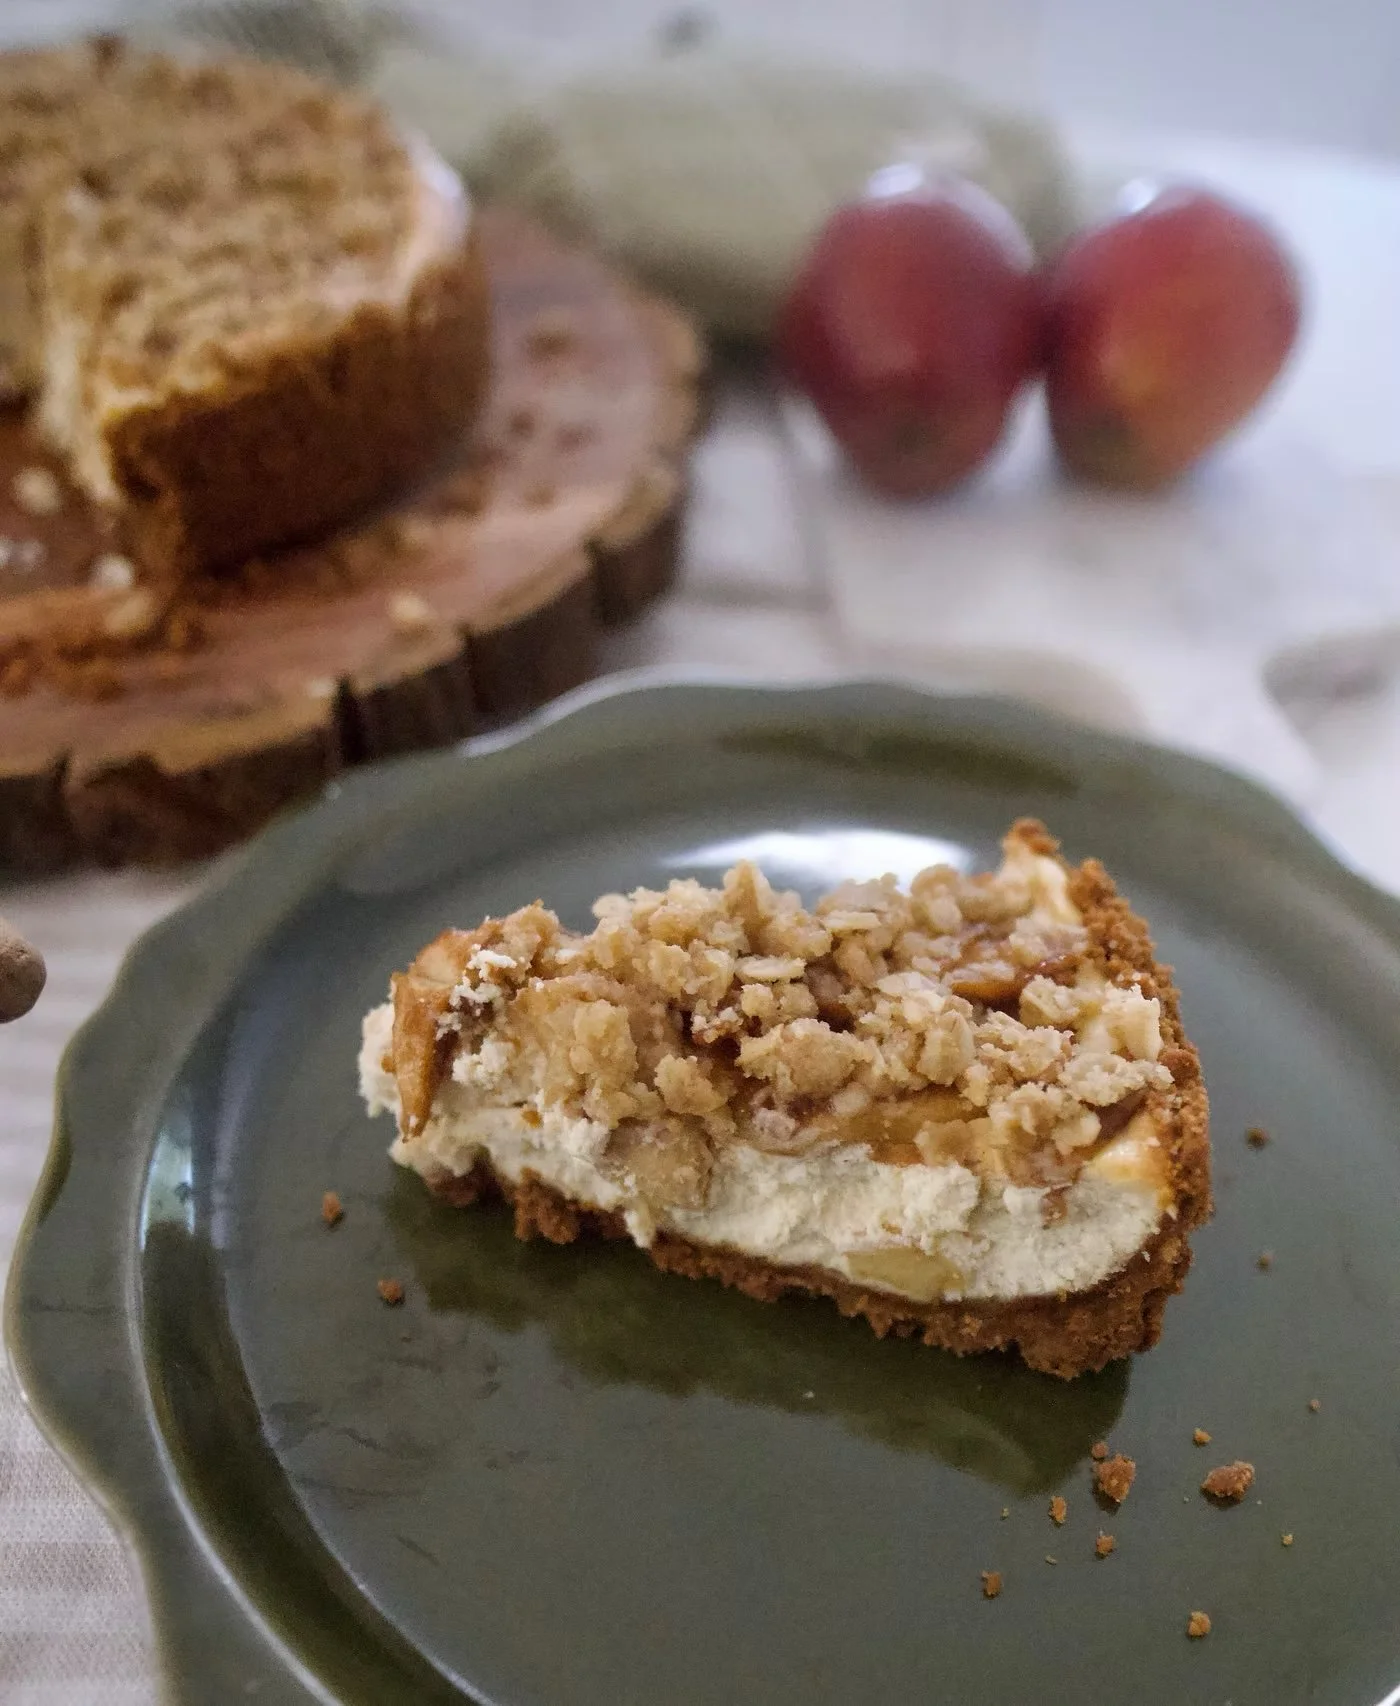
Three layers of holiday goodness
How come no one told me how much fun & frankly, simple it is to make a cheesecake?
Wow! I guess its time to try them all...hmmm I'm thinking a pear or pistachio cheesecake next.
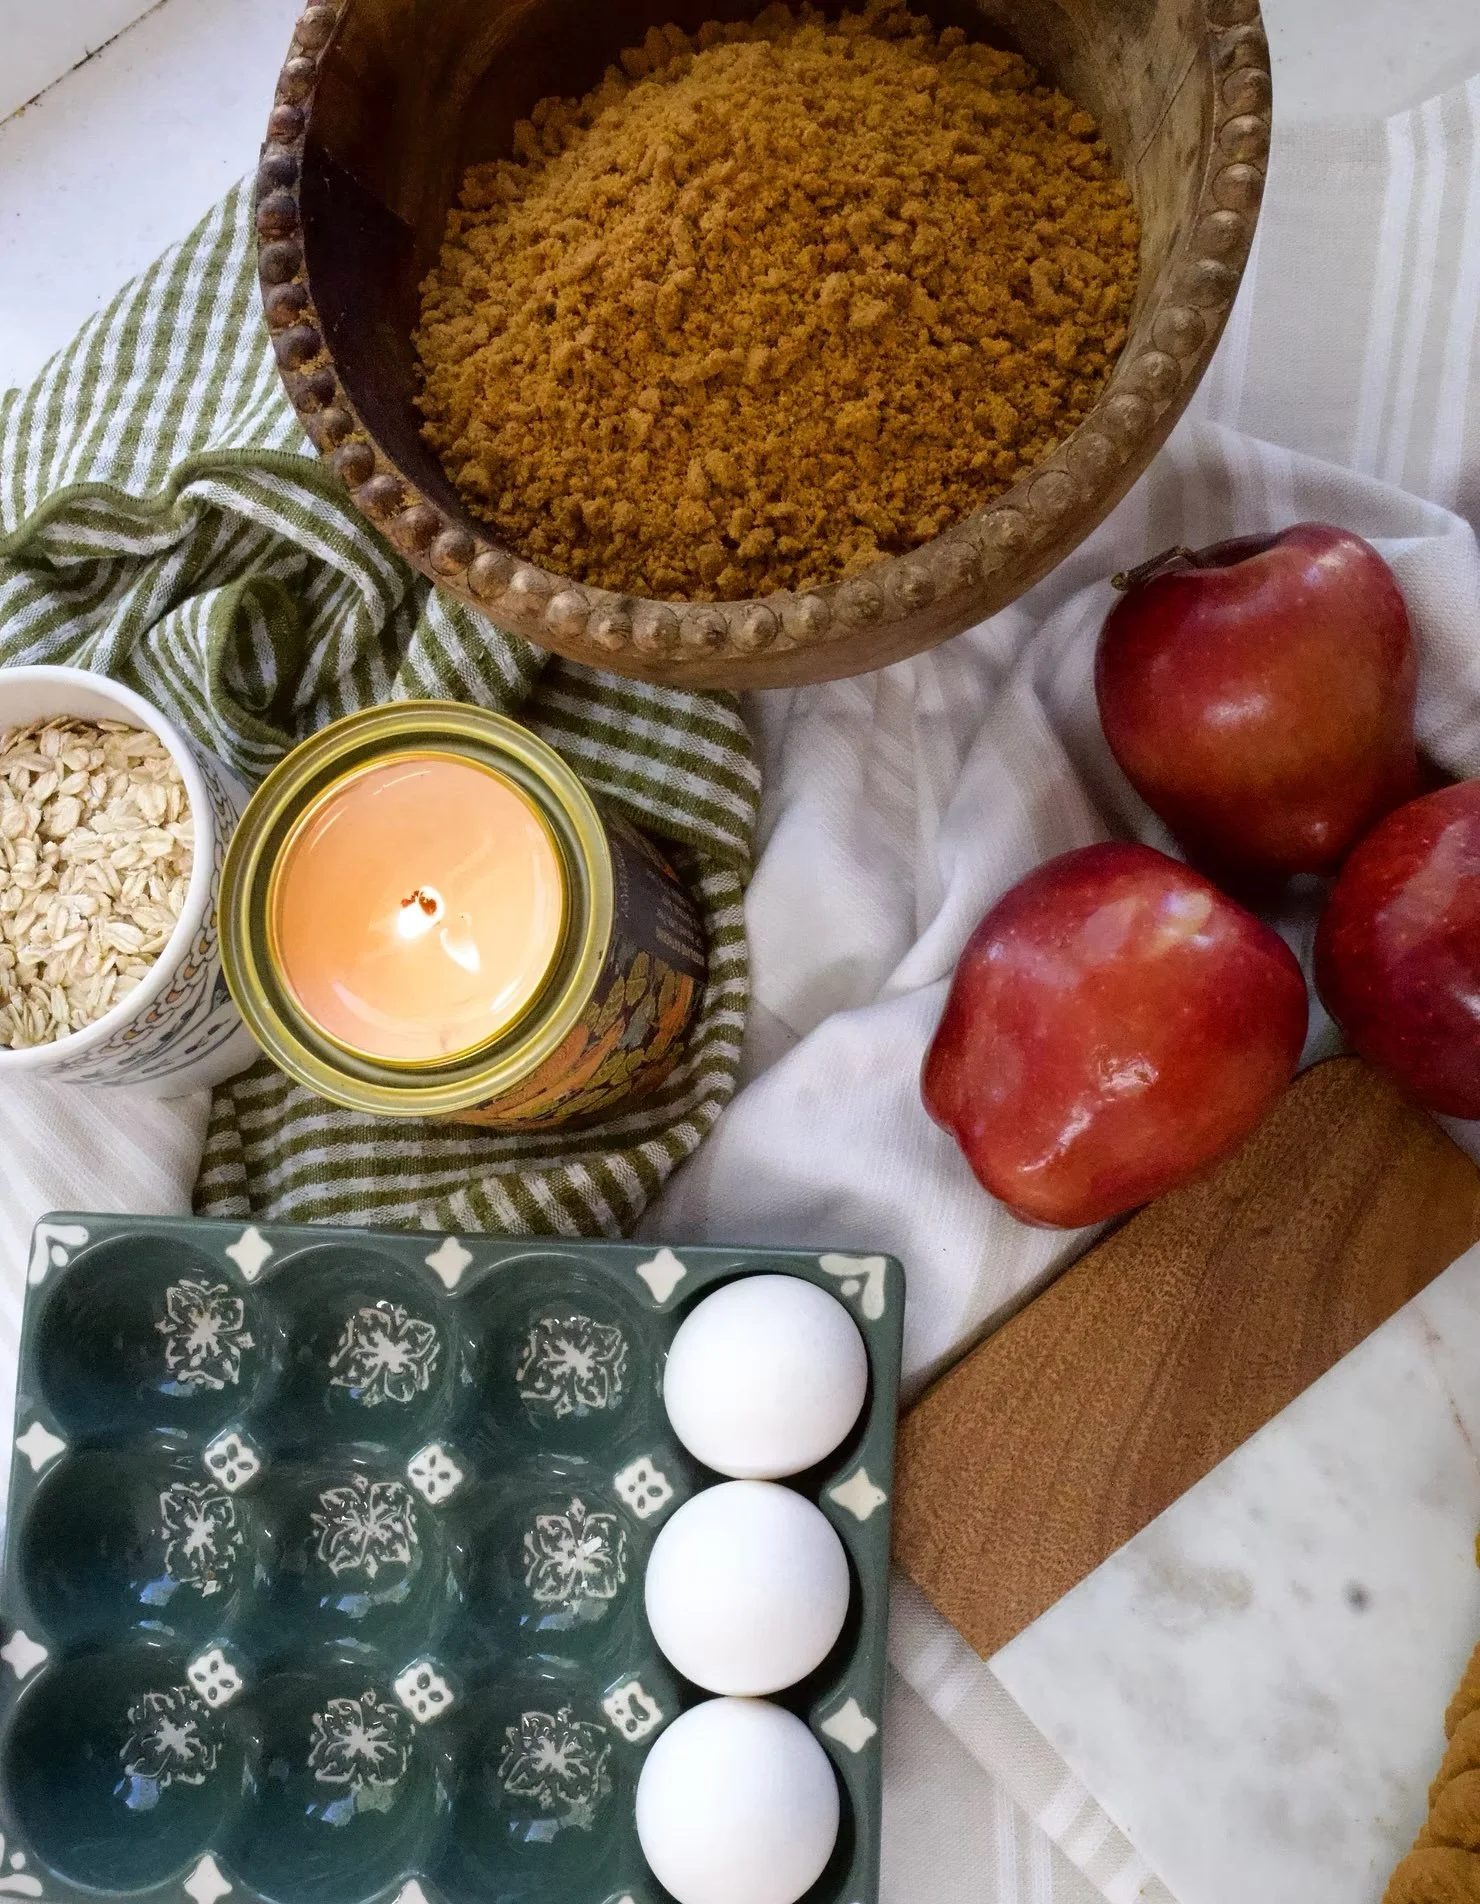
My ode to fall:
Growing up in LA, “fall” was basically just summer with pumpkins at the grocery store. I’ve always romanticized those states where the leaves actually change and you get to bundle up in sweaters & long cozy socks. Since I don’t have that here, I romanticize the seasons in my kitchen instead. Even when it's 85 degrees outside in LA, there's something to be enjoyed about pumpkin flavored goodies. Sometimes, however, I do think about moving somewhere with all four seasons. Anyways, there’s just something about this cheesecake that feels like the very best parts of fall baked into one bite. At least the fall I dream about. The buttery Biscoff crust, the creamy, gently spiced cheesecake, the gooey cinnamon apples, and that golden, crumbly topping—it’s all the textures and flavors I want when I feel a cold breeze in August lol. I think to me, fall has always been the most cozy season. Where I feel most at home. This season aligns with the cozy feeling I always wanted to feel while walking into a house. You walk in, smell a homecooked meal or a baking dessert, you take off your sweater, grab some tea, walk outside, take a seat, and throw on a nice blanket to listen to the breeze & watch the leaves fall. Truly, fall is the home-iest season (yes, I made that word up).
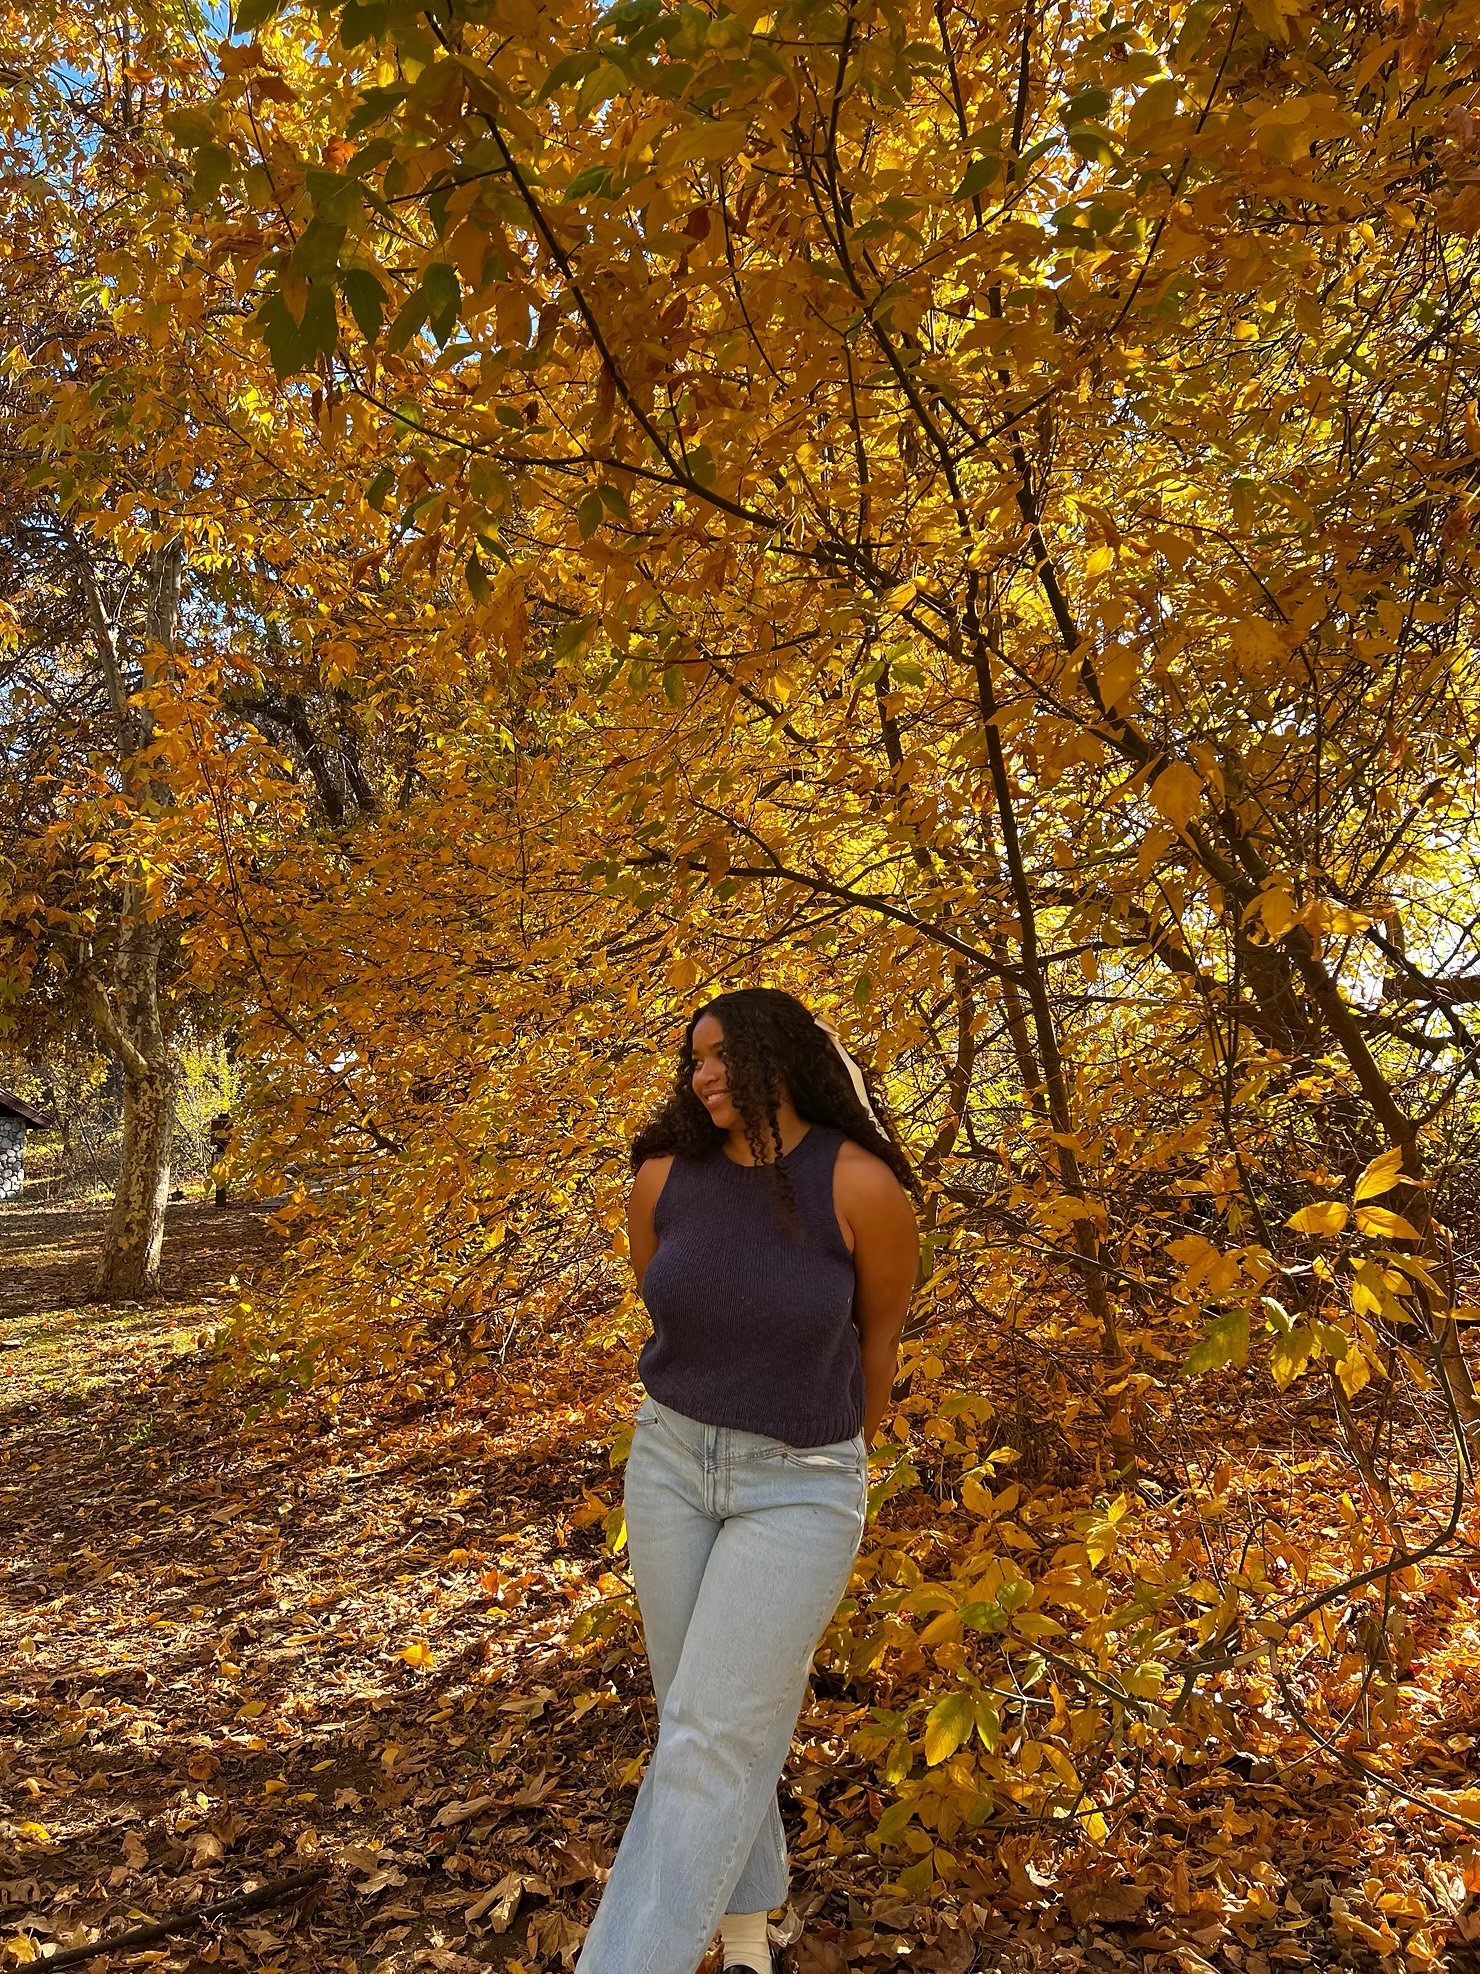
If you're a California girl too, you may have heard of Oak Glen. It's about an hour and a half away from LA and the leaves do change up there! They have apple picking, apple cider, and all of the fall things! My fiancé and I got engaged there too!! This town is a must visit for me each year. I love enjoying apple flavored goodies. Every year around fall I feel a longing to move to Vermont and experience a real fall, even once.
Now here's the best part (or the worst part, in my case.)
Of the cheesecake
Cheesecake is best served after being chilled overnight (and the crowd sighs...because who doesn't want an immediate taste test?!) If your in a rush, you can cool it for 4-6 hours instead. However, on the bright side, this is the perfect desert to prep if you'll be hosting the next day. On the day of, you can simply pop it out of the fridge and on to the table! I guess it feels a little more rewarding when we have to wait for a taste
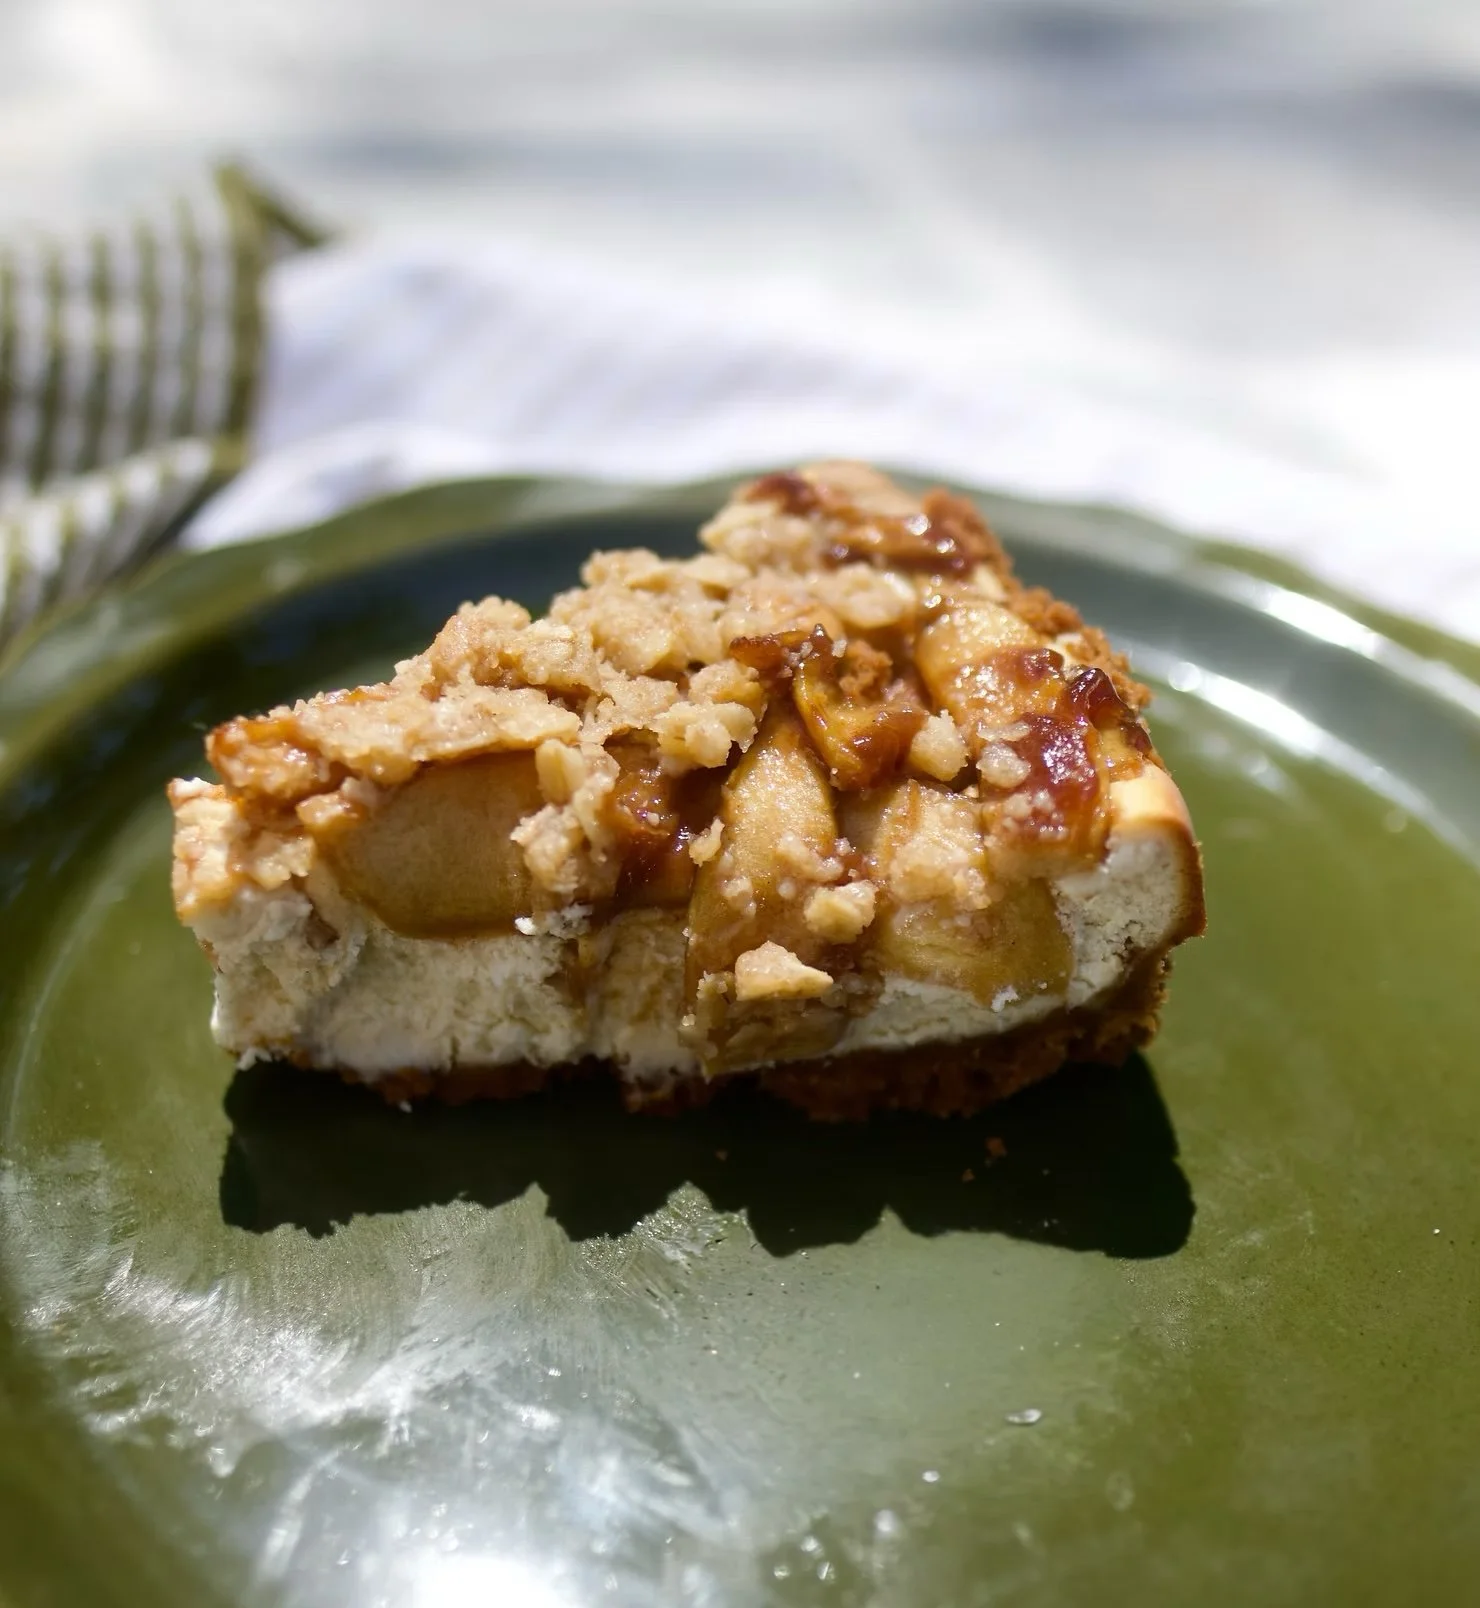
Why Biscoff cookies?
Now I'm not sure if it's just me, but these are my favorite airplane cookies (iykyk). I ALWAYS look forward to the flight attendant serving these on flights and I've actually never purchased them on my own before making this cheesecake. It's kind of funny how food can do that. It reminds us of people, places, memories, or moments. It's really really a beautiful thing. I love the slight spice these cookies add to the cheesecake. They are definitely the perfect cookies for holdiay baking. I am planning to do a lot more experimenting with these as the fall season continues into wintertime.
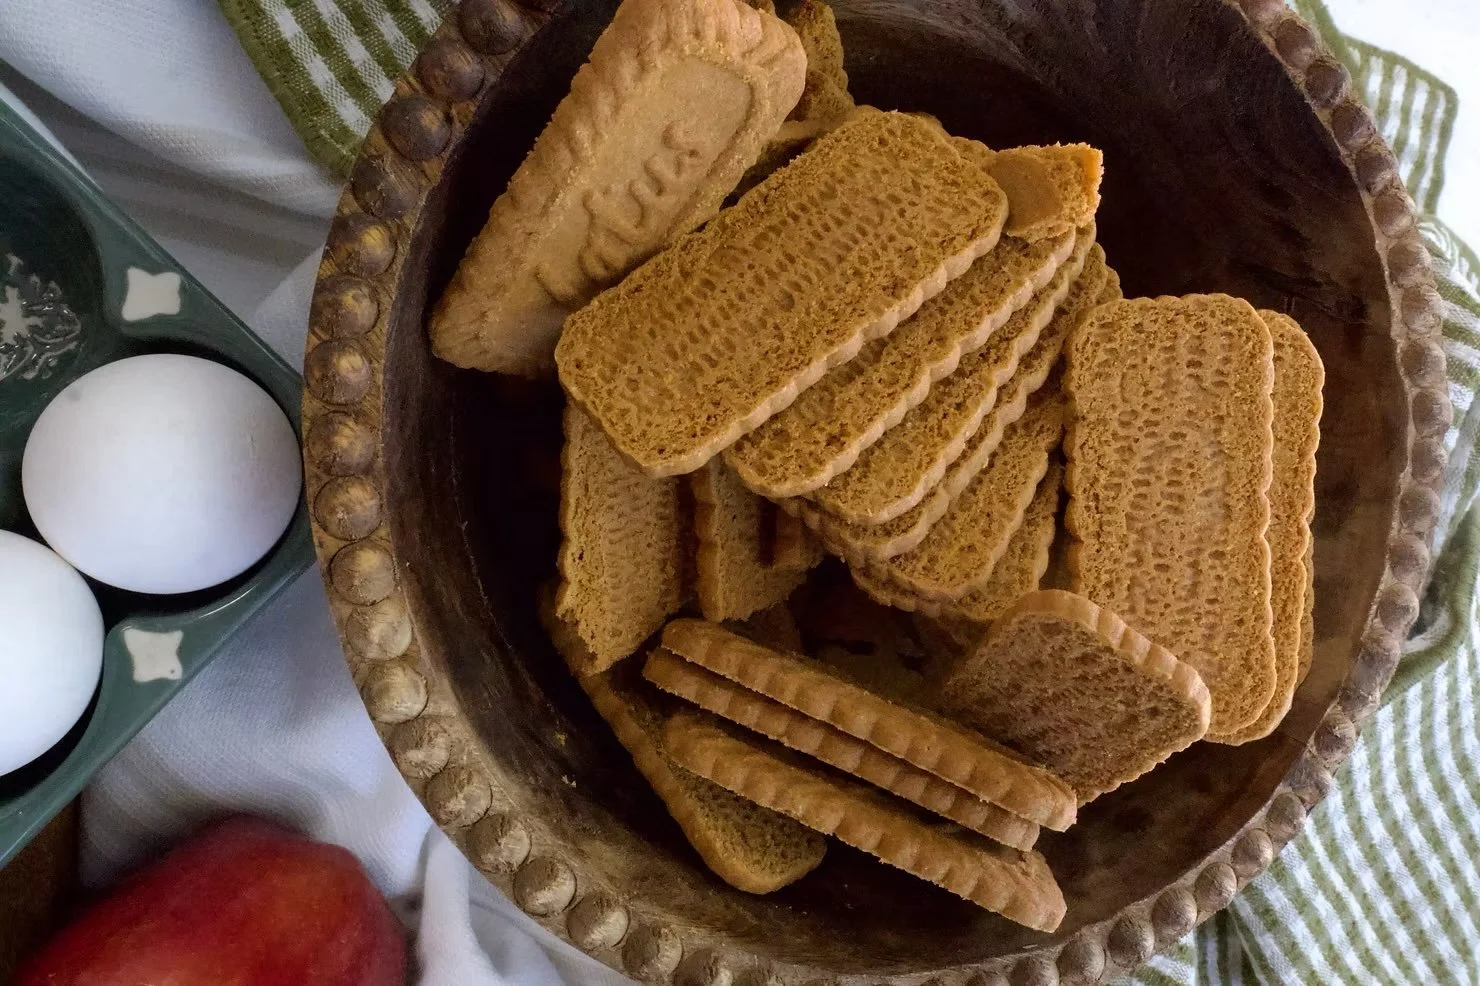
What you'll need:
Tools:
9‑inch springform pan—the kind with the removable bottom makes life (and cheesecake removal) so much easier. Pro tip: Line the bottom with parchment paper before locking it back in the pan; it helps everything release cleanly later.
Food processor (optional, but a game‑changer for crushing cookies effortlessly)
Rolling pin (if you don't want to use a food processor)
Small saucepan, for cooking apples
Ingredients:
For the Biscoff Crust
350 g Lotus Biscoff cookies (crumb base)
150 g unsalted butter, melted
For the Crumble Topping
55 g unsalted butter, melted
50 g all‑purpose flour
50 g brown sugar (to caramelize the apples)
20 g rolled oats (a nod to classic apple crumble texture)
For the Apple Layer
3 tart, crisp apples (I used red delicious and it turned out lovely)—peeled, cored, and sliced very thin (~¹⁄₈″)
50 g brown sugar
1 teaspoon ground cinnamon
2 teaspoon cornstarch—for thickening
For the Spiced Cheesecake
690 g cream cheese (in blocks)—softened fully to room temperature
75 g granulated sugar
100 g Greek yogurt—for balance and tang
2 teaspoons vanilla extract
½ teaspoon ground cinnamon, ¼ teaspoon all spice, ¼ teaspoon ground nutmeg—for gentle holiday spice
3 large eggs, at room temperature—for smooth, even texture
Step-by-step directions
1. Create the Biscoff base
Crush the Biscoff cookies finely—whether in a processor or by sealing them in a zip‑lock and walloping them with a rolling pin—until they are smooth
Mix in melted butter
Line your springform pan with parchment and press the crumb in bottom and up the sides. I used a soup ladle to press it firmly in!
Chill the base in the fridge while working on the toppings and the filling
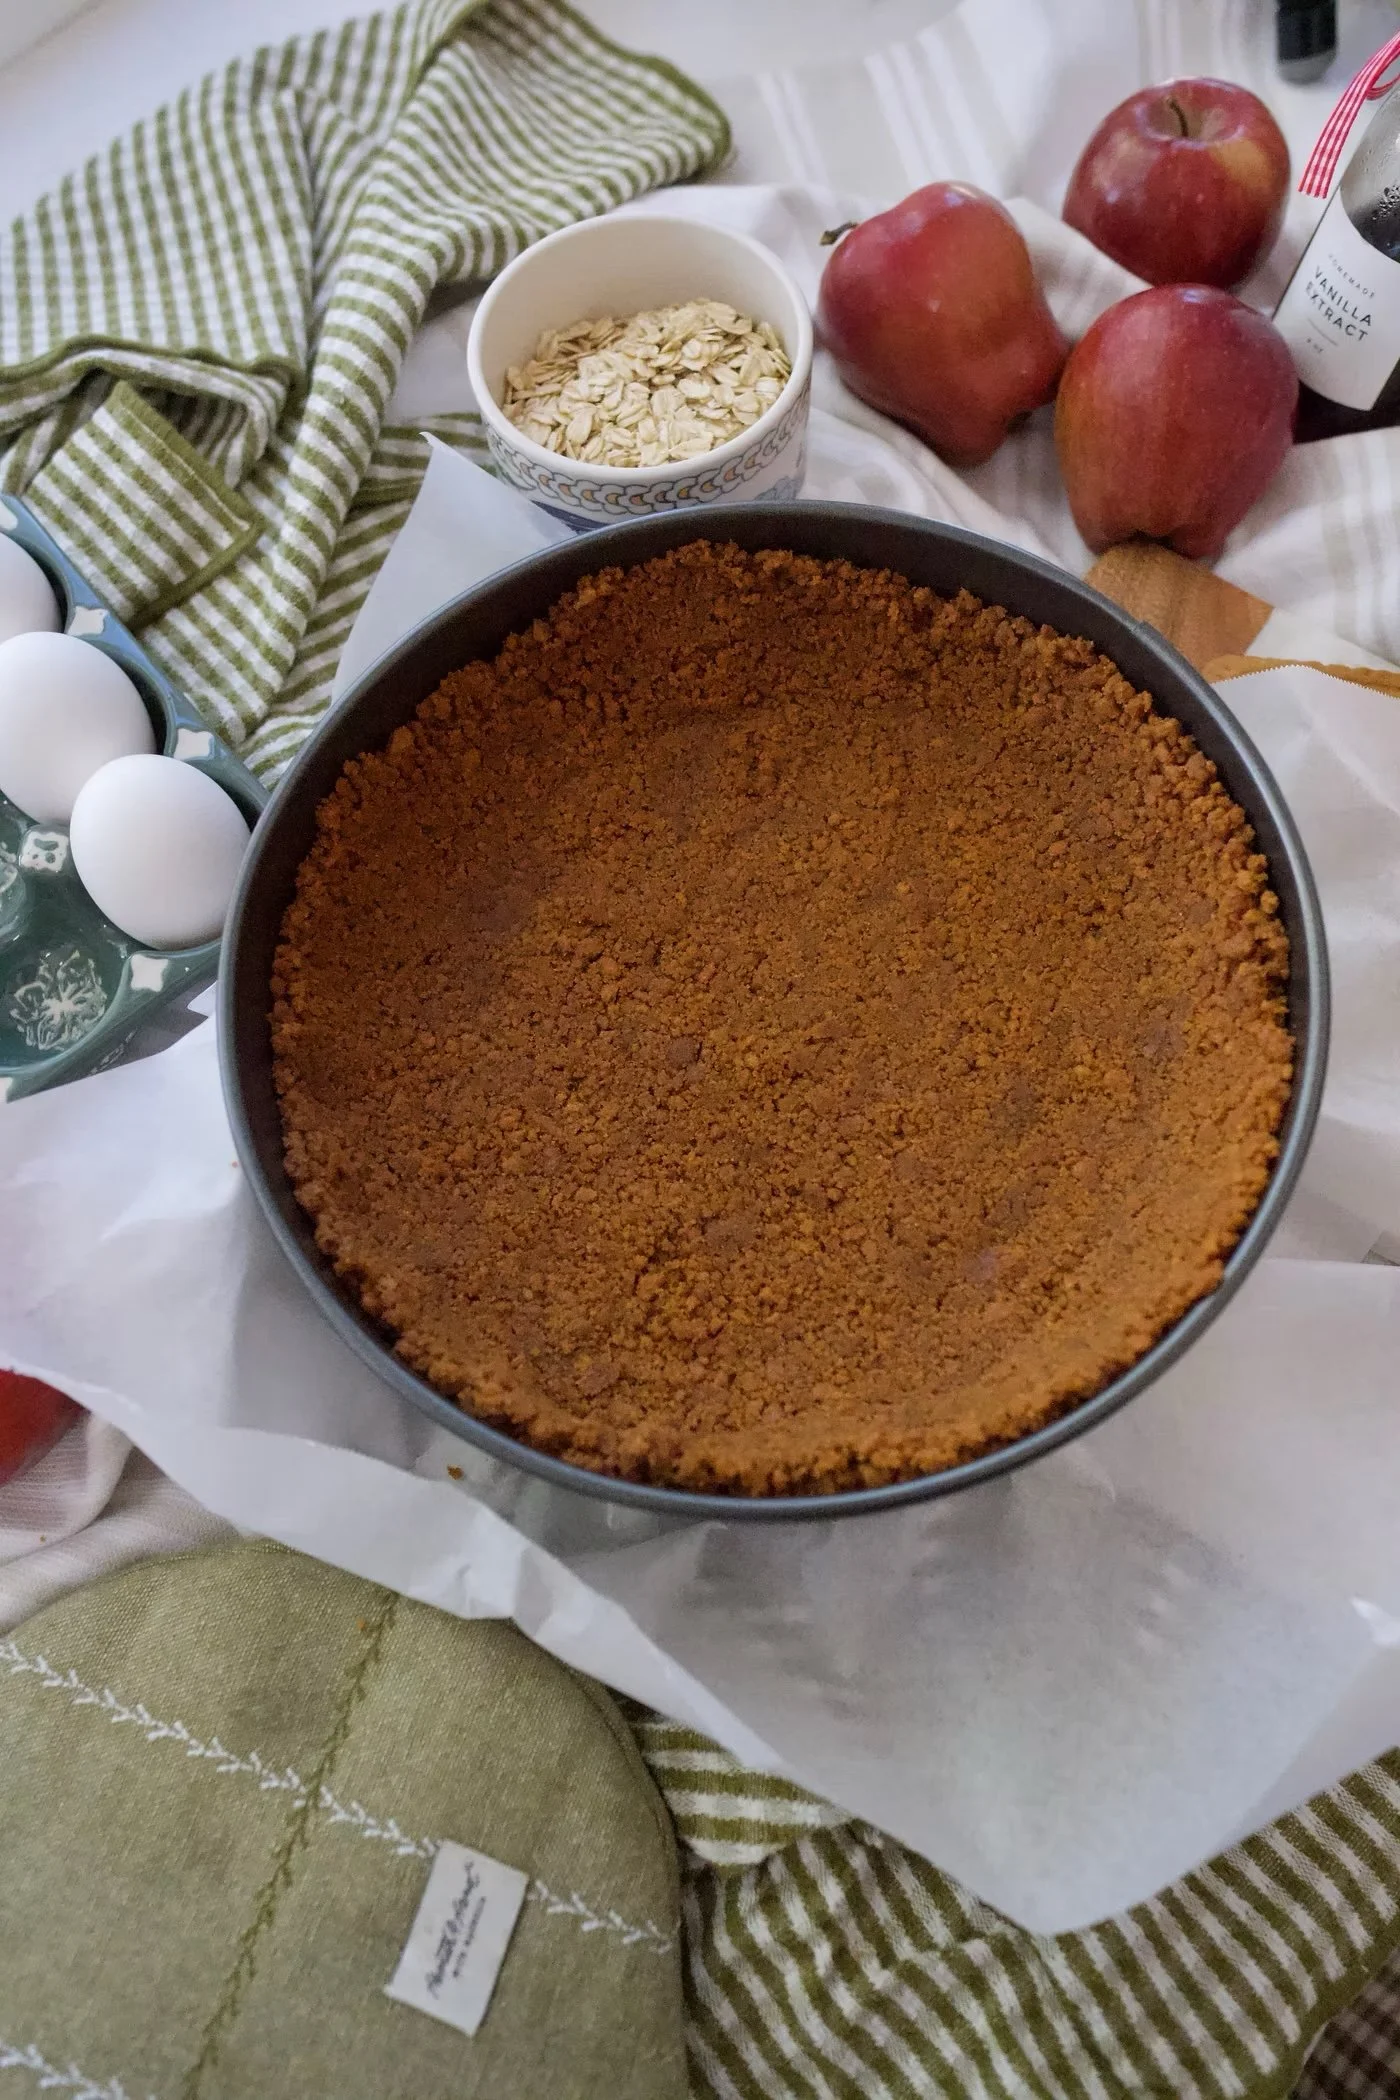
2. Prepare the apple layer
In a small pot, combine your apple slices with brown sugar, cinnamon, and cornstarch.
Gently cook (just enough—don’t soften to mush!) until they’re tender and juicy—almost apple‑pie‑filling vibe. Set aside to cool slightly.
3. Whip up the cheesecake layer
In a large bowl, beat the softened cream cheese until velvety.
Add granulated sugar, Greek yogurt, and vanilla—beat until smooth.
Sprinkle in the cinnamon, allspice, and nutmeg
Incorporate eggs one at a time, mixing gently to keep your cheesecake luxuriously smooth—not over‑worked.
Pro tip - make sure everything is room temperature and be sure to not overwork the cheesecake layer if you are using a stand mixer. If you use cold ingredients, it may curdle and be less smooth. I made that mistake! When whipping your cream together, be sure to simply mix until everything is combined. If you overwork it, it'll fill with air and make your batter inconsistent. If you are worried about this, use a mixing bowl instead.
4. Assemble
Spread the cheesecake batter evenly atop the chilled crust.
Scatter your tender apple slices over the batter in a single layer.
Sprinkle the crumble topping across the apples—watch how the oats, sugar, and butter become golden when baked
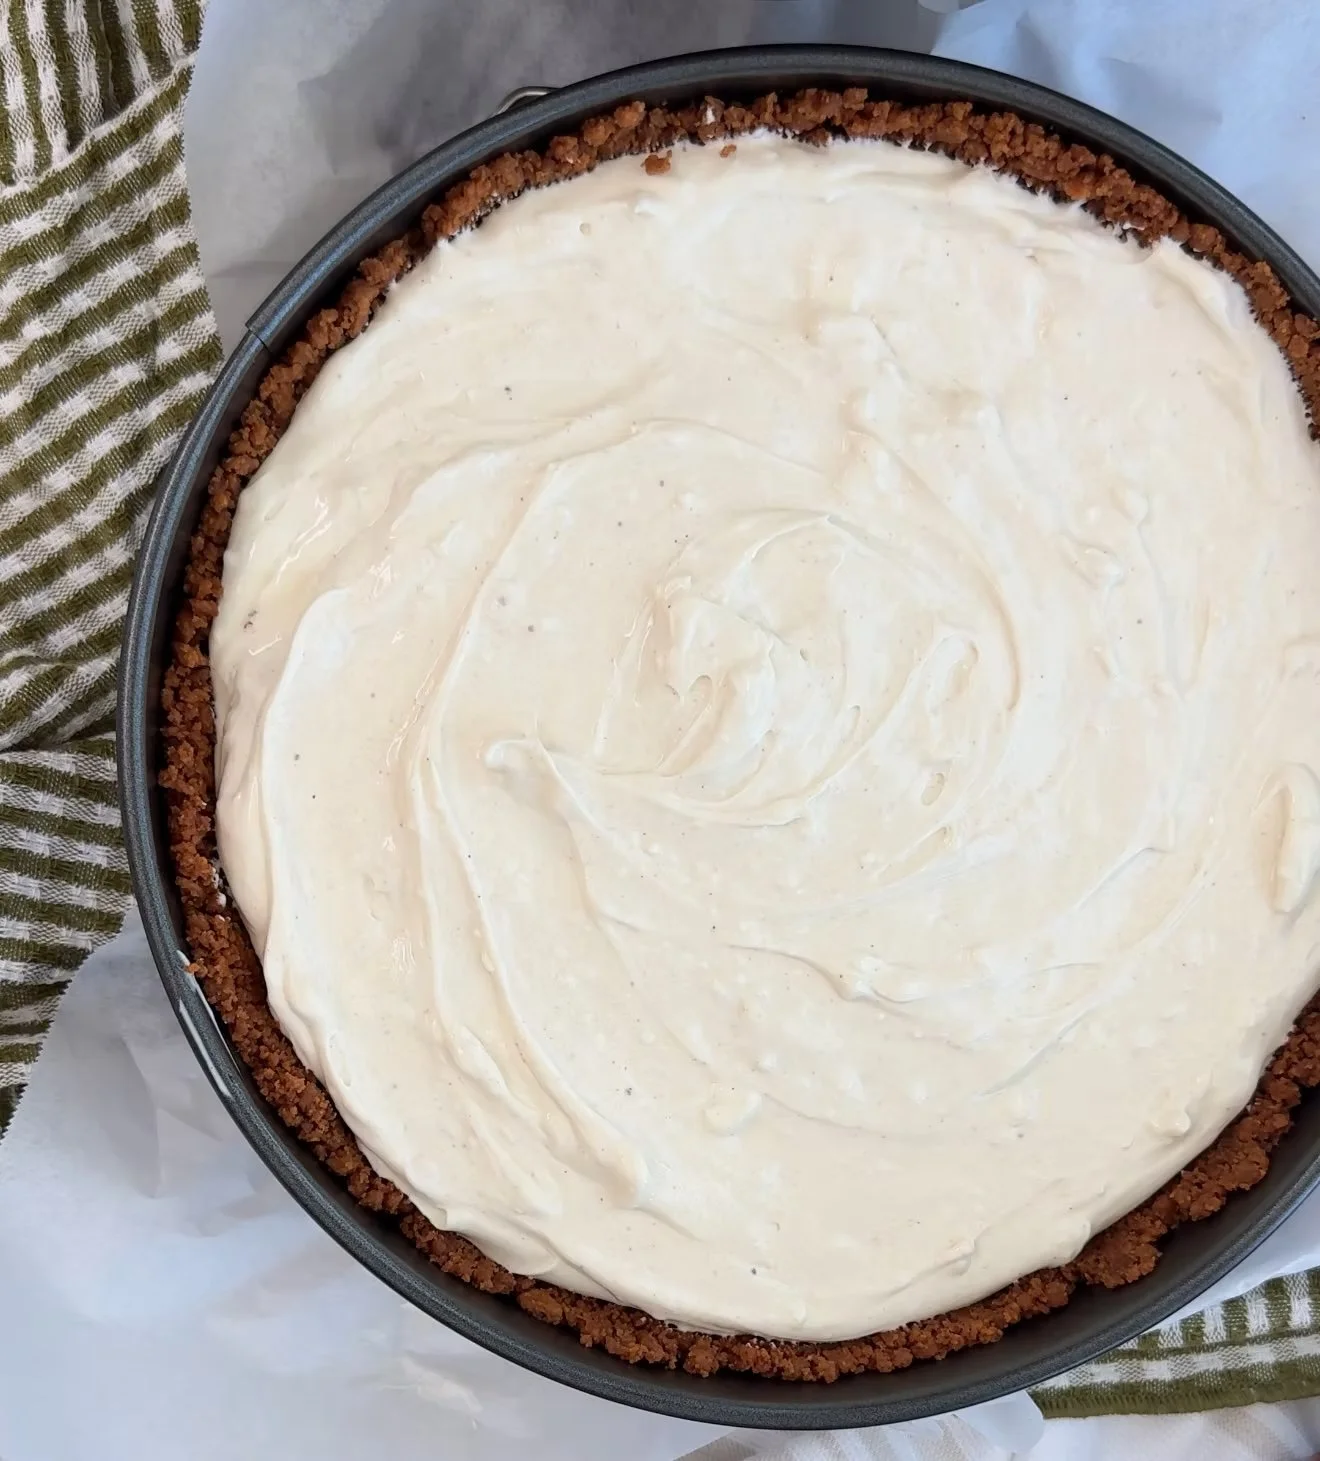
My cheesecake had some chunkies in it because some ingredients were not at room temp oops!! It'll still be tasty, just might have a slightly different texture. It won't completely ruin your cheesecake, but it'll mess with the aesthetic a tiny bit and teach you a lesson on patience lol
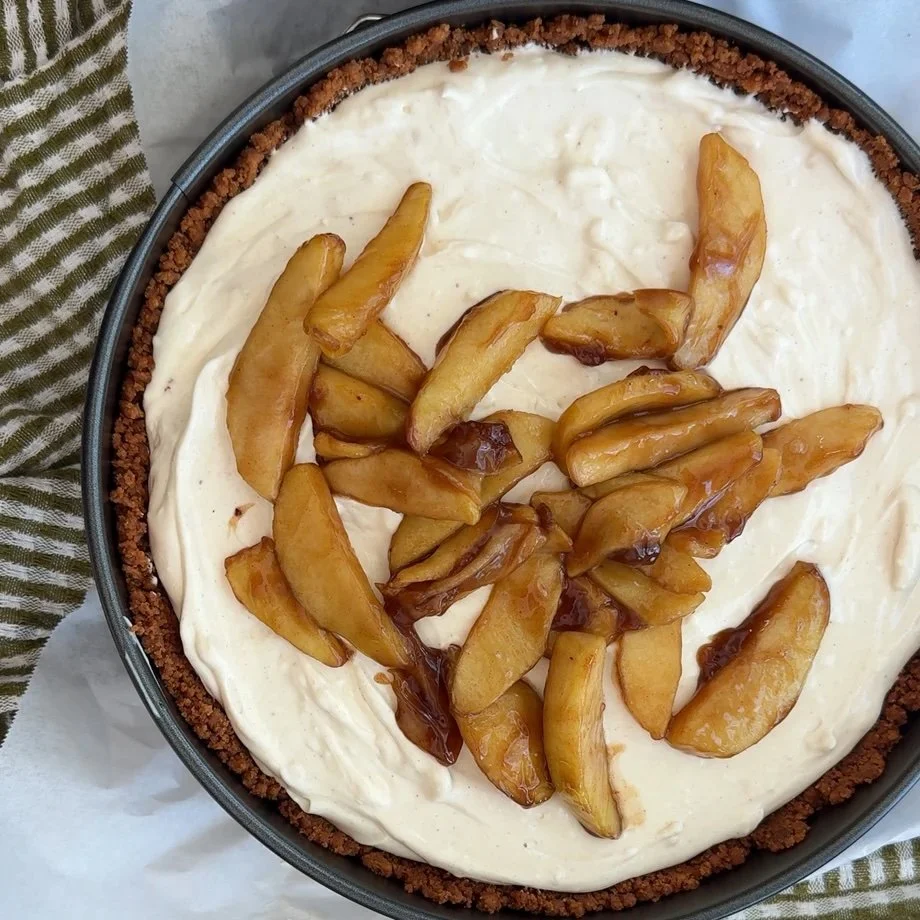
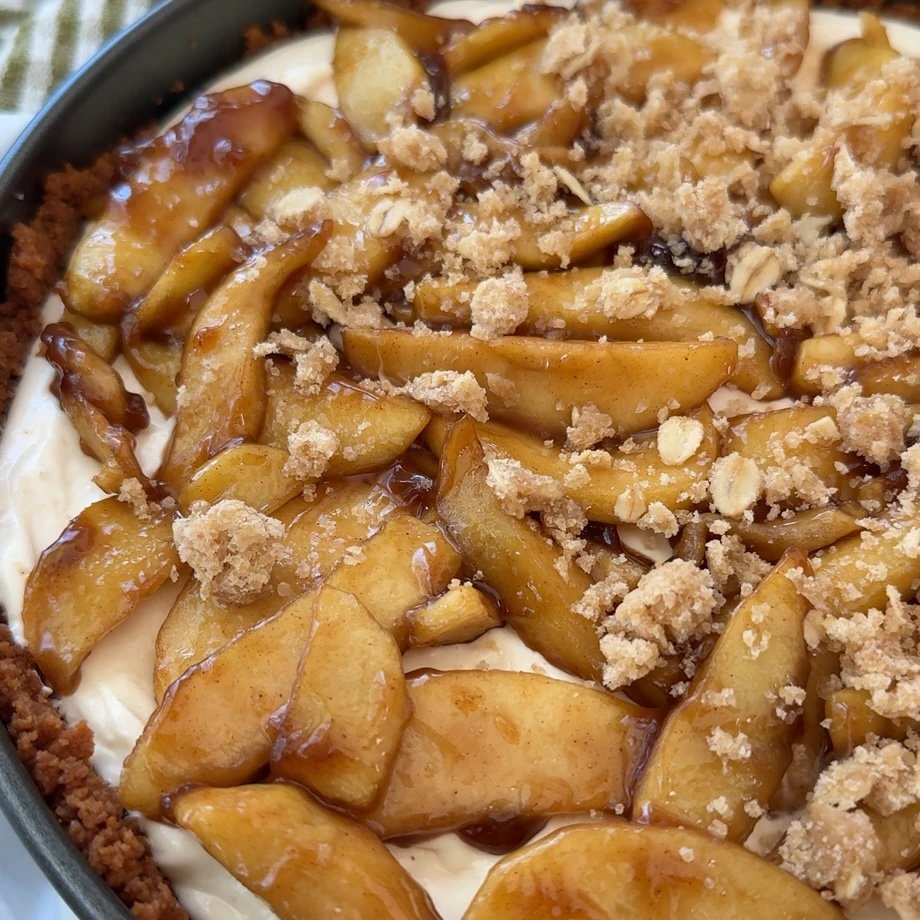
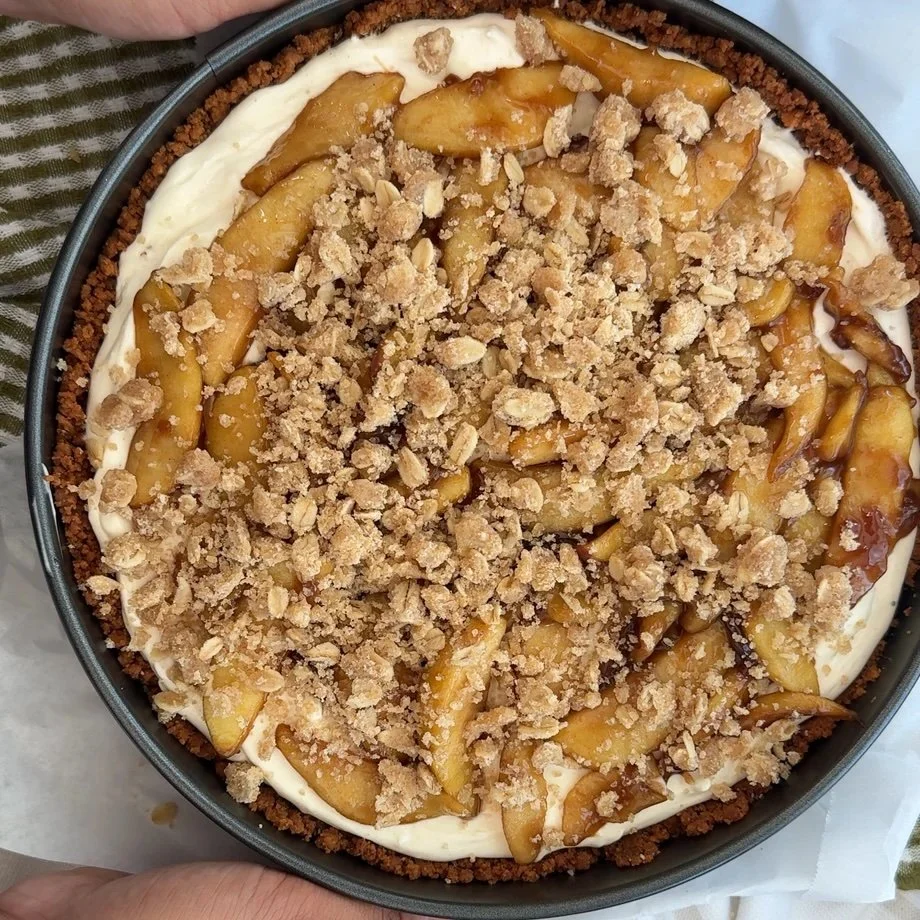
5. Bake with confidence
Bake 65–70 minutes at the 350—edges should set, the center still gently jiggle. If it doesn’t jiggle at all, you might have over baked (still tasty—just less creamy).
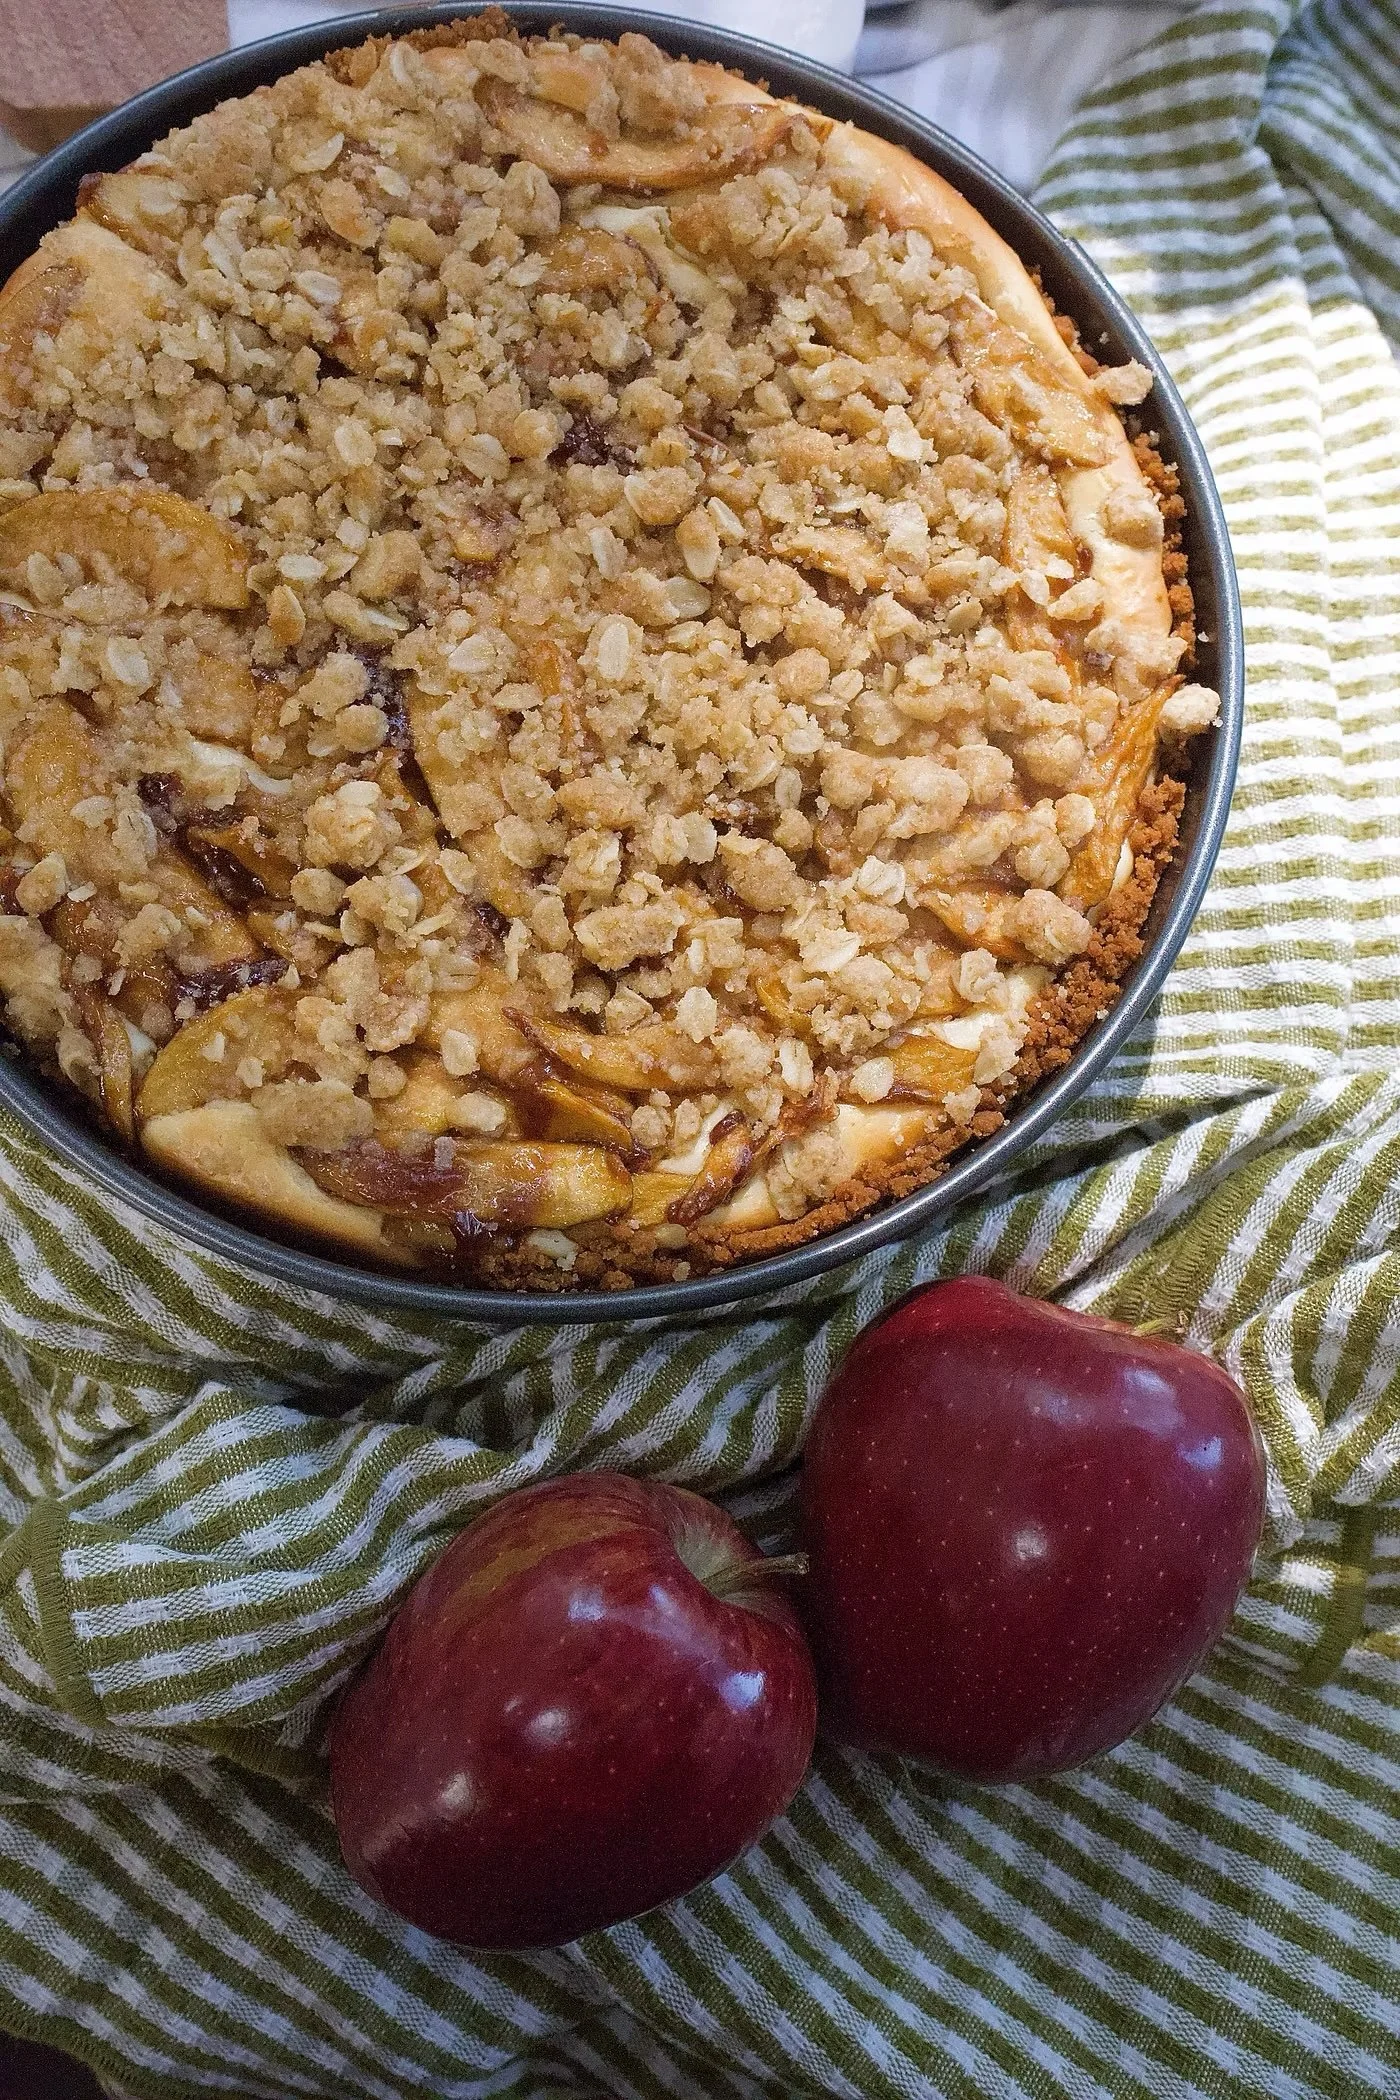
6. The chill game
Once it's about 3 mins away from being finished, turn off the oven and prop it open with a wood spoon. Let the cheesecake rest in there for about an hour. Be careful not to overcook. This should help your cheesecake adjust and not crack when cooling
Next, let it sit completely at room temperature for 60 mins—this prevents condensation droplets.
Once room temp, cool for at least 6 hours, though overnight is best. Trust me, the wait is worth it.
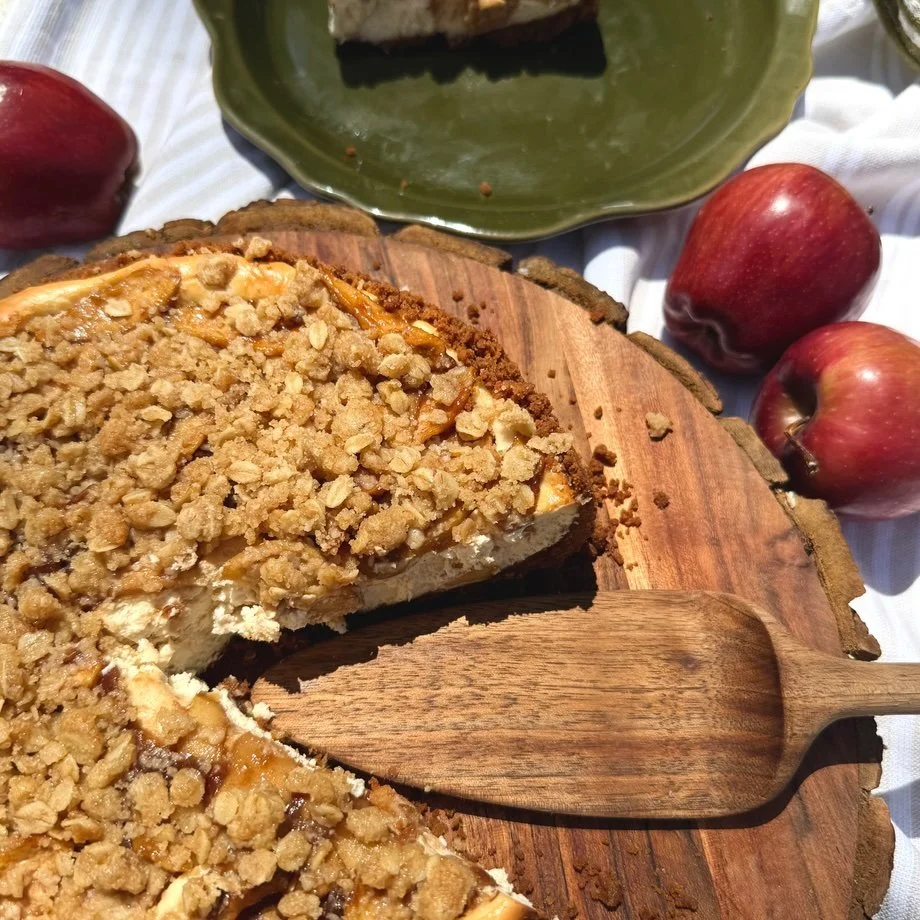
7. Slice
Remove the springform side, slice cleanly, and enjoy at your preferred temp—cold or just lightly tempered. A drizzle of salted caramel on top is an optional but a lovely finishing touch.
A Recipe by Madeline May
Brown Sugar & Biscoff Apple Crumble Cheesecake
A cozy fall cheesecake with a buttery Biscoff crust, warmly spiced filling, tender brown sugar apples, and a golden oat crumble topping.
Ingredients
For the Biscoff Crust
For the Crumble Topping
For the Apple Layer
For the Spiced Cheesecake
Instructions
- Prepare the pan Line the base of a 9-inch springform pan with parchment paper.
- Make the crust Combine the crushed Biscoff cookies with the melted butter. Press the mixture firmly into the bottom of the prepared pan, then refrigerate while you prepare the remaining layers.
- Cook the apples Add the sliced apples, brown sugar, cinnamon, and cornstarch to a small saucepan. Cook over medium heat until the apples are tender and the juices have thickened slightly. Set aside to cool.
- Make the crumble Stir together the melted butter, flour, brown sugar, and rolled oats until crumbly. Set aside.
- Make the cheesecake filling Beat the cream cheese until completely smooth. Mix in the granulated sugar, Greek yogurt, vanilla, cinnamon, allspice, and nutmeg. Add the eggs one at a time, mixing just until combined after each addition.
- Assemble Pour the cheesecake batter over the chilled crust. Arrange the cooked apples over the filling, then sprinkle the crumble evenly across the top.
- Bake Bake at 350°F for 65–70 minutes, until the edges are set and the center still has a gentle jiggle.
- Cool gradually Turn off the oven, crack the door, and leave the cheesecake inside for 1 hour. Transfer it to the counter and cool for another hour.
- Chill Refrigerate the cheesecake overnight before removing it from the pan and slicing.
Storage
Cover and refrigerate the cheesecake for up to 5 days.
Make Ahead
This cheesecake is ideal for making ahead because it needs to chill overnight. Prepare it 1–2 days before serving for the cleanest slices.
A Note from Madeline May
Bring the cream cheese, yogurt, and eggs to room temperature before mixing. This helps create the smoothest filling and prevents overmixing.
Storage & Serving Notes
Store leftovers in the fridge, wrapped or in an airtight container—up to 5 days
A few extra tips, from the heart
Ingredients at room temp? Non-negotiable. Warm cream cheese and eggs give you that impeccably smooth batter. Don't be impatient like me...or do be. I mean it dosen't always need to be perfect right?
Use tart, sturdy apples so the flavor shines without turning to mush.
Feel the wobble: Jiggly center = creamy perfection—even if it seems underdone, it will firm up during chill.
Make ahead with ease: Bake one day, serve the next—stress-free entertaining extraordinaire.
Go luxe with caramel: A drizzle post-slice elevates this dessert perfectly
Browse More Recent Recipes

Achiote Chicken Tacos with Cotija & Guacamole